Chocolate Tiramisu Cake (with Mascarpone Cream)
Holidays
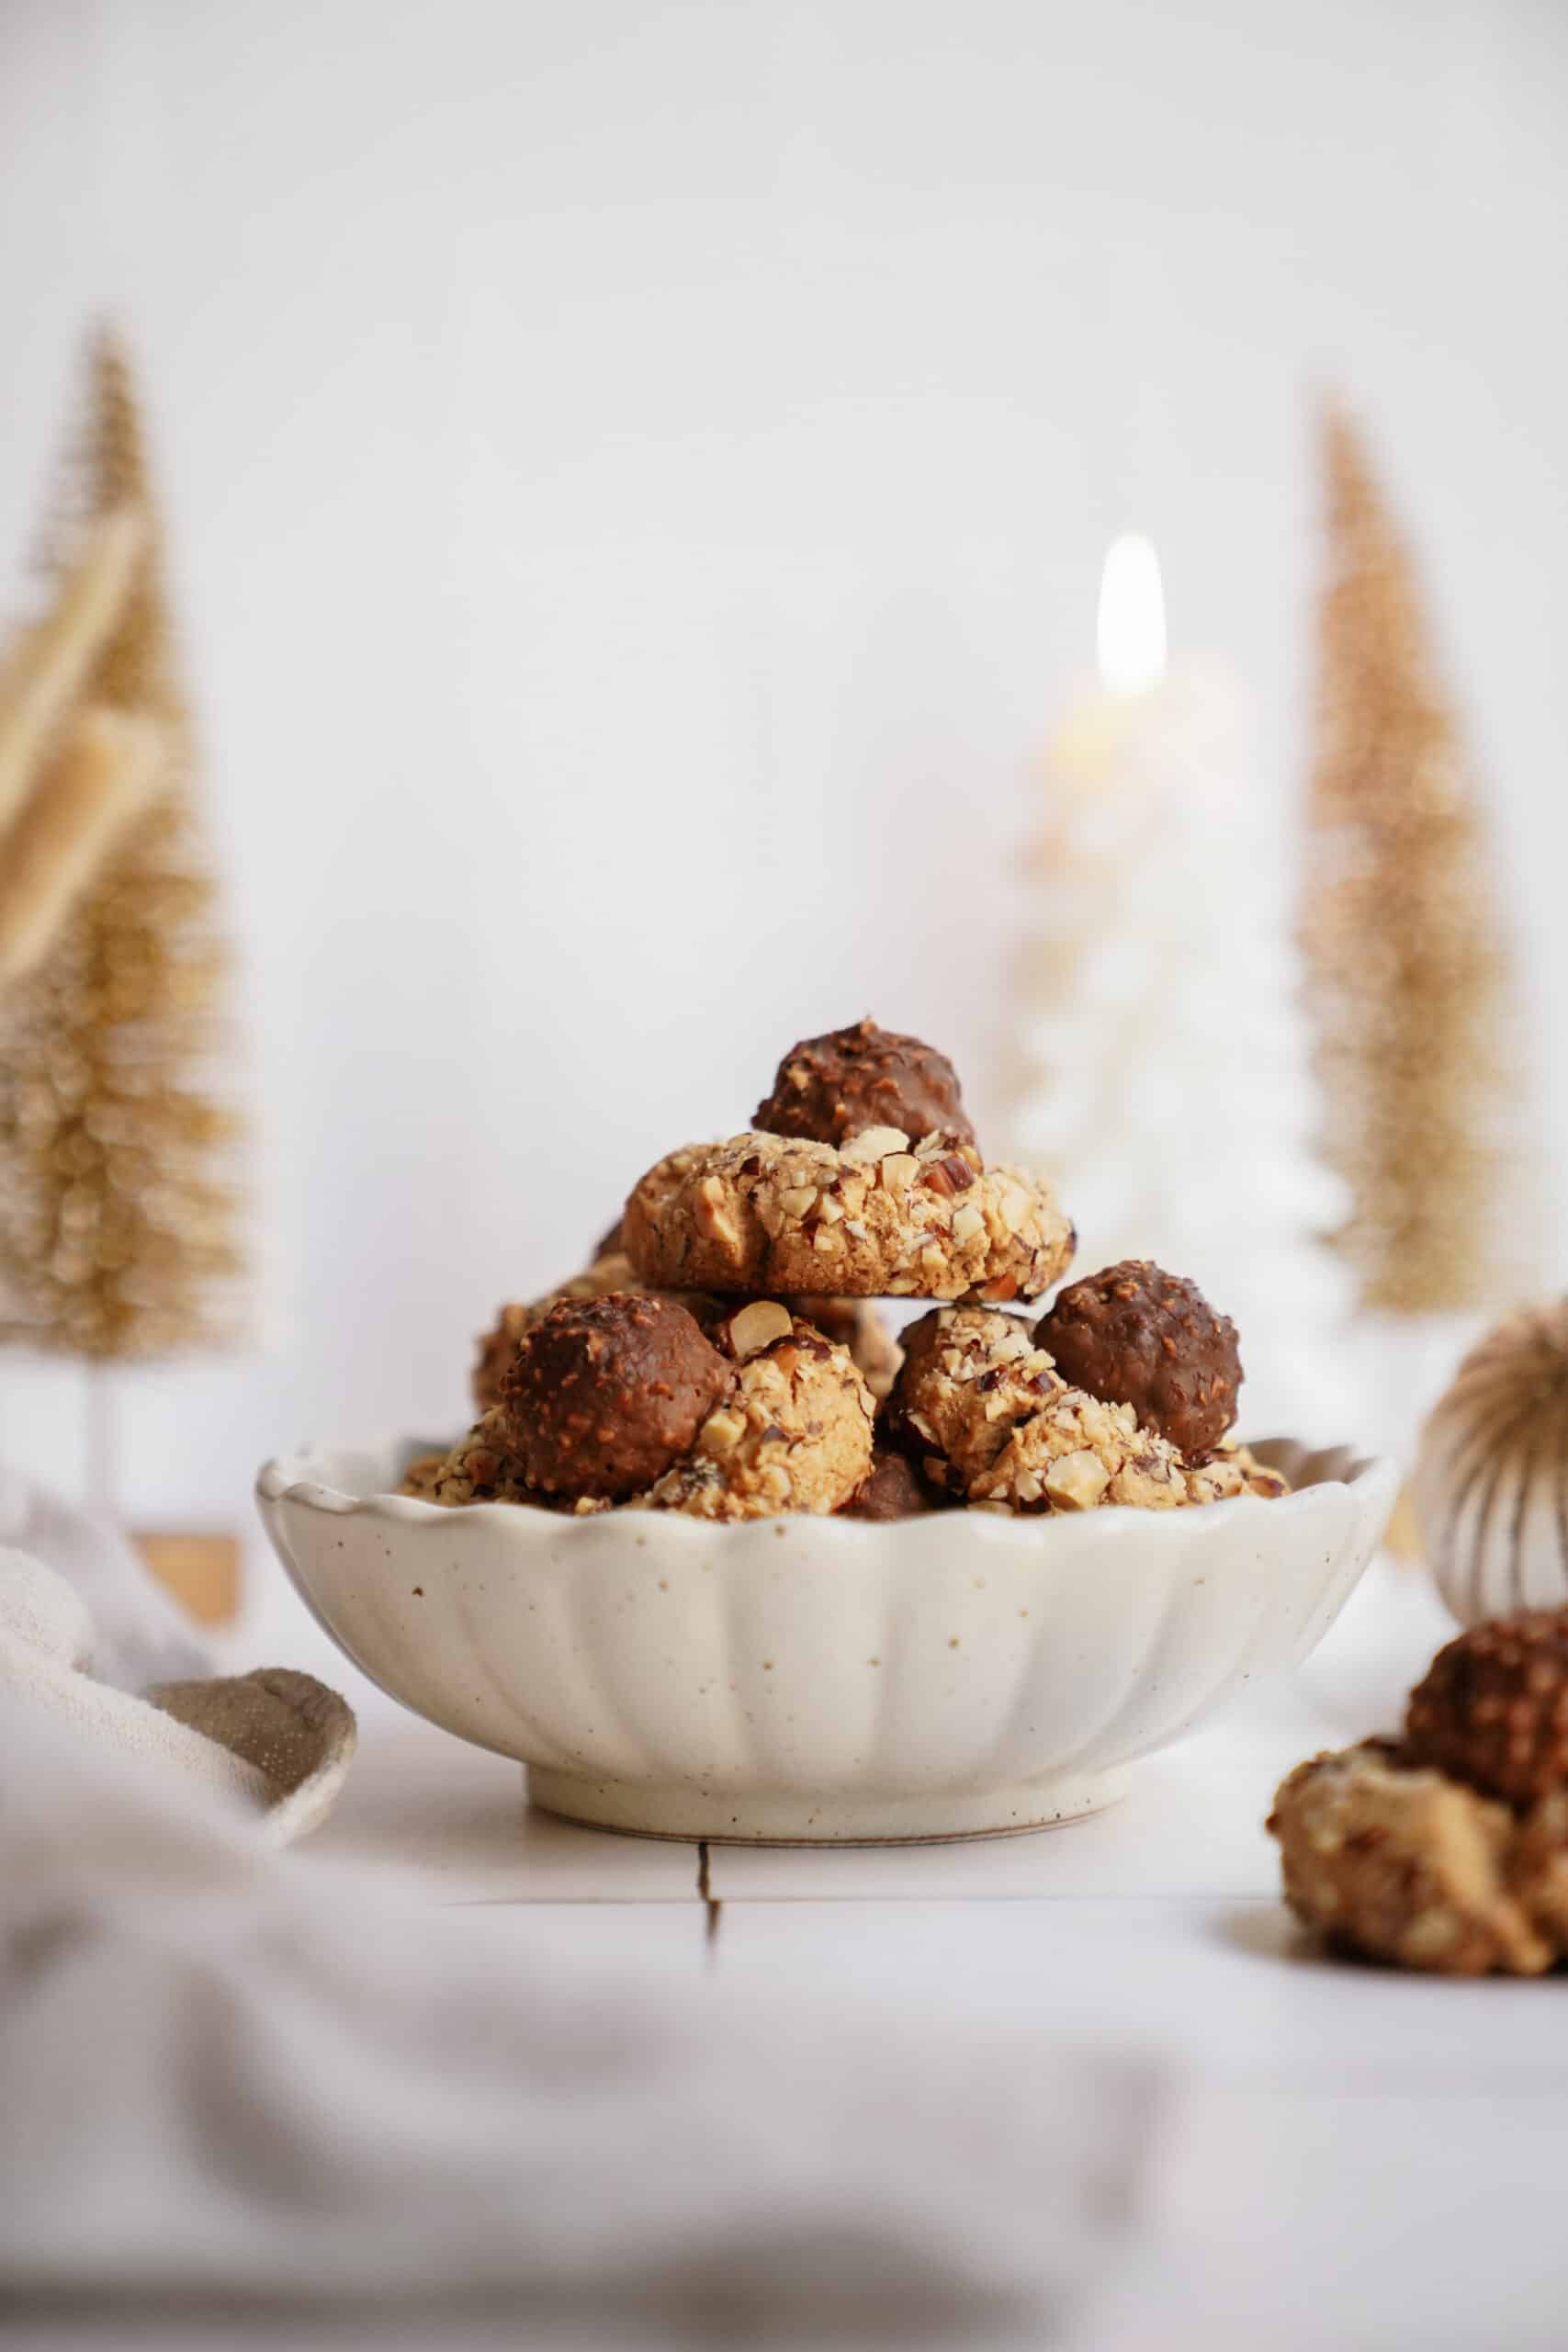
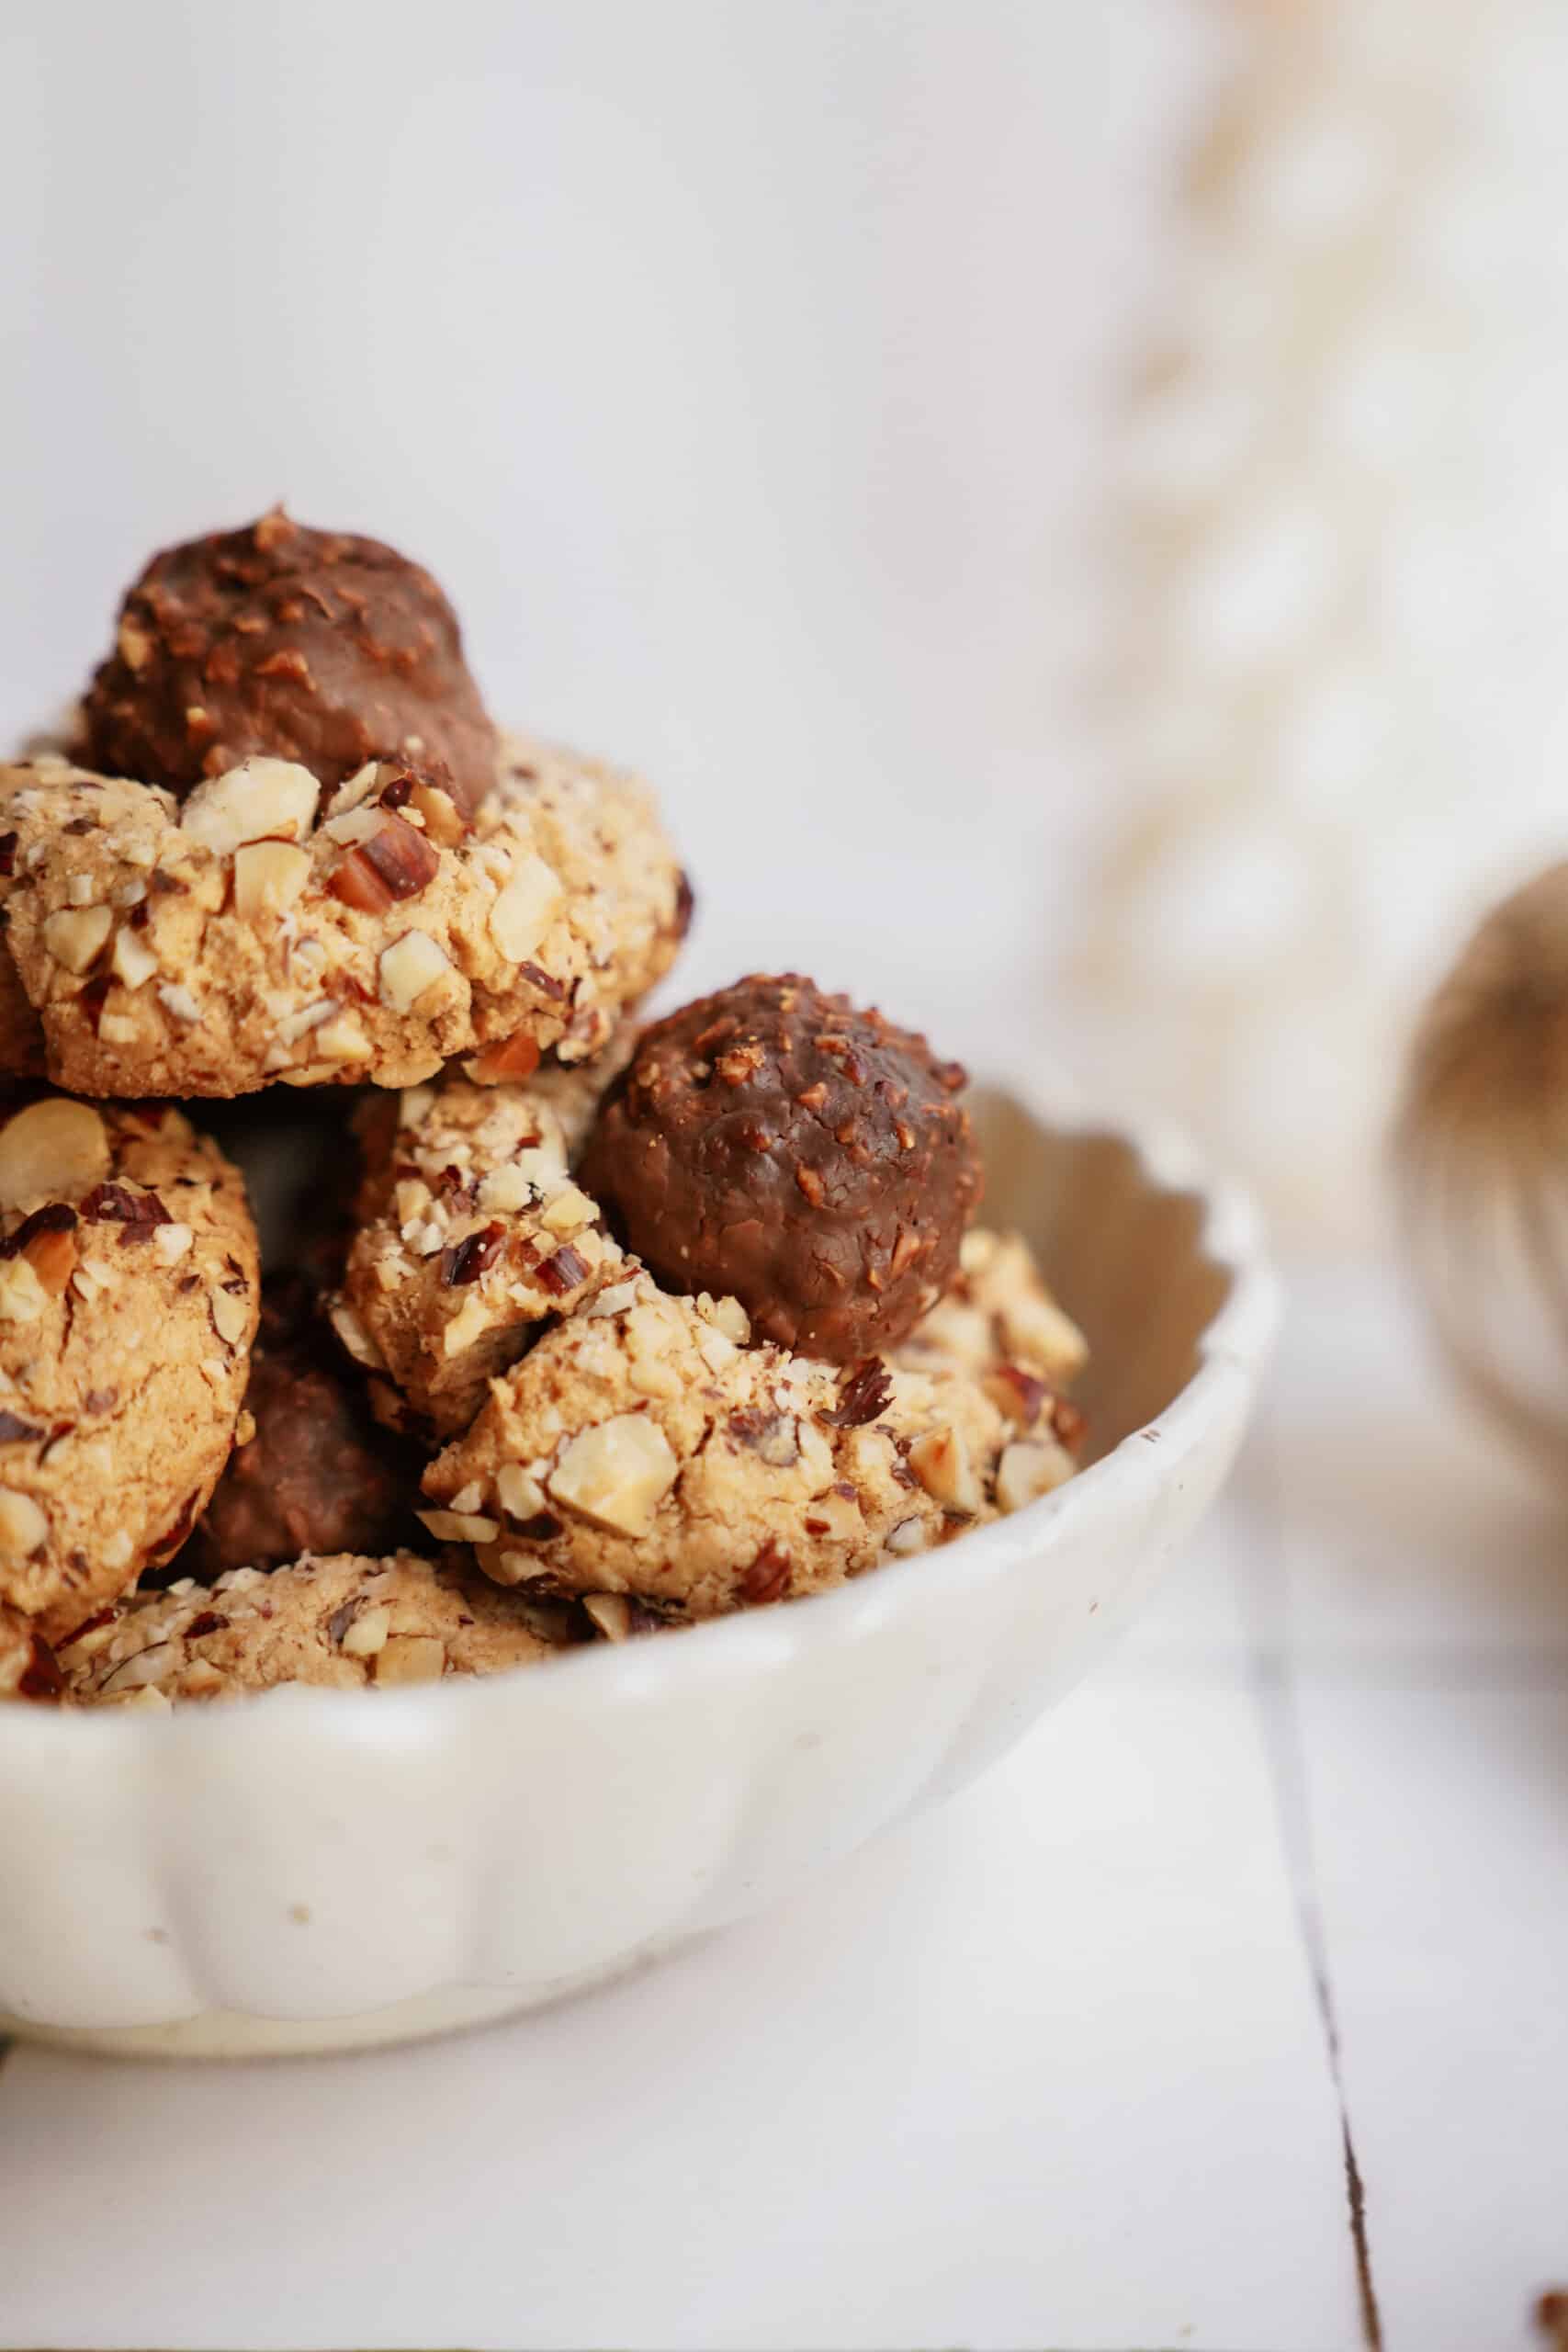
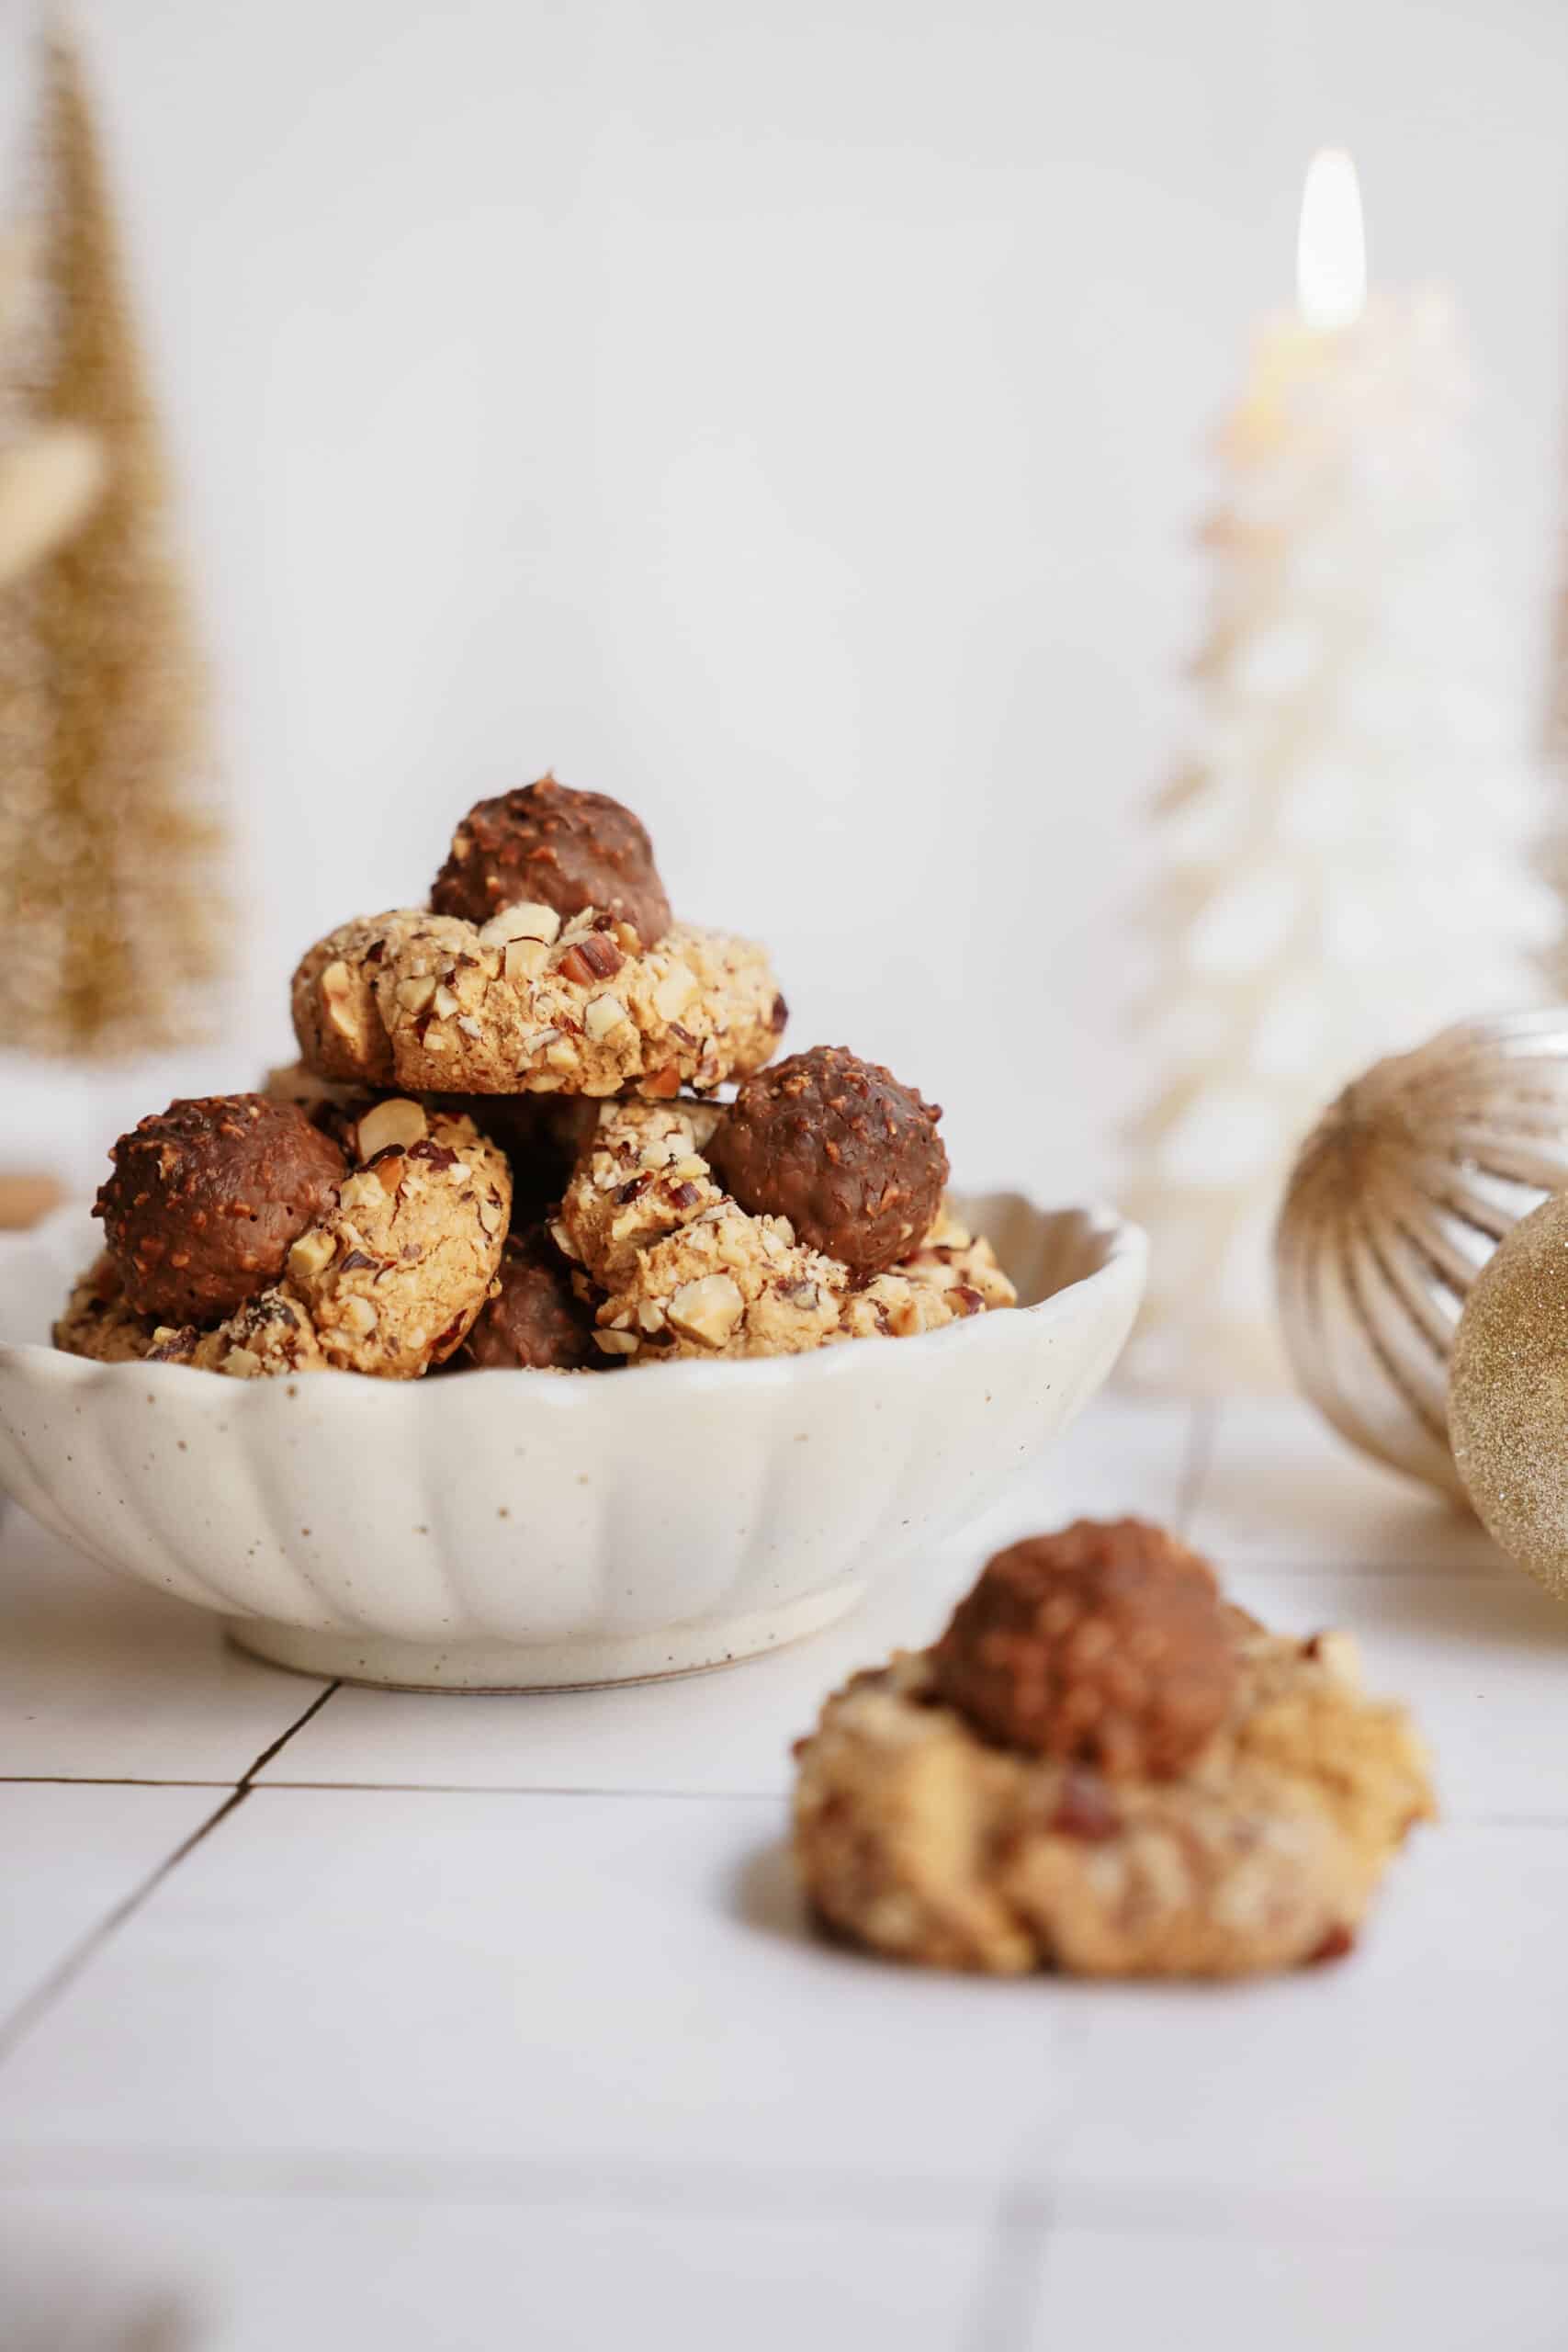
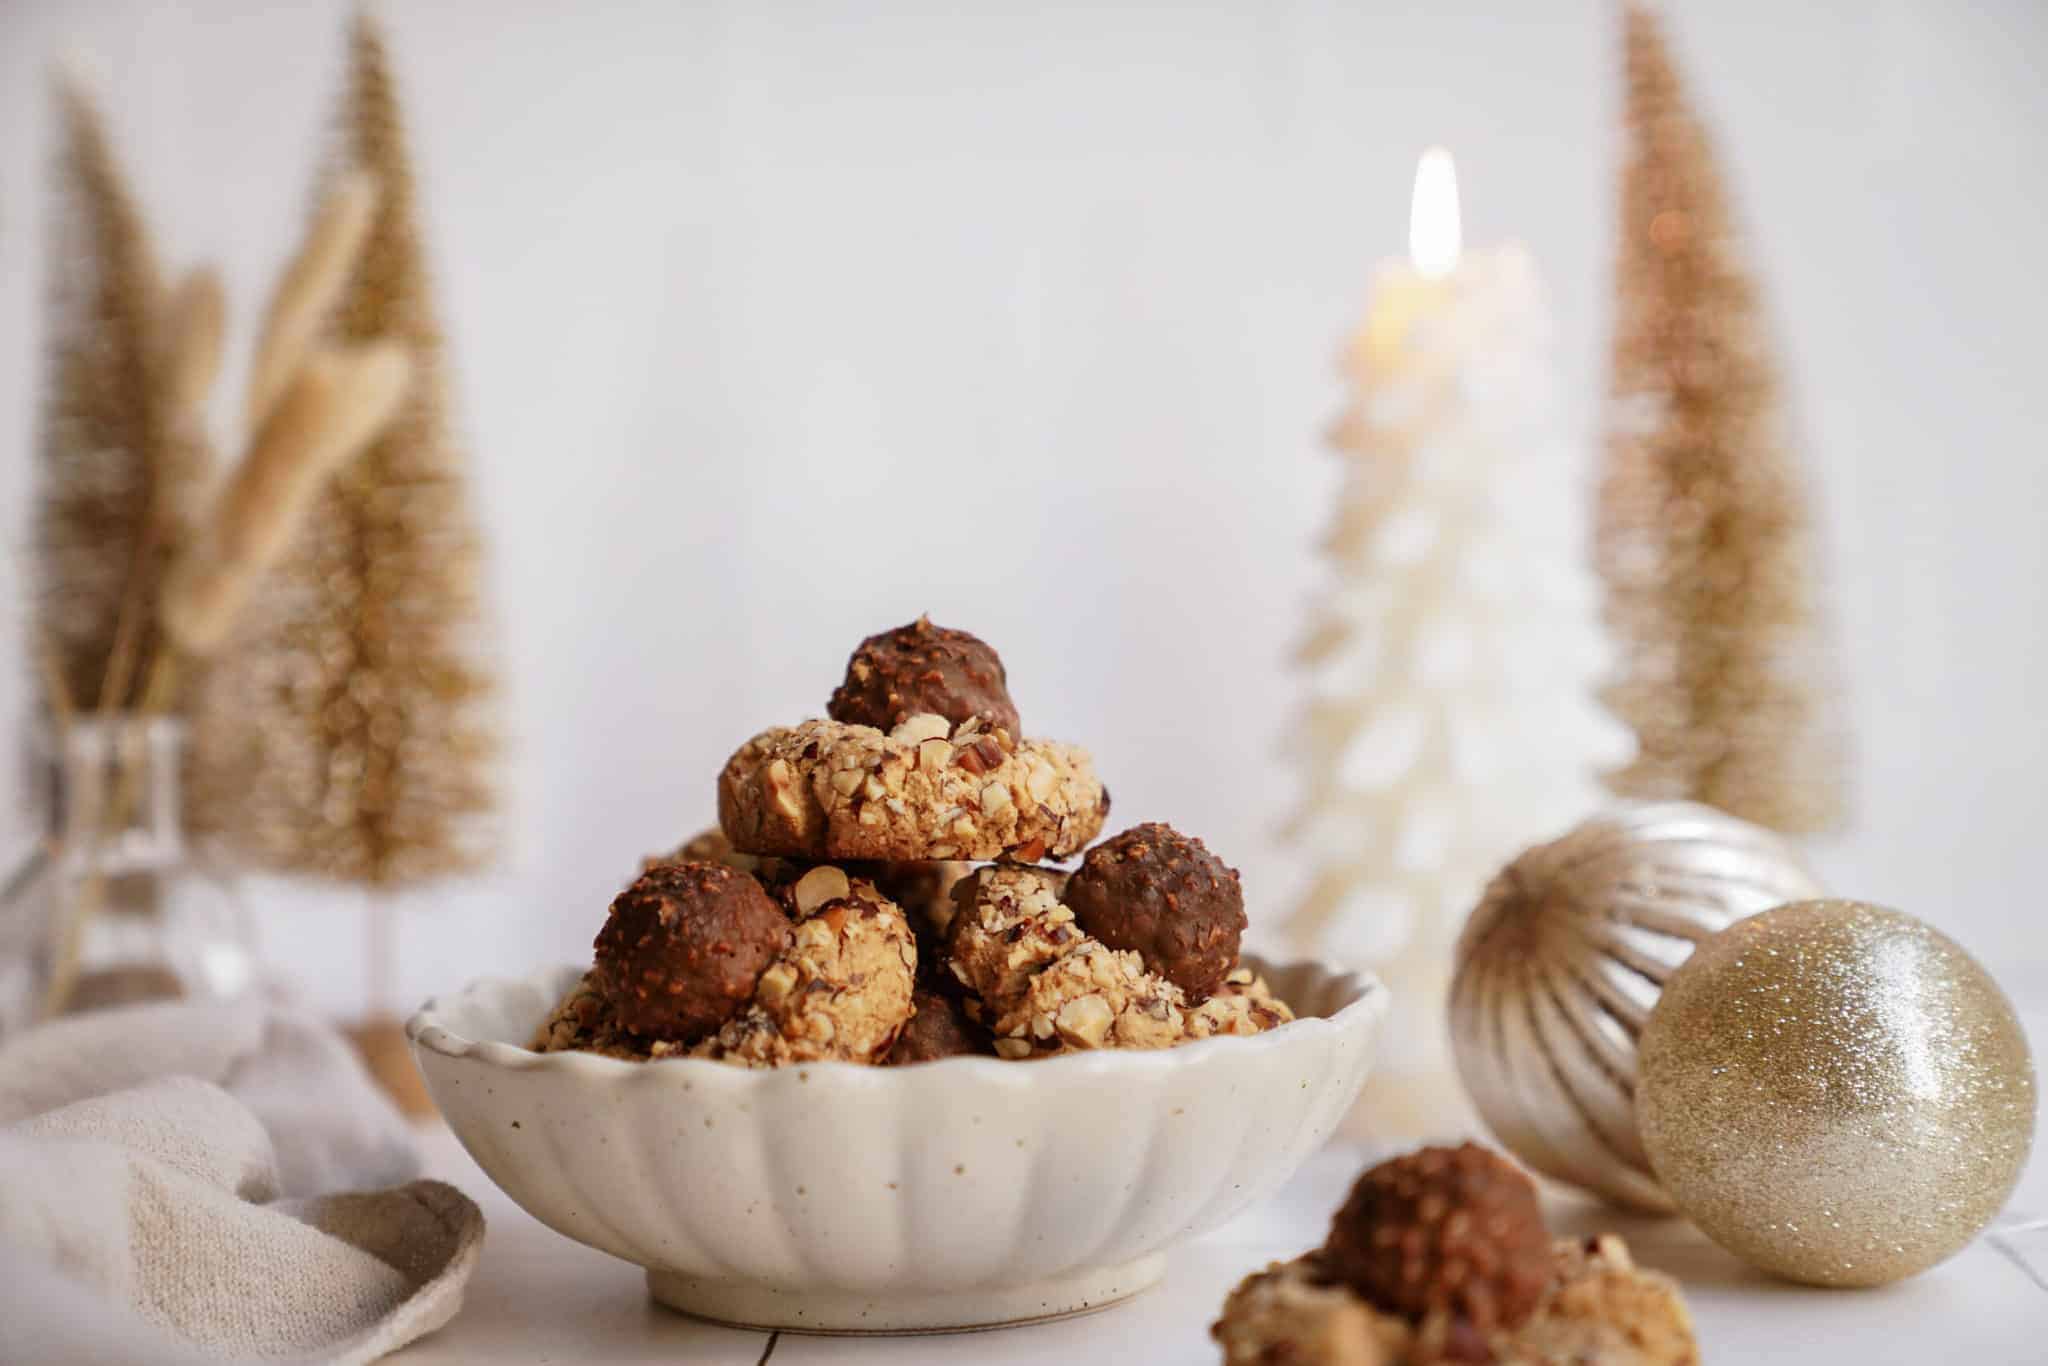
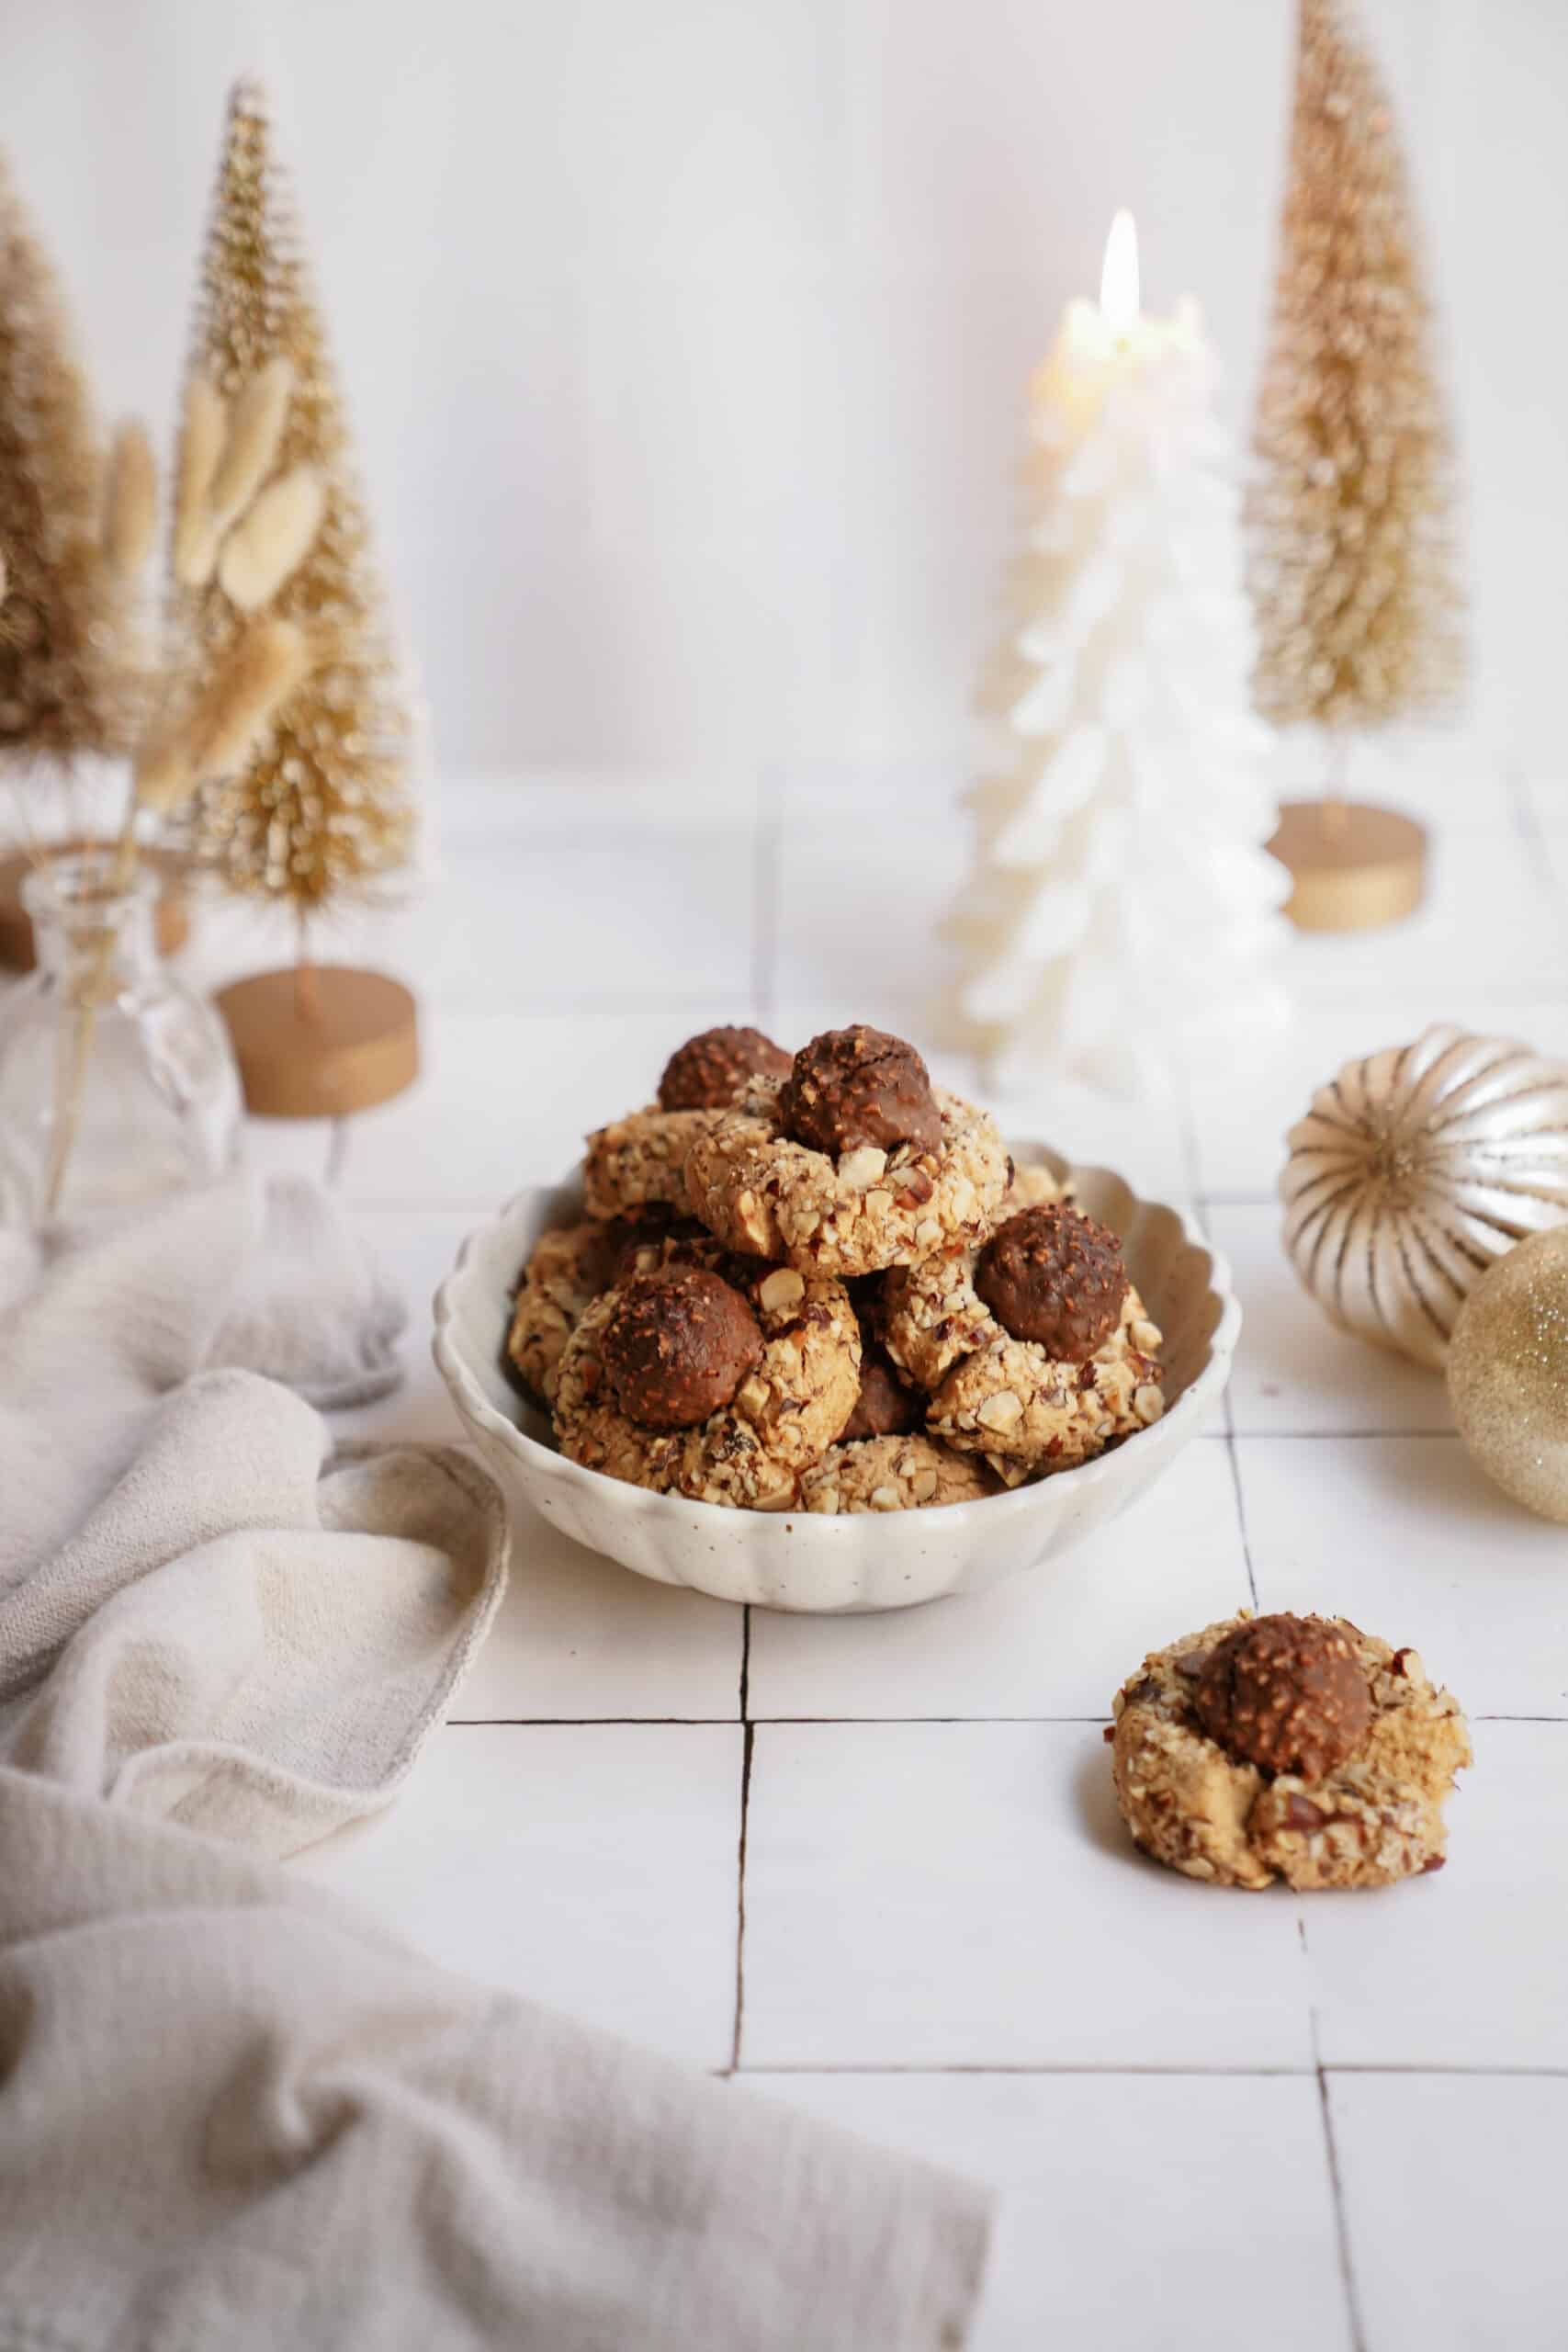
Gluten-Free Ferrero Rocher Thumbprint Cookies
Prep
20 minutes
Cook
20 minutes
Yield
12 -14
‘Tis the season! One of the best parts about the holiday season is baking up a storm in your kitchen of sweet, tasty treats to gift, share with family and friends, or gobble up on your own. I love holiday baking and this thumbprint cookie recipe with Ferrero Rocher’s might just be your new favorite cookie this year.
Why you’ll love this thumbprint cookie recipe:
- Gluten-Free: I made this recipe with Bob Red Mill’s 1:1 Gluten-Free flour meaning that this recipe will even satisfy those with gluten allergies
- Delicious: Ferrero Rocher’s have to be one of the best chocolate treats at the holiday season so incorporating them into a Christmas cookie is a no-brainer
- Crowd Pleaser: These make for an excellent homemade gift to gift to teachers, secretaries, colleagues, family, and friends
Ingredient Notes:
Ferrero Rocher: These magical chocolate, hazelnut balls are produced by an Italian company, Ferrero. It’s been around since 1979 and has become a holiday staple for it’s beautiful combination of chocolate, hazelnut, and that delicious, airy crunch it has when you bite into it.
Hazelnut Butter: Hazelnuts are high in omega-6 and omega-9 fatty acids so hazelnut butter is so good for you! Since Ferrero Rocher’s have hazelnuts in them, I love to use hazelnut butter specifically in this thumbprint cookie recipe. However, if you can’t find it, you can always use peanut butter.
How to make this thumbprint cookie recipe:
- Preheat the oven to 355F, and line 2 baking trays with parchment paper.
- In a medium-sized bowl, combine flour and salt. Set aside.
- In a large bowl, combine peanut butter, butter, sugar, and vanilla, with a hand mixer on medium until combined and slightly whipped.
- One at a time, slowly mixes in the egg yolks, until just combined. Keep the egg whites in a separate bowl for later.
- Add the flour mixture and mix until well combined. Do not overmix.
- Chop the hazelnuts into small pieces and place them into a small bowl.
- Scoop the dough into “ping-pong” size balls, approximately 2 tbsp worth.
- Roll the cookie dough balls out with your hand, until smooth.
- Dip each cookie dough ball in the egg whites, lightly covering, and roll into the chopped hazelnuts.
- Place each cookie dough ball onto the baking sheet, and press your thumb into the top to create a small cavity.
- Shape the sides of the cookie if you need to create the perfect shape.
- Unwrap a Ferraro Roche chocolate and place it in the center of the cookie, filling the cavity. Repeat these steps until you use all of the dough.
- Evenly space the cookie dough 2-3 inches apart onto the baking trays.
- Bake for 18 – 20 minutes, until golden on the bottom and edges.
- Allow to cool on the baking trays for 5 minutes, then transfer to a wire rack.
- Once slightly cooled, add the dark chocolate to a small bowl and slowly melt it in the microwave.
- Using a small spoon, drizzle lines of chocolate in a zig-zag to cover the top of your cookies.
- Enjoy this deliciousness!
How do I make this cookie chewy? These cookies will melt in your mouth like shortbread, bake for less time to make a chewier cookie!
Can I make this thumbprint cookie recipe dairy-free too? To make dairy-free, swap butter with earth balance, use plant-based milk, AND replace Ferrero Roche with your favorite dairy-free chocolate truffles!
I can’t find hazelnut butter: Replace hazelnut butter with peanut butter if you prefer!
Storage: Store cookies at room temperature in an airtight container for 3-4 days or in the freezer for 2-3 months. Allow to come to room temperature or warm in the microwave slightly to serve.
Other sweet recipes you’ll love:
- Homemade Peanut Butter Cups Vegan Cinnamon Bun Bread Vegan Cashew Chocolate Mousse Cake
For more eBooks:
If you want more deliciousness at the click of your finger, be sure to check out FoodByMaria’s Newest Mini Cookbooks . Limited time offer of 3 for $20USD.

Gluten-Free Ferrero Rocher Thumbprint Cookie Recipe
Ingredients1x2x3x
- ½ cup hazelnut butter
- ½ cup butter softened
- ½ cup + 2 tbsp brown sugar
- 2 eggs room temperature + separated
- 2 tbsp milk or plant-based milk
- 1 tbsp vanilla
- 1 ¼ cup Bob’s Red Mill 1:1 GF Flour Blend
- ½ tsp salt
- 12 – 14 Ferraro Roche chocolates
- ½ cup milk or dark chocolate melted
Instructions
- Preheat the oven to 355F, and line 2 baking trays with parchment paper.
- In a medium-sized bowl, combine flour and salt. Set aside.
- In a large bowl, combine hazelnut butter, butter, sugar, and vanilla, with a hand mixer on medium until combined and slightly whipped.
- One at a time, slowly mixes in the egg yolks, until just combined. Keep the egg whites in a separate bowl for later.
- Add the flour mixture and mix until well combined. Do not overmix.
- Chop the hazelnuts into small pieces and place them into a small bowl.
- Scoop the dough into “ping-pong” size balls, approximately 2 tbsp worth.
- Roll the cookie dough balls out with your hand, until smooth.
- Dip each cookie dough ball in the egg whites, lightly covering, and roll into the chopped hazelnuts.
- Place each cookie dough ball onto the baking sheet, and press your thumb into the top to create a small cavity.
- Shape the sides of the cookie if you need to create the perfect shape.
- Unwrap a Ferraro Roche chocolate and place it in the center of the cookie, filling the cavity. Repeat these steps until you use all of the dough.
- Evenly space the cookie dough 2-3 inches apart onto the baking trays.
- Bake for 18 - 20 minutes, until golden on the bottom and edges.
- Allow to cool on the baking trays for 5 minutes, then transfer to a wire rack.
- Once slightly cooled, add the dark chocolate to a small bowl and slowly melt it in the microwave.
- Using a small spoon, drizzle lines of chocolate in a zig-zag to cover the top of your cookies.
- Enjoy this deliciousness!!
Notes
Nutrition
Post A CommentCancel reply

Honey Cake
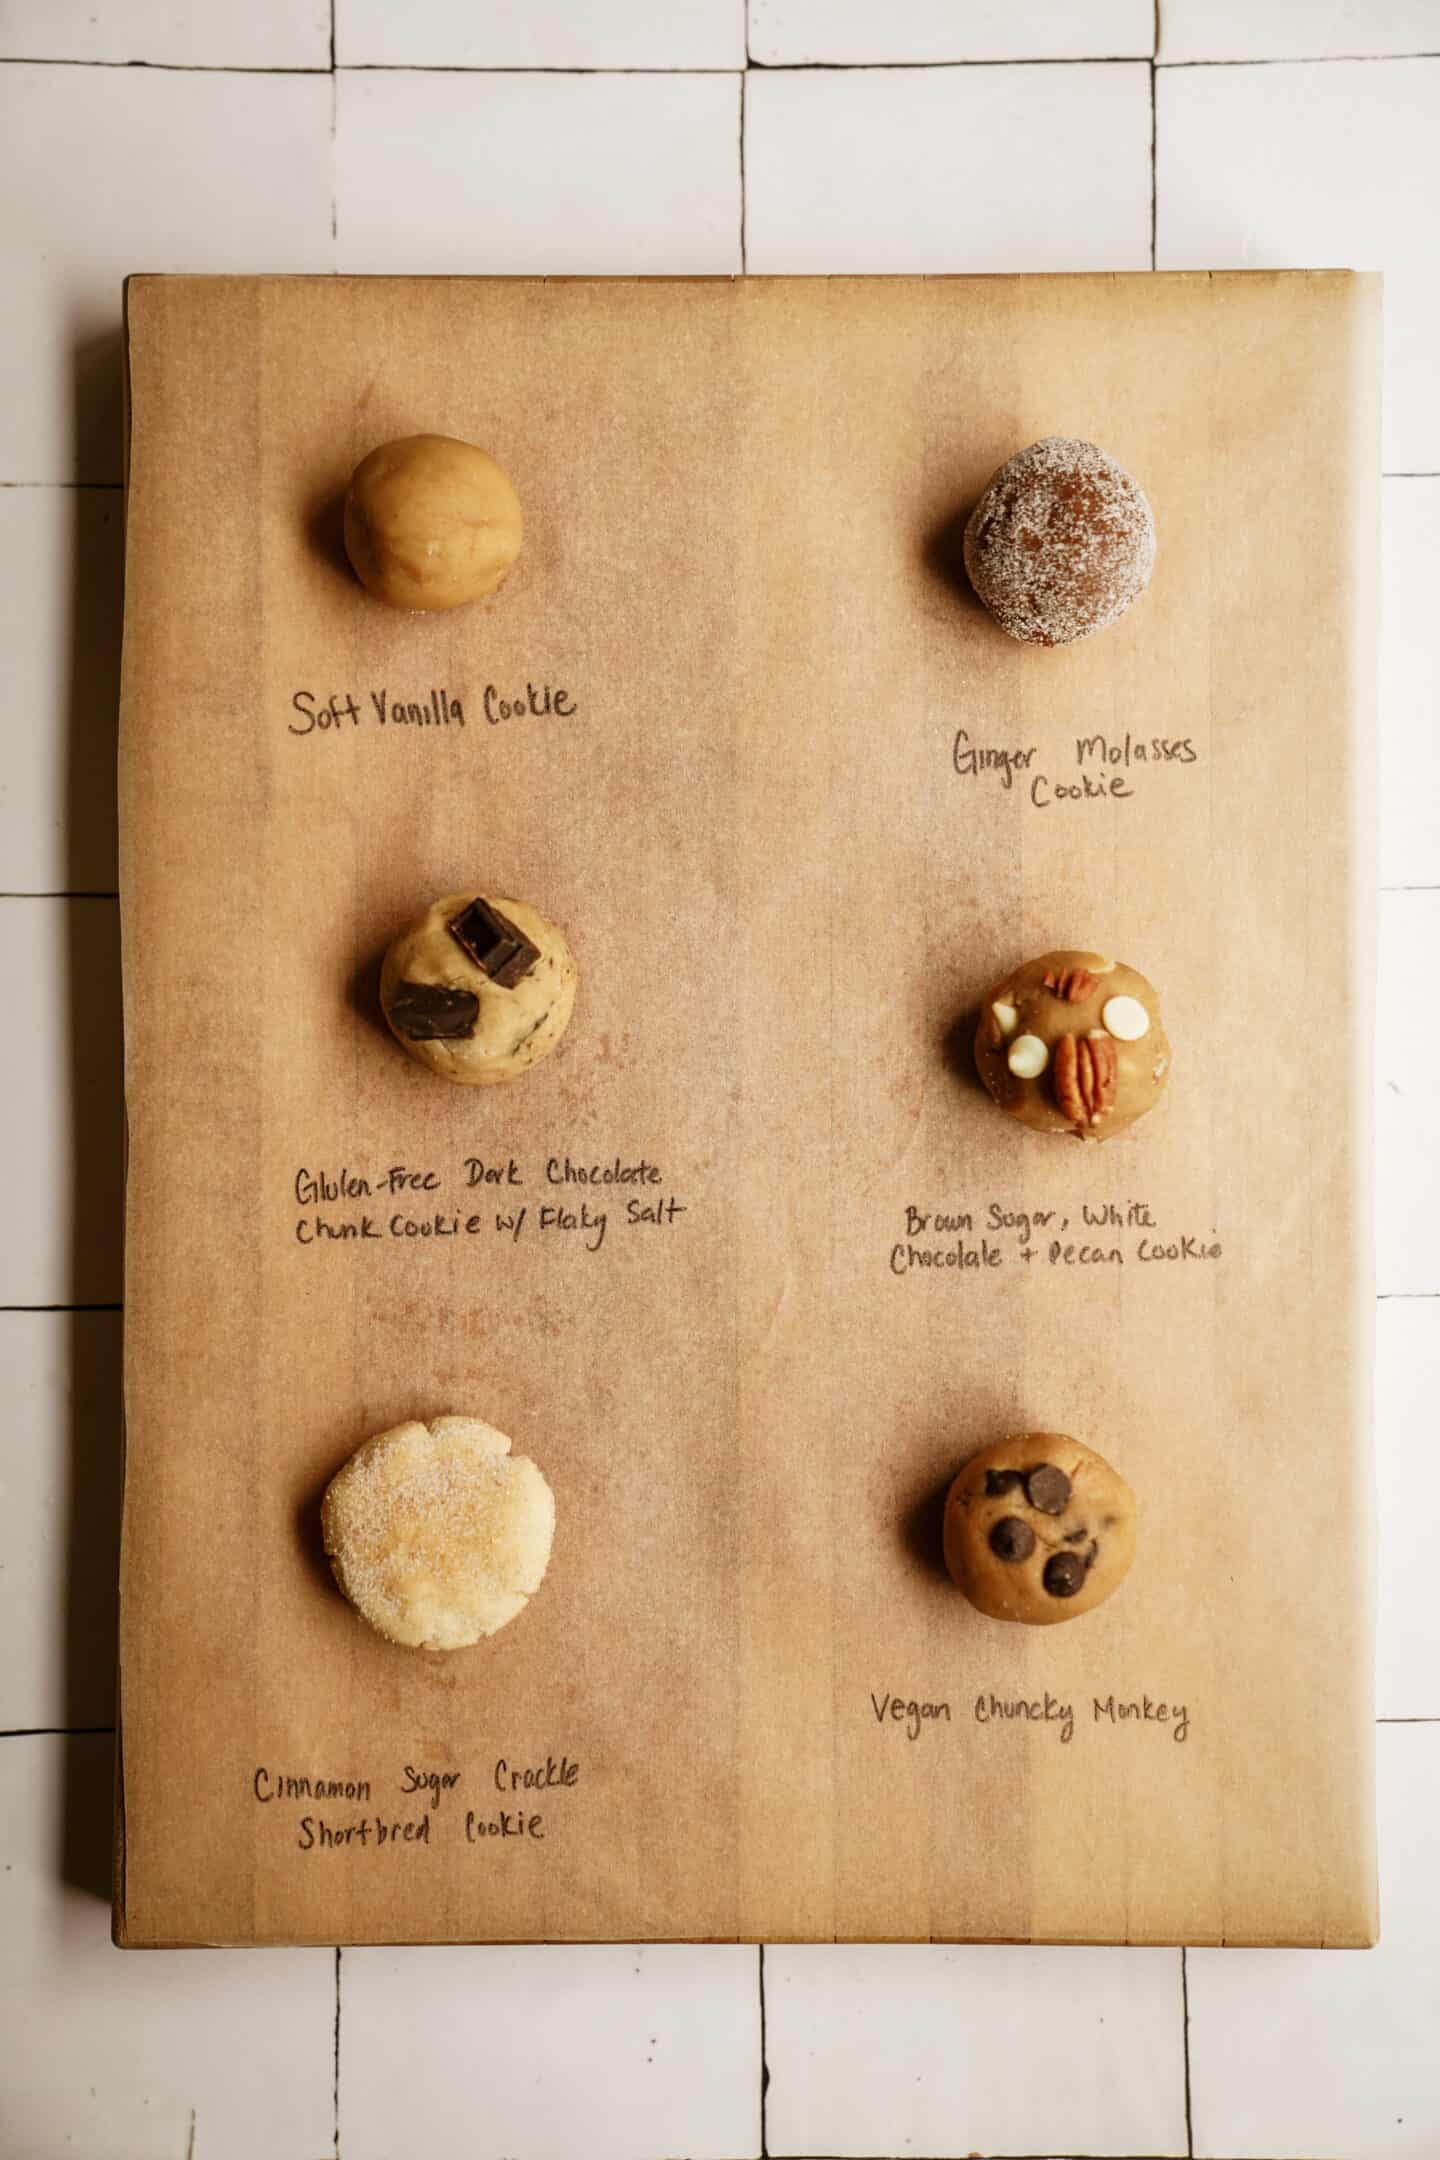
Cookie Dough Recipe (Small-Batch or Edible Option)
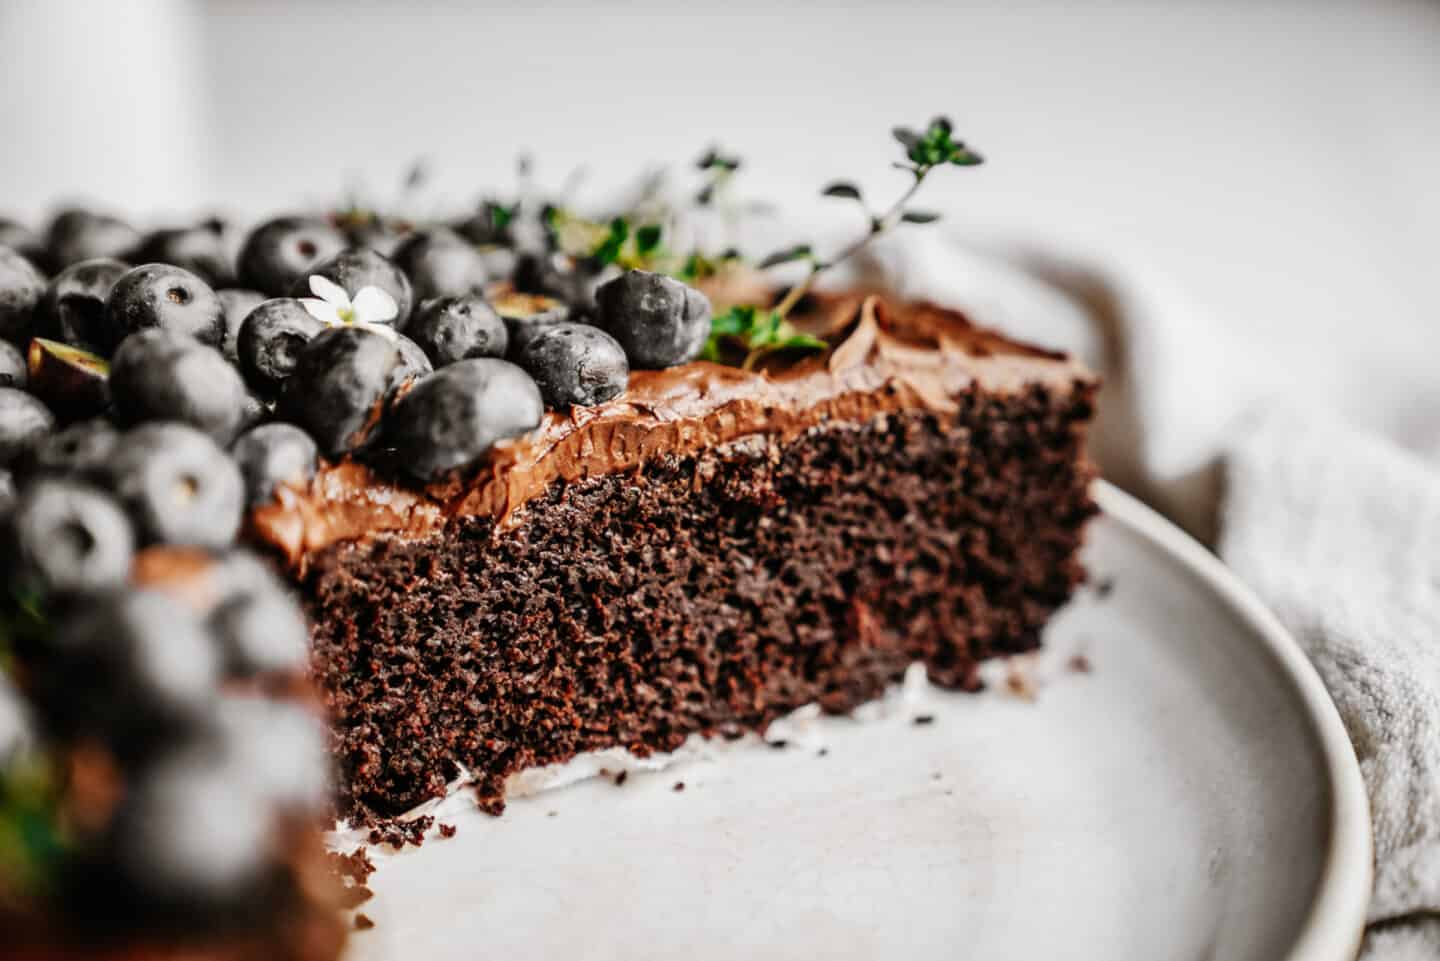
Vegan Chocolate Cake
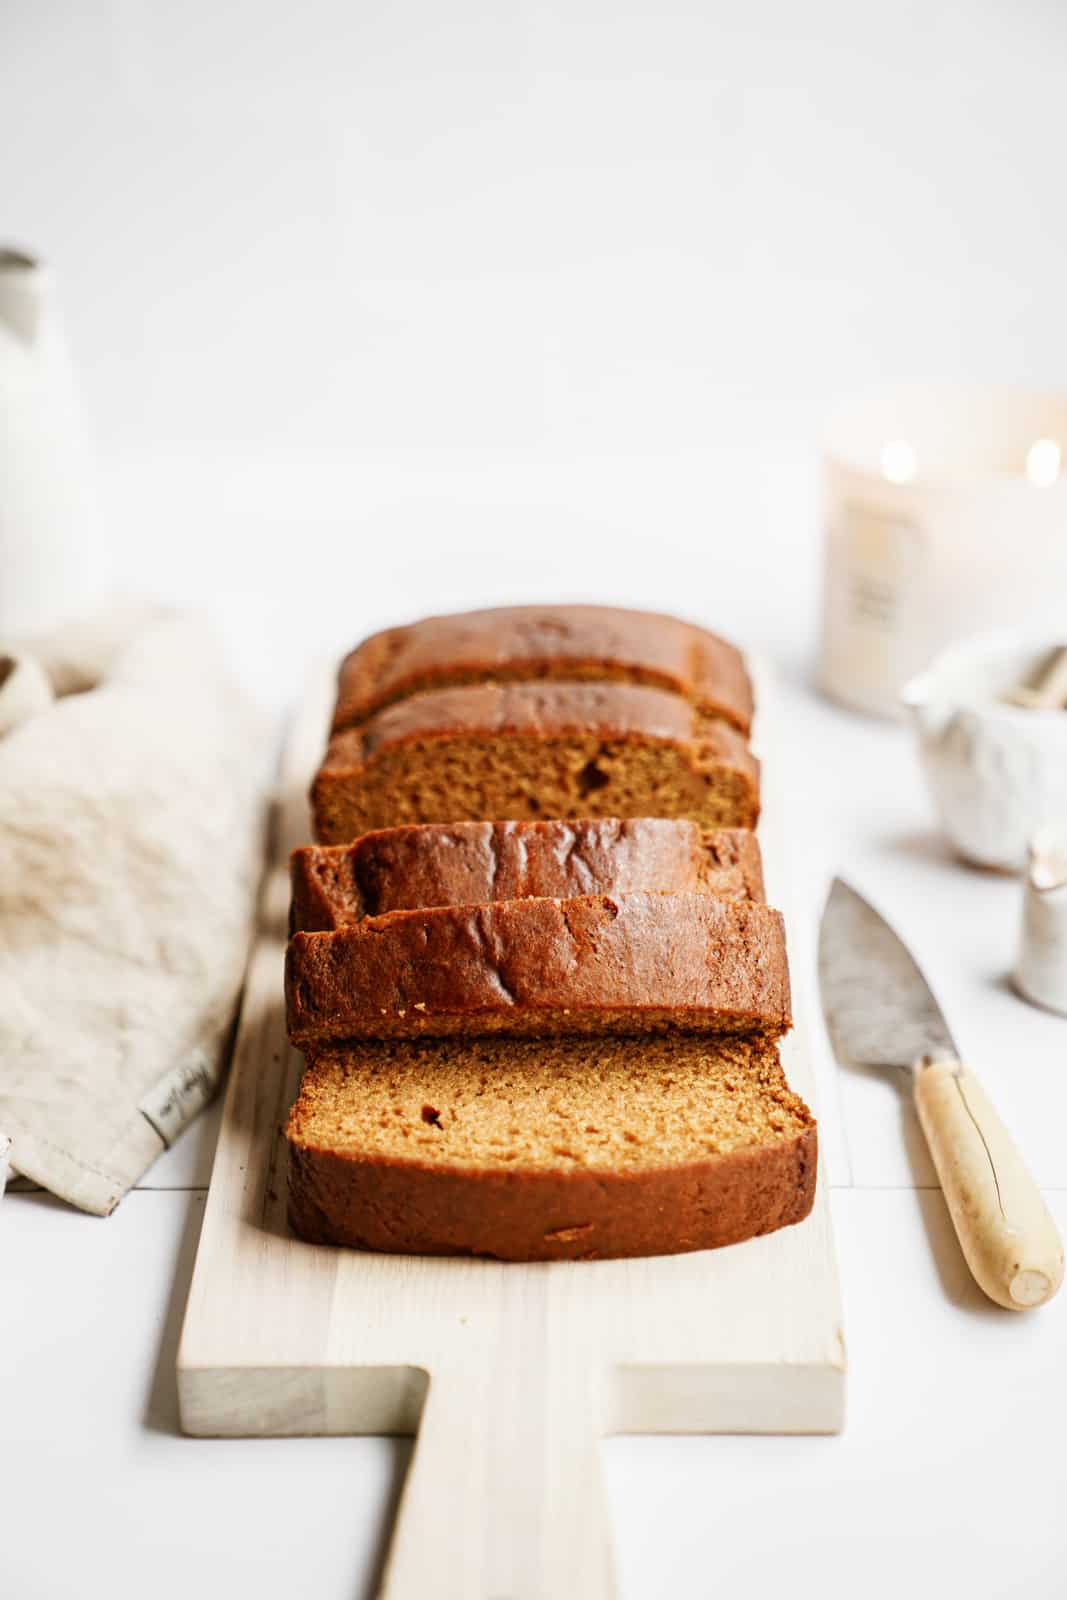
The Easiest Vegan Pumpkin Bread Recipe

Gluten-Free Chocolate Cake
Ingredients
For the Cake:
- 1 cup Bob’s Red Mill 1-1 Gluten-Free Flour
- ⅓ cup + 2 tbsp granulated sugar
- ¼ cup + 2 tbsp cocoa powder
- ¾ tsp baking powder
- ¾ tsp baking soda
- ½ tsp salt
- 1 egg
- 1 tbsp vanilla
- ¼ cup vegetable oil
- ½ cup + 2 tbsp almond milk
- ¼ cup hot water
Chocolate Whipped Cream:
- 1.5 cups whipping cream
- 3 tbsp cocoa powder
- 3 tbsp powdered sugar
- 1 tsp vanilla
- pinch salt
To Garnish:
- ½ lb strawberries
Instructions
- Preheat the oven to 350F and prepare the 4in cake pans with parchment paper circles at the bottom.
- In a kettle or a pot, boil 1 cup of water.
- In a large bowl, add the flour, sugar, baking powder, baking soda, and salt. Sift in the cocoa powder to remove lumps. Using a whisk, combine the dry ingredients until uniform.
- In a medium-size bowl, whisk together the eggs, oil, almond milk, and vanilla until combined.
- Add the wet ingredients to the large bowl, and using a hand mixer, whisk the ingredients together on medium speed for 20 - 30 seconds.
- Scrape the edges with a spatula, then measure out ½ cup of hot water. Pour this into the large bowl.
- On medium speed, mix the batter for 1 ½ - 2 minutes until uniform. Do not overmix.
- Scoop the batter evenly into the prepared cake pans. You can separate it into 3 or 4 of the pans, your choice.
- Bake for 16 - 18 minutes. Remove from the pan immediately and allow to cool on a wire rack.
- For the chocolate whipped cream, combine all of the ingredients into a medium-sized bowl.
- Whisk together thoroughly with a hand-mixer on medium-high speed until you create stiff peaks.
- To prepare the strawberries, cut off the tops and thinly slice them vertically. Set aside.
- To assemble , once completely cooled, place a small spoonful of chocolate whipped cream onto a serving plate or board. Set one cake layer upside down to reveal the flat side (remove parchment paper).
- Cover the layer with chocolate whipped cream, about ½ inch thick.
- Arrange the strawberry slices in a circle close to the edge of the whipped cream so the points stick out, arrange extra strawberries to fill the inside of the circle.
- Repeat these steps for every layer. Once you reach the top layer, to create the rose, continue arranging your strawberries in a circle, overlapping each other and working your way into the middle. Fill any gaps with more strawberry slices to allow some of the petals to stick upward. Keep adding until you are happy with your strawberry rose. Slice the nose of one strawberry and place it in the center to create the rosebud. Keep your cake in the fridge until ready to serve! Enjoy!!!
Notes
Nutrition
FoodbyMaria.com
