Holidays
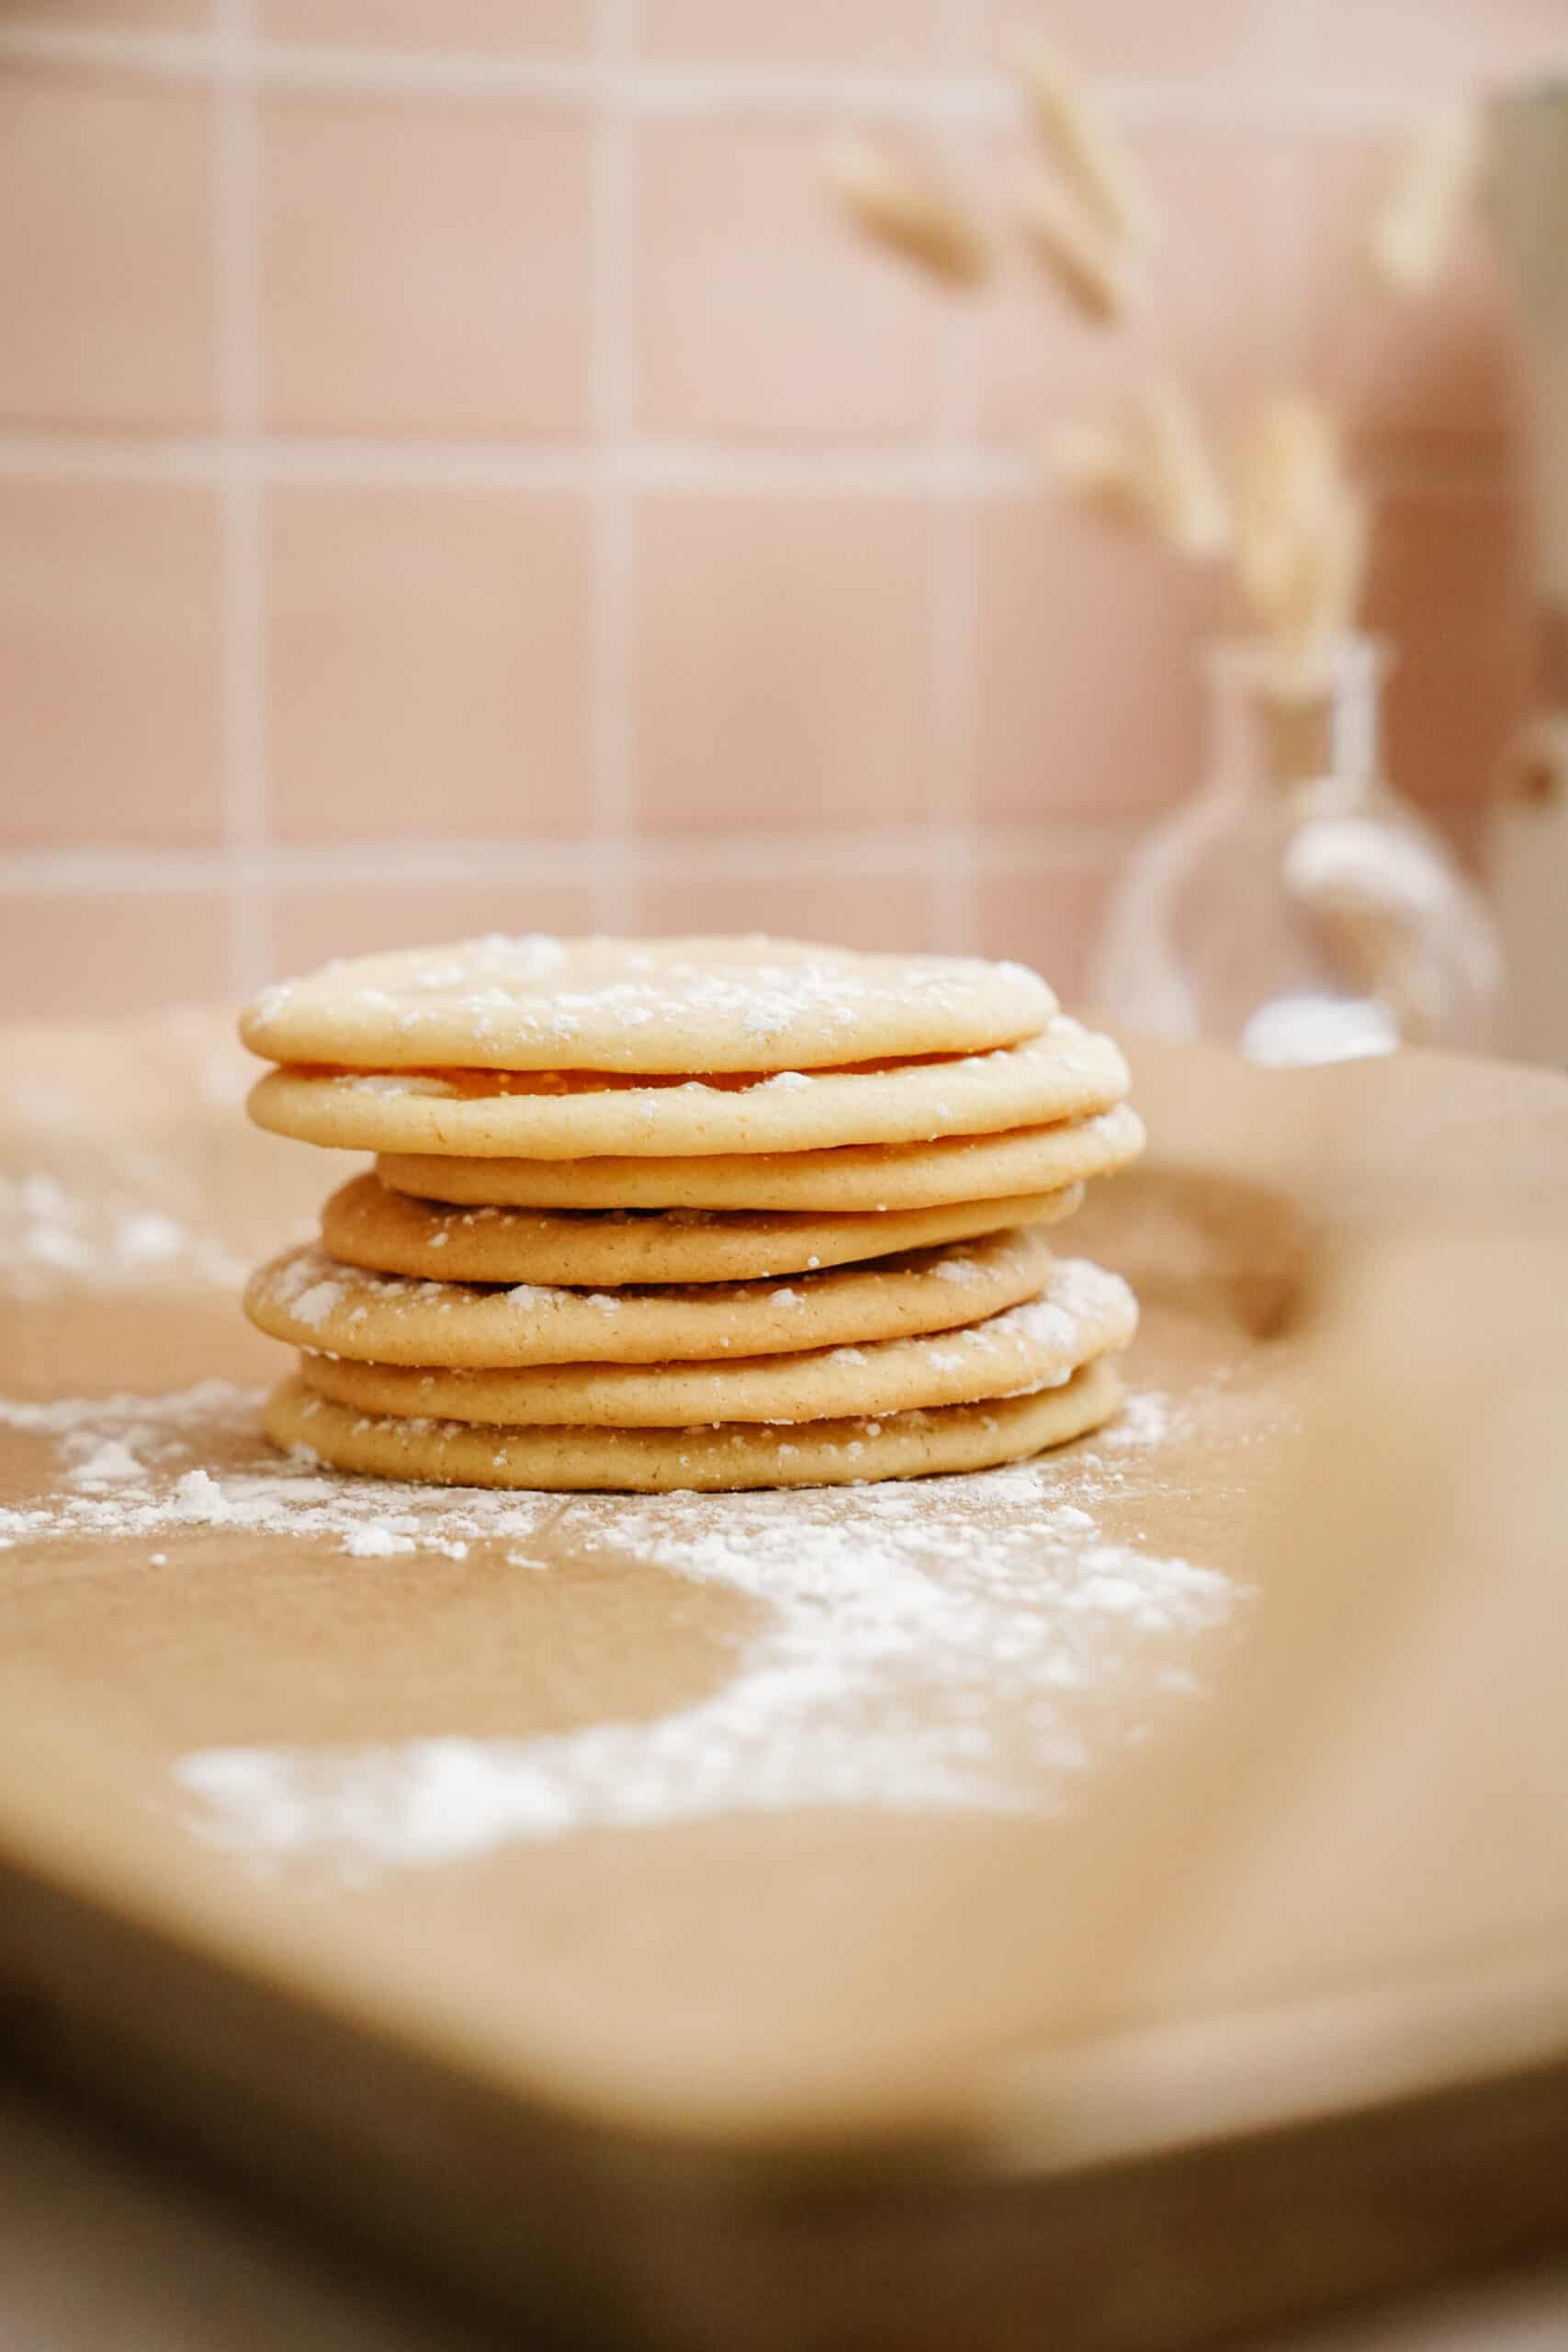
Holiday Sugar Cookies
Prep
30 minutes
Cook
12 minutes
Yield
24
These easy holiday sugar cookies are seriously the best. There is nothing better than a simple, nostalgic sugar cookie. Am I right? These cookies will be a staple in your holiday baking and can be personalized by adding in your own special ingredients, topping with icing, or eating them on their own.
Why you’ll love these holiday sugar cookies:
- Easy: This recipe is easy. You can prep these in 30-minuets and have them ready in under an hour
- Nostalgic: Didn’t we all grow up eating sugar cookies around the holiday season? These cookies will throw you right back to a simpler time
- Kid-Friendly: Get your kids involved to decorate these with icing, sprinkles, or whatever they want
Ingredient Notes:
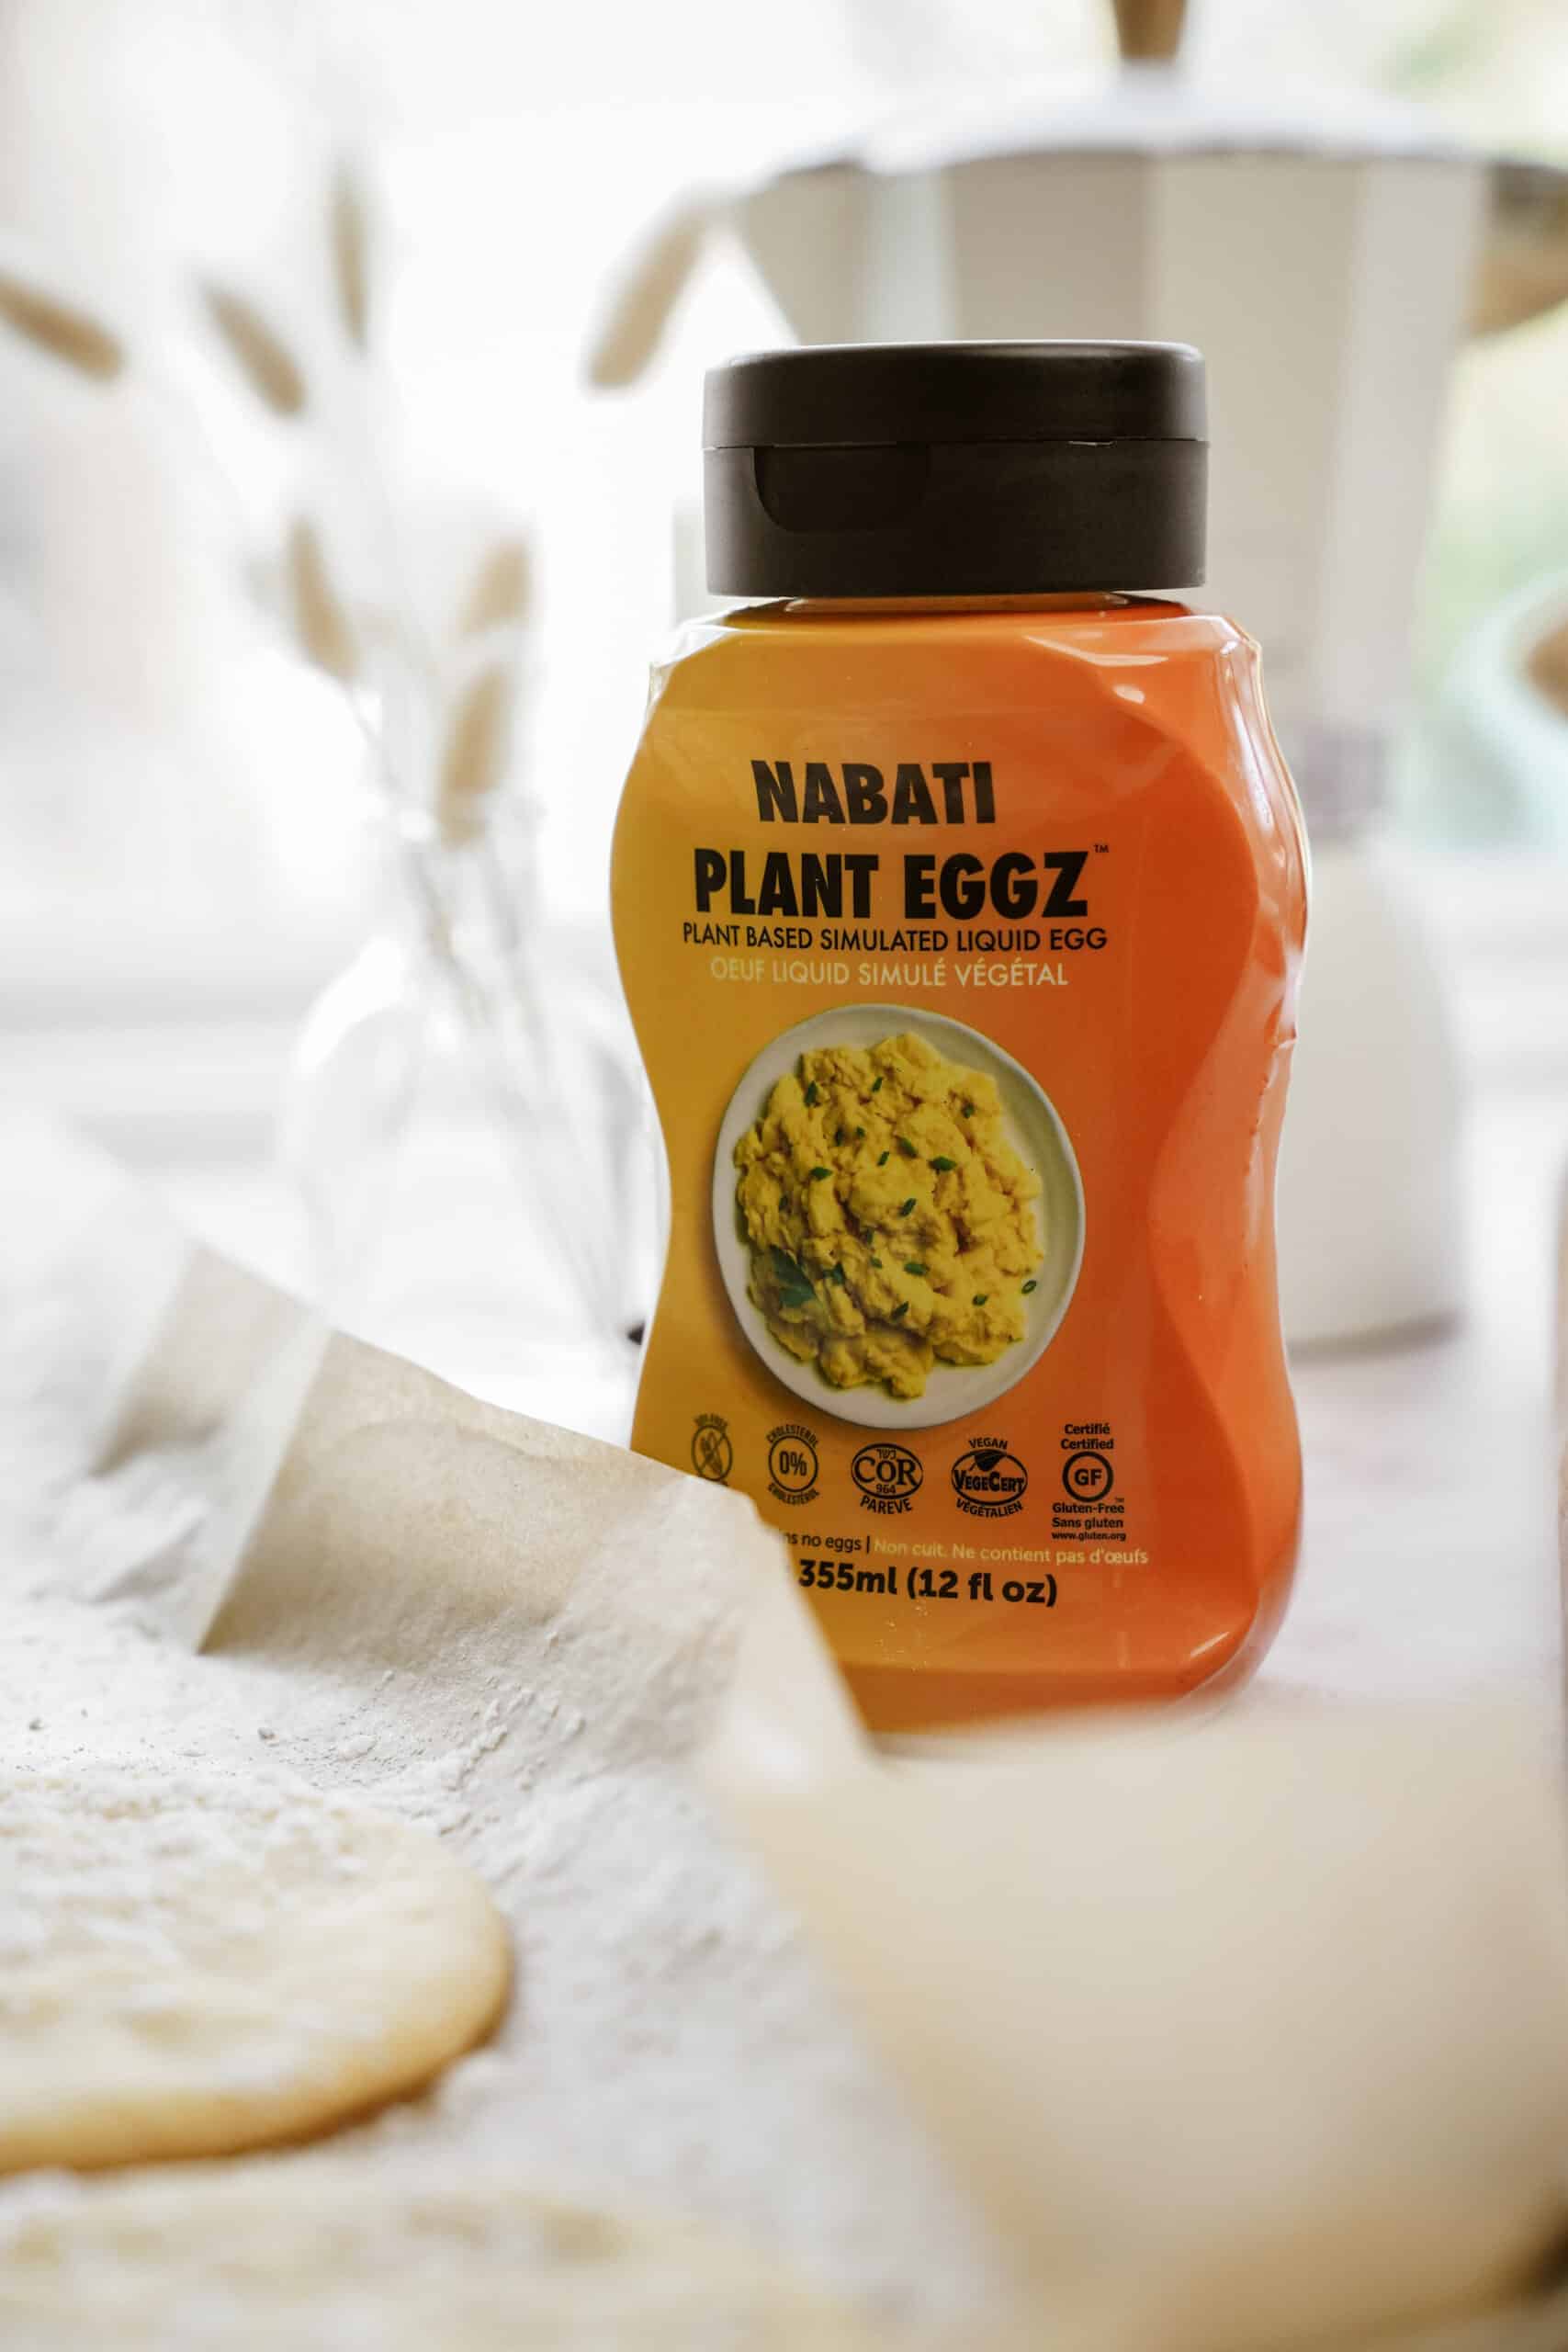
Nabati Plant Eggz: Nabati Plant Eggz are such a great vegan egg substitute because making flax eggs can be confusing when substituting in recipes and annoying. These eggz are made primarily from lupins, which are a type of legume that gives you that great egg consistency.
Vanilla: There is nothing I could emphasize more than the importance of using a good quality, pure vanilla in your baking. You CAN taste the difference between the real thing and the cheap stuff. Look for high-quality vanilla vs. the artificially flavored stuff.
How to make holiday sugar cookies:
- Preheat the oven to 325F, and line 2 baking trays with parchment paper.
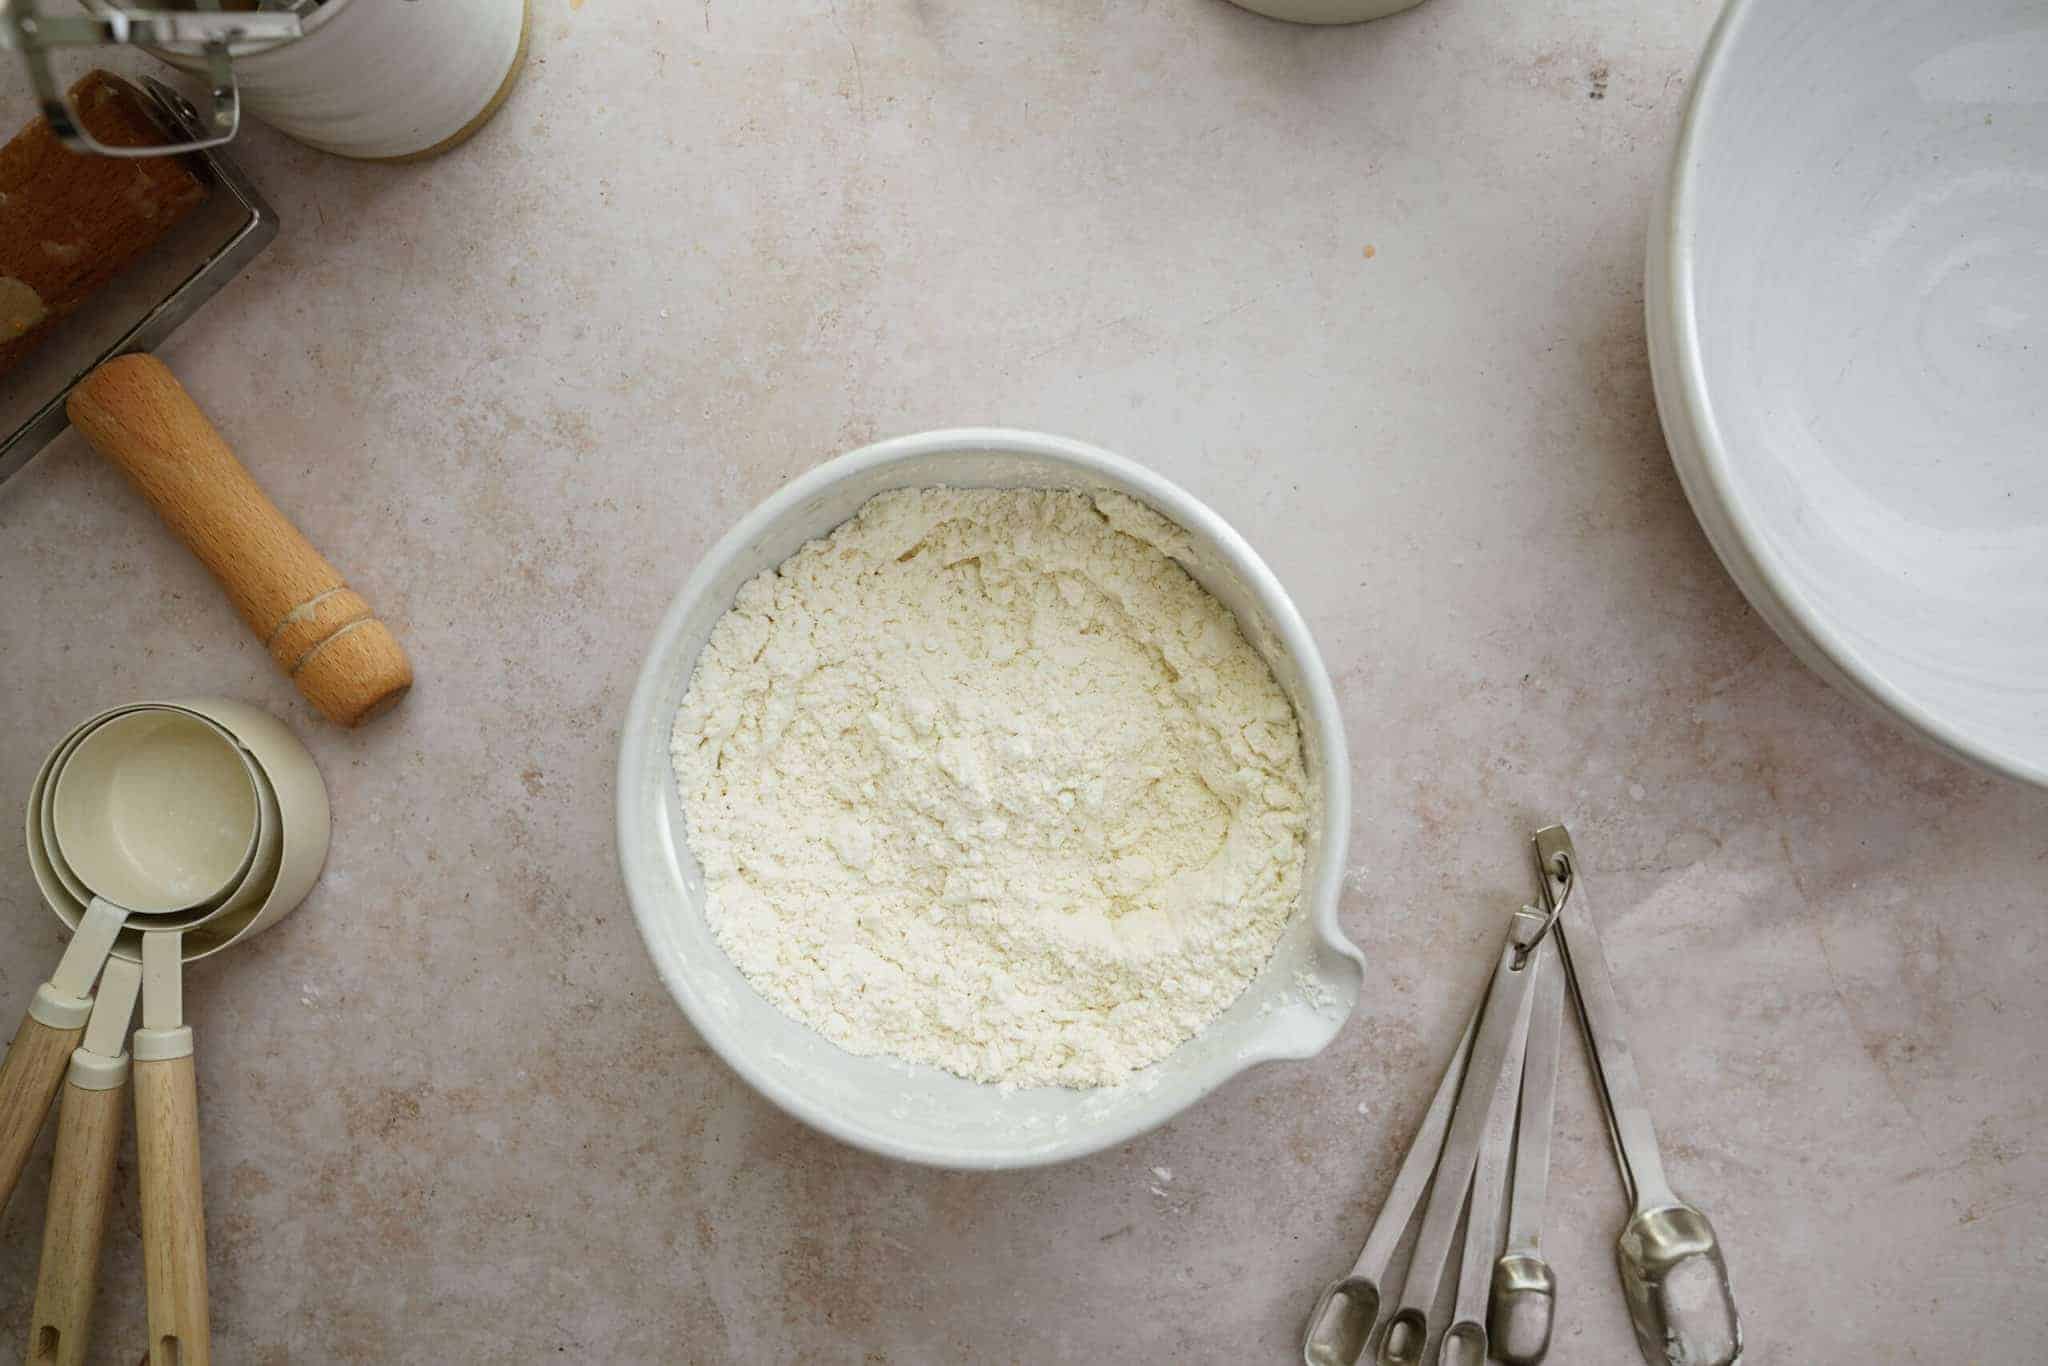
- In a medium-sized bowl, combine flour, baking powder, baking soda, and salt. Set aside.
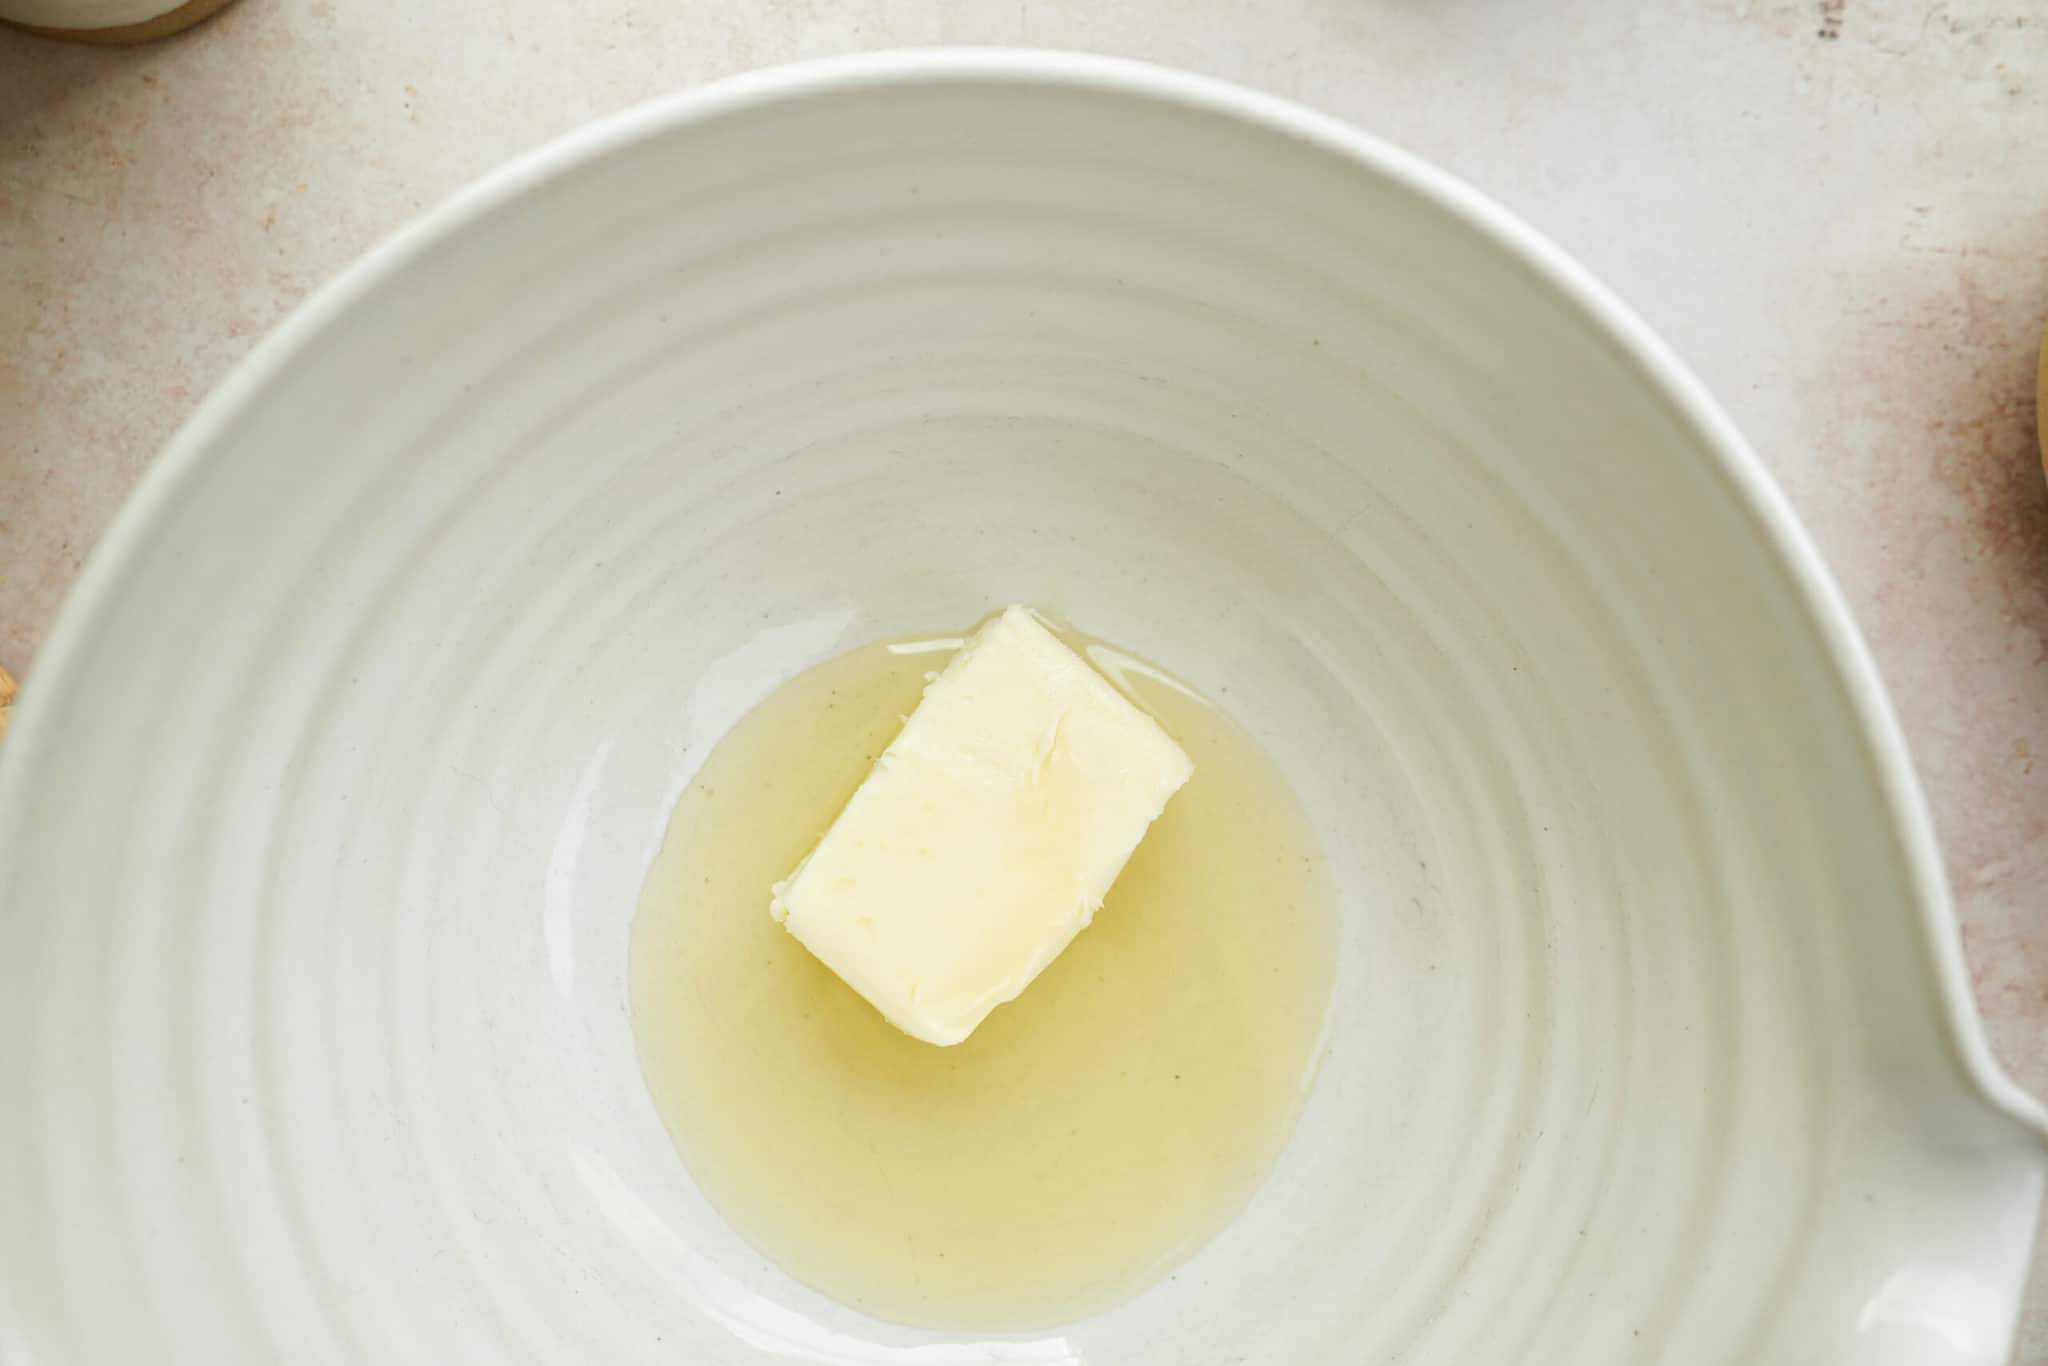
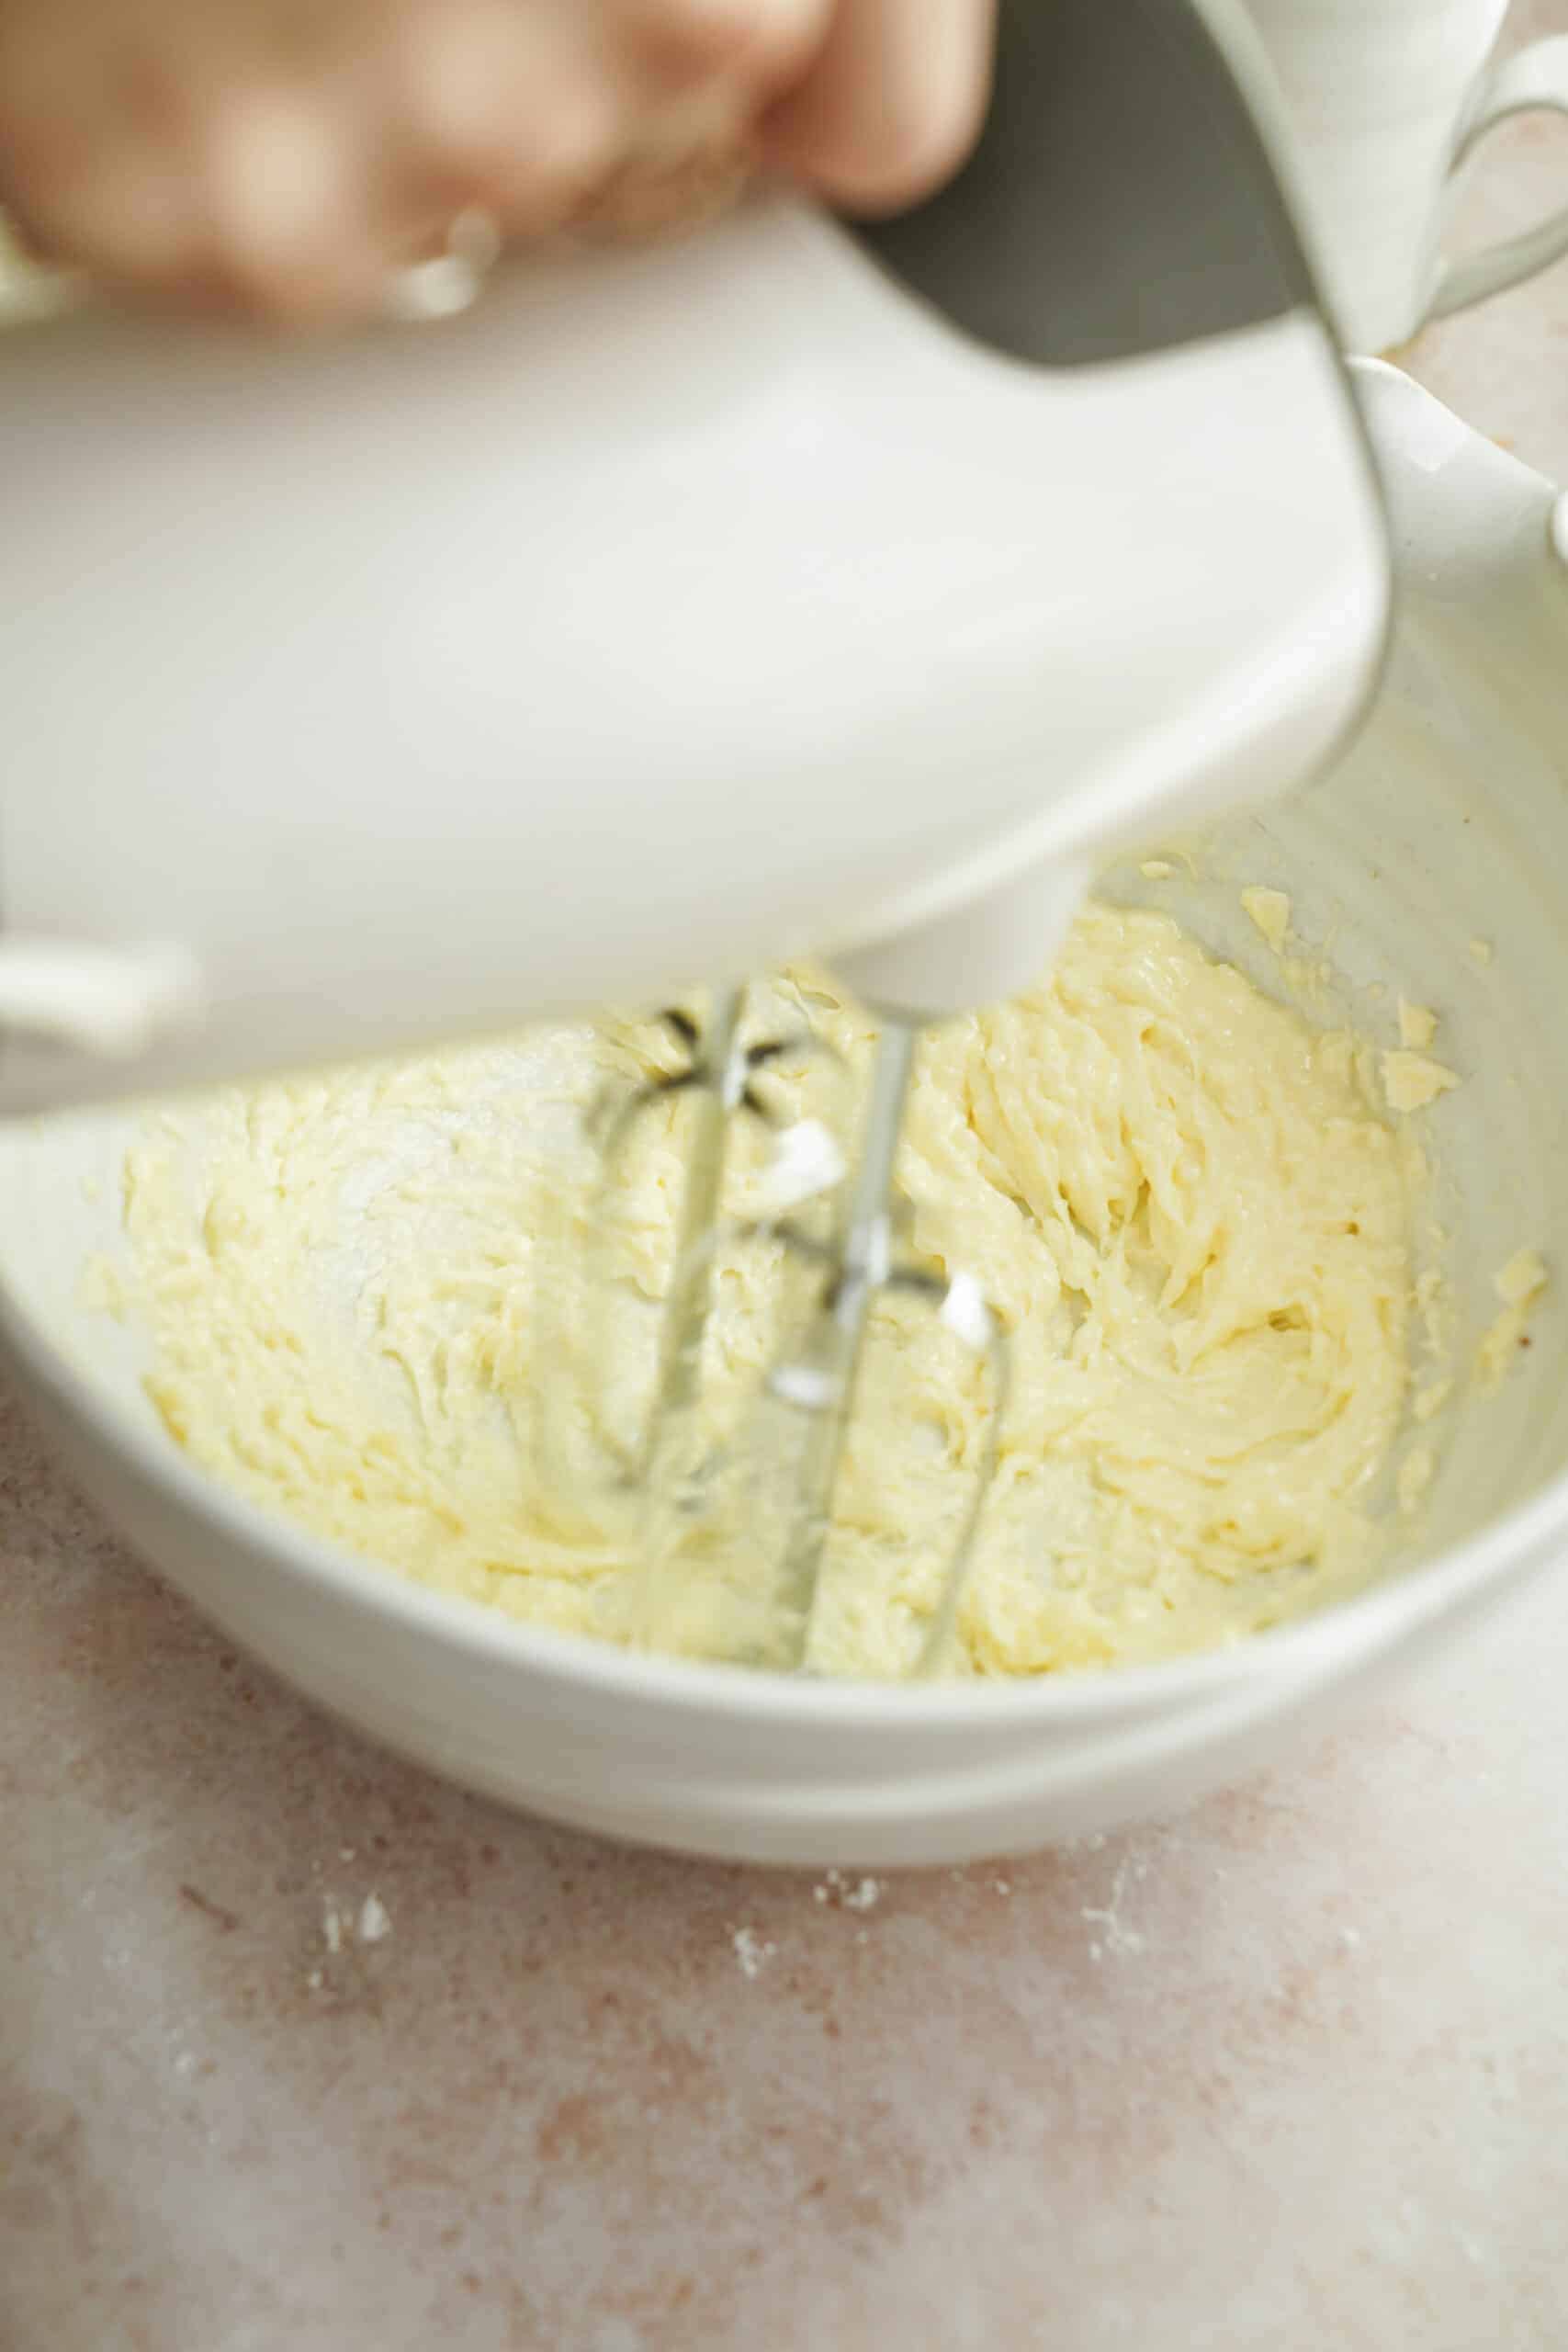
- In a large bowl, combine butter and oil, with a hand mixer for 2 minutes until thoroughly combined.
- Add the granulated sugar slowly, with a hand mixer on medium/high speed until light and pale in colour.
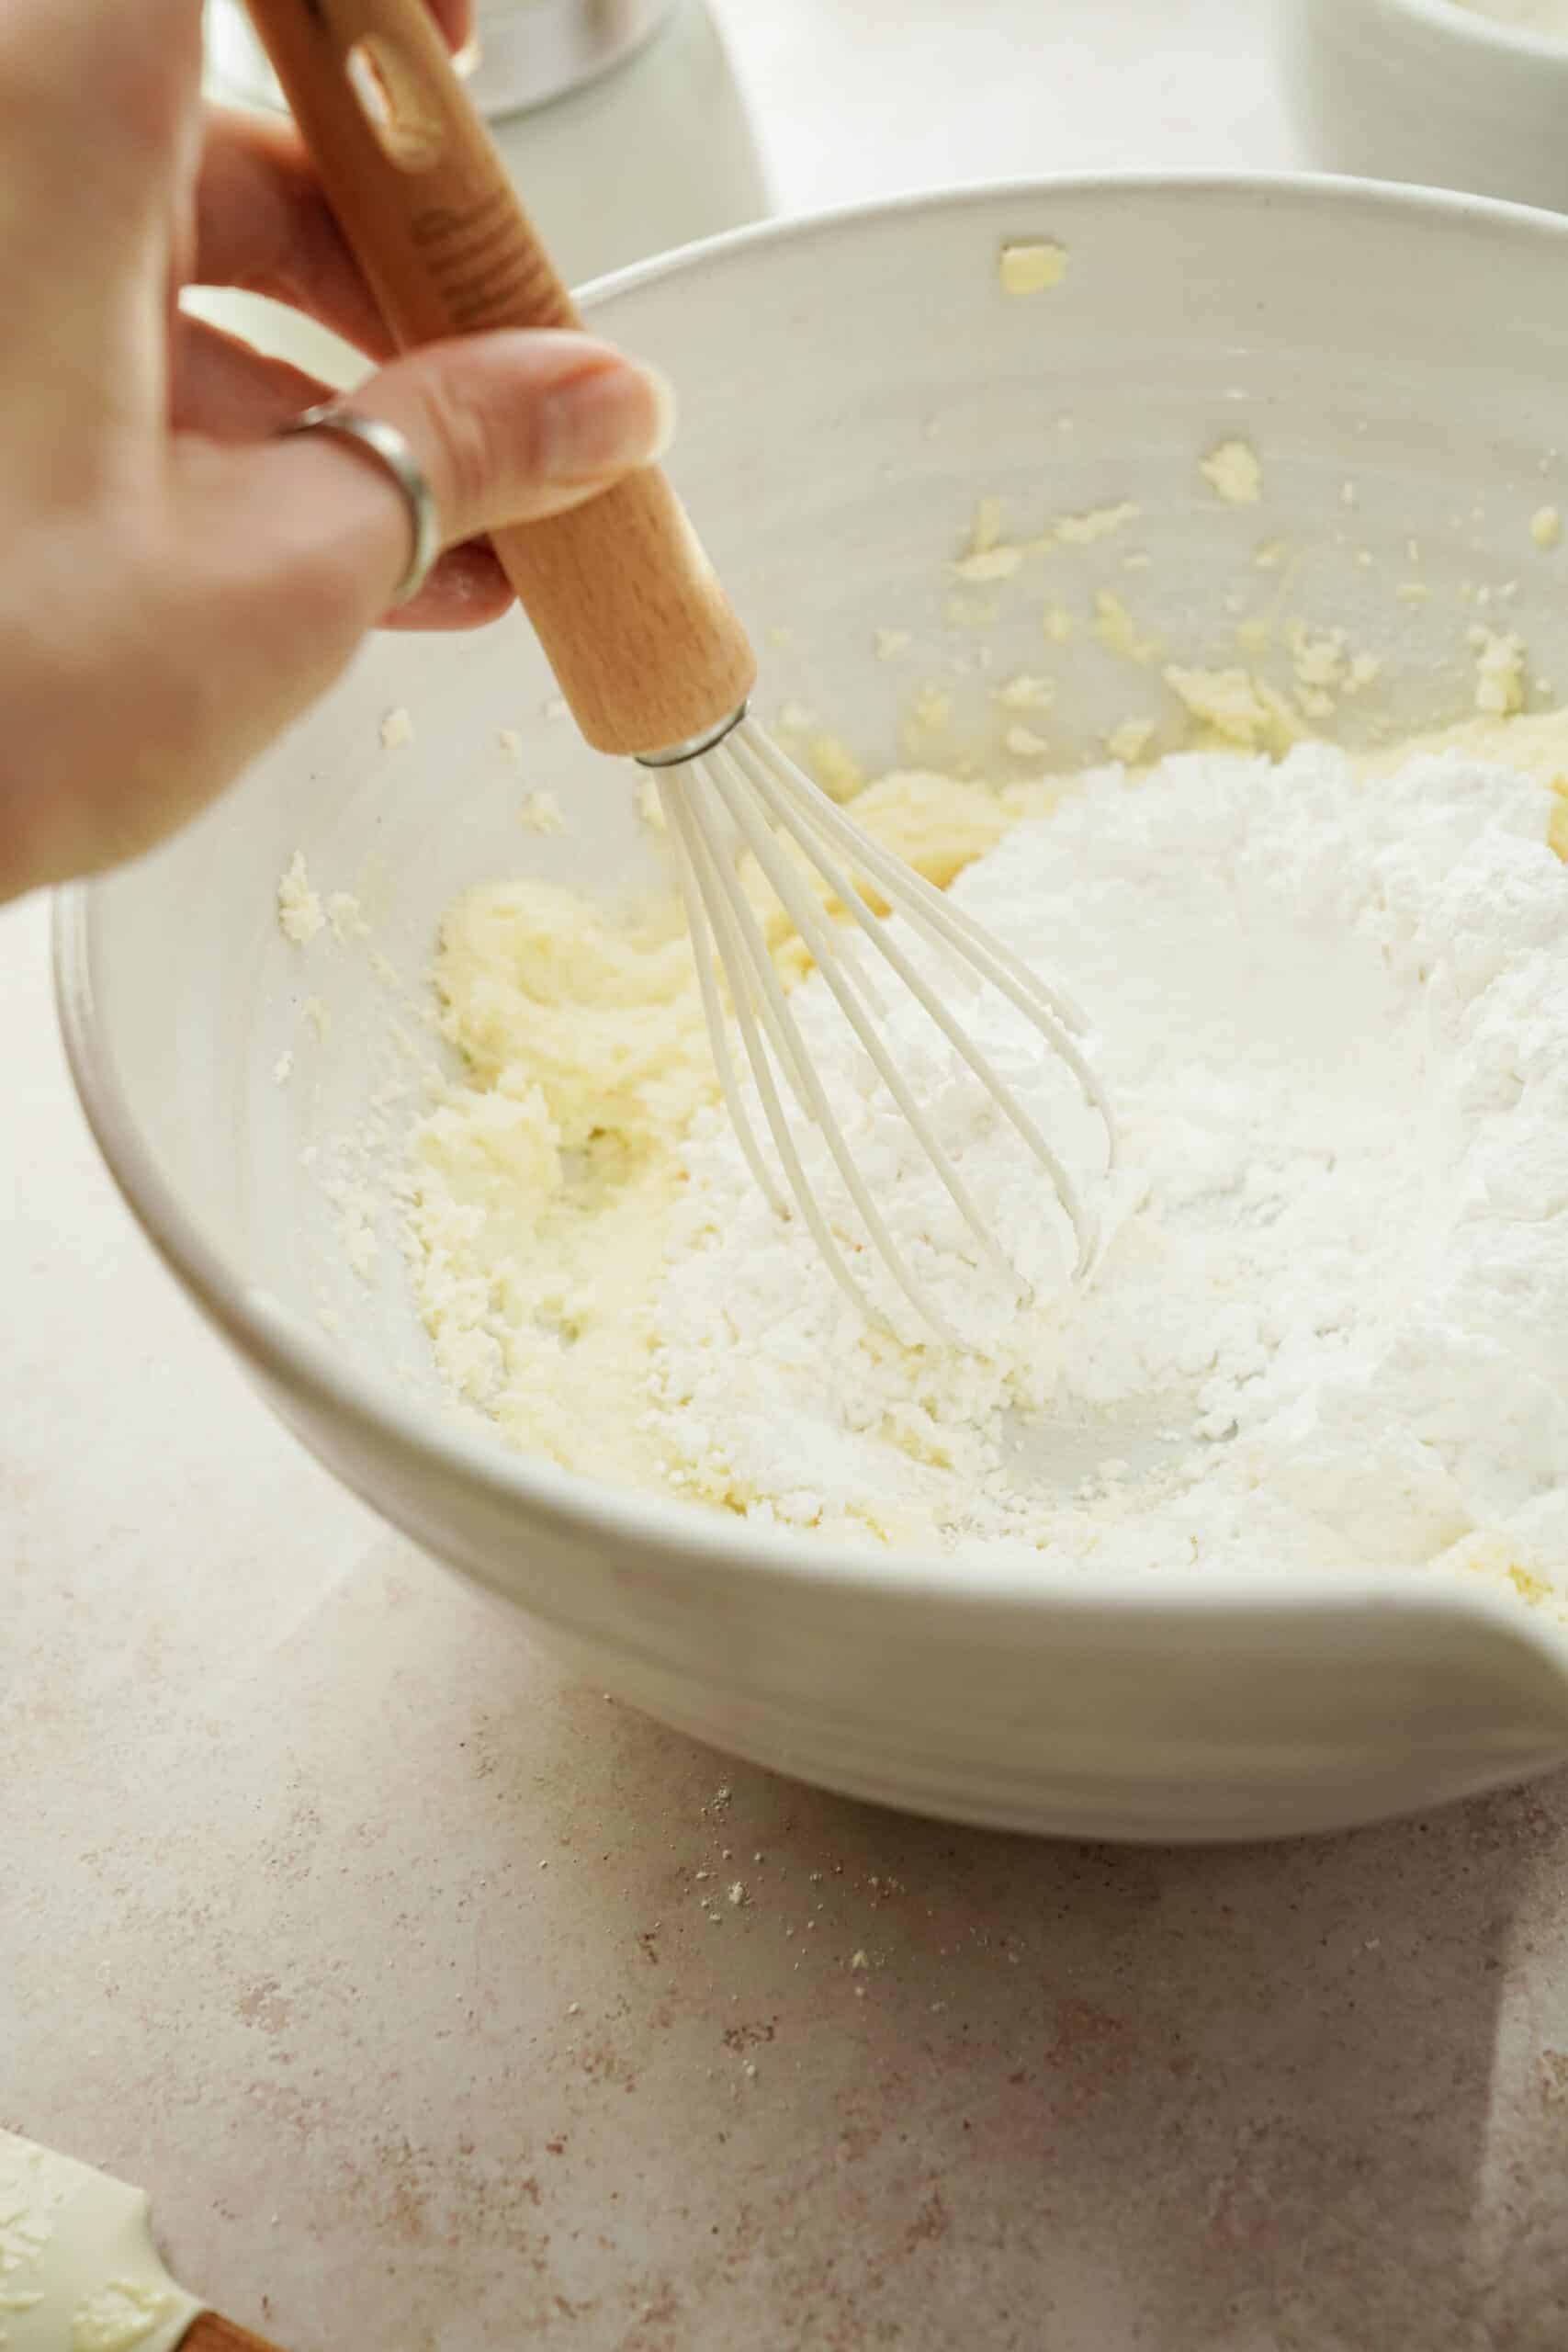
- Next, add the icing sugar and whisk until combined and light.
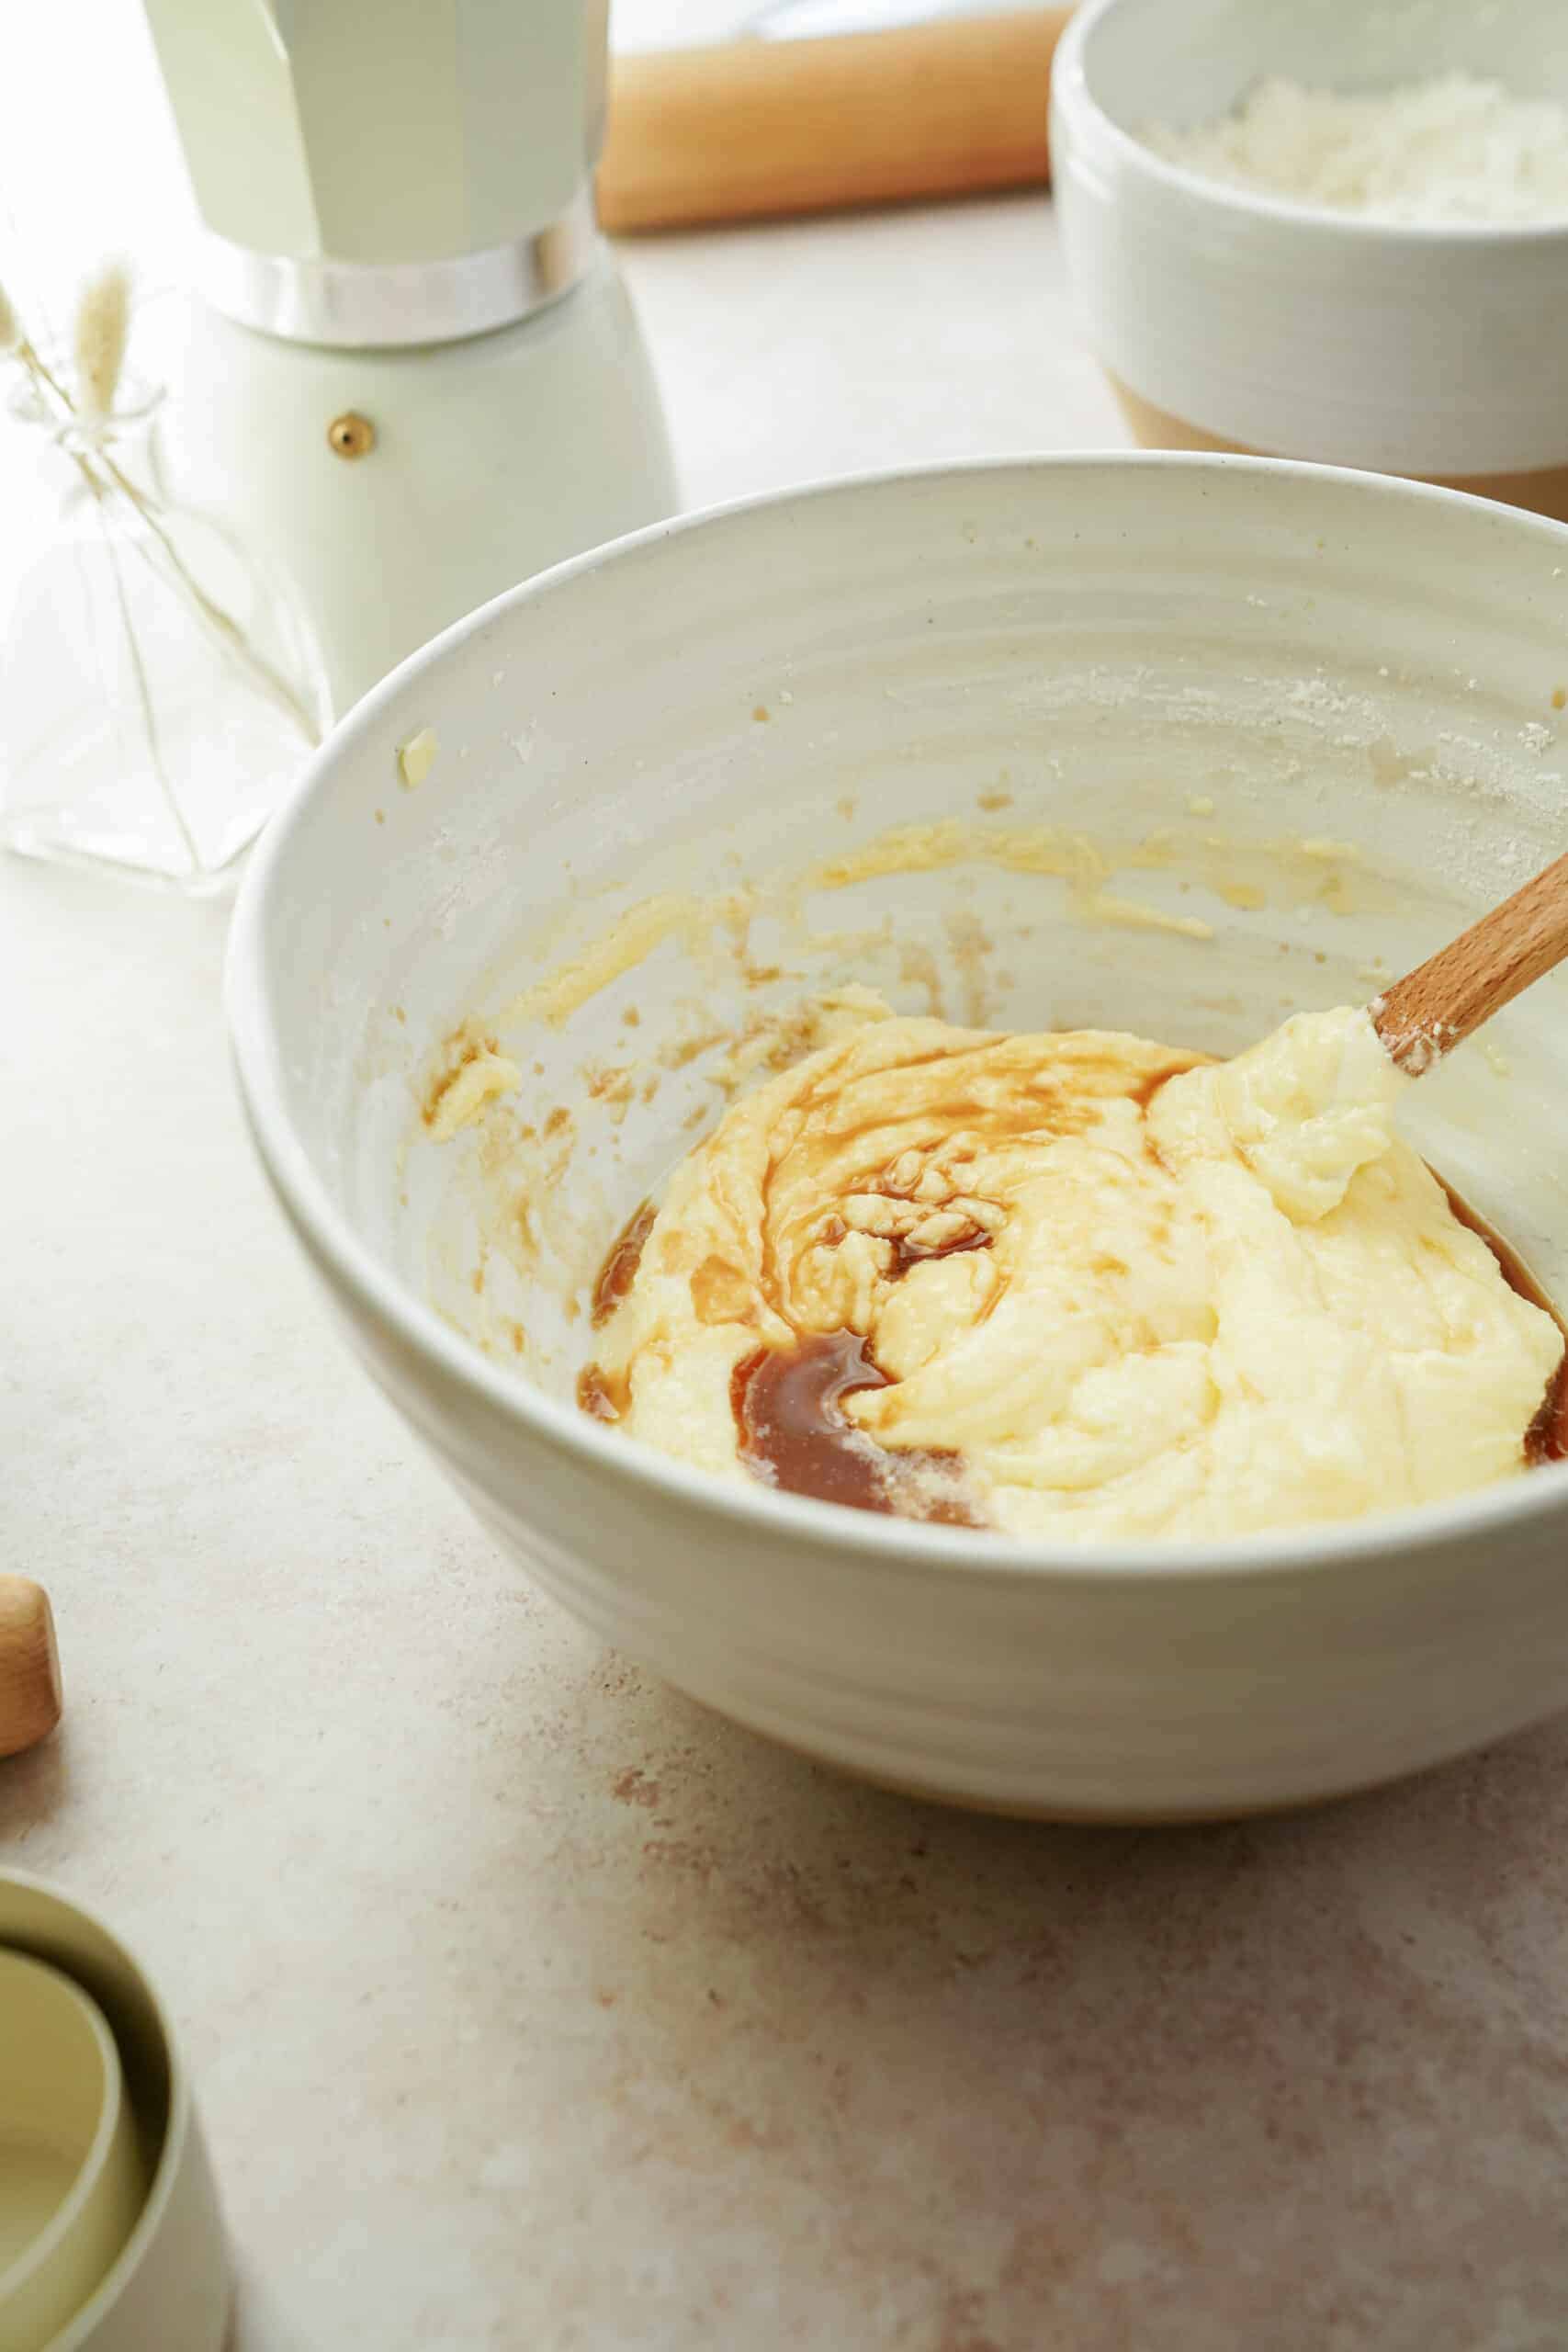
- Slowly mix in the Nabati Eggz, vanilla, and plant milk, and beat until combined.
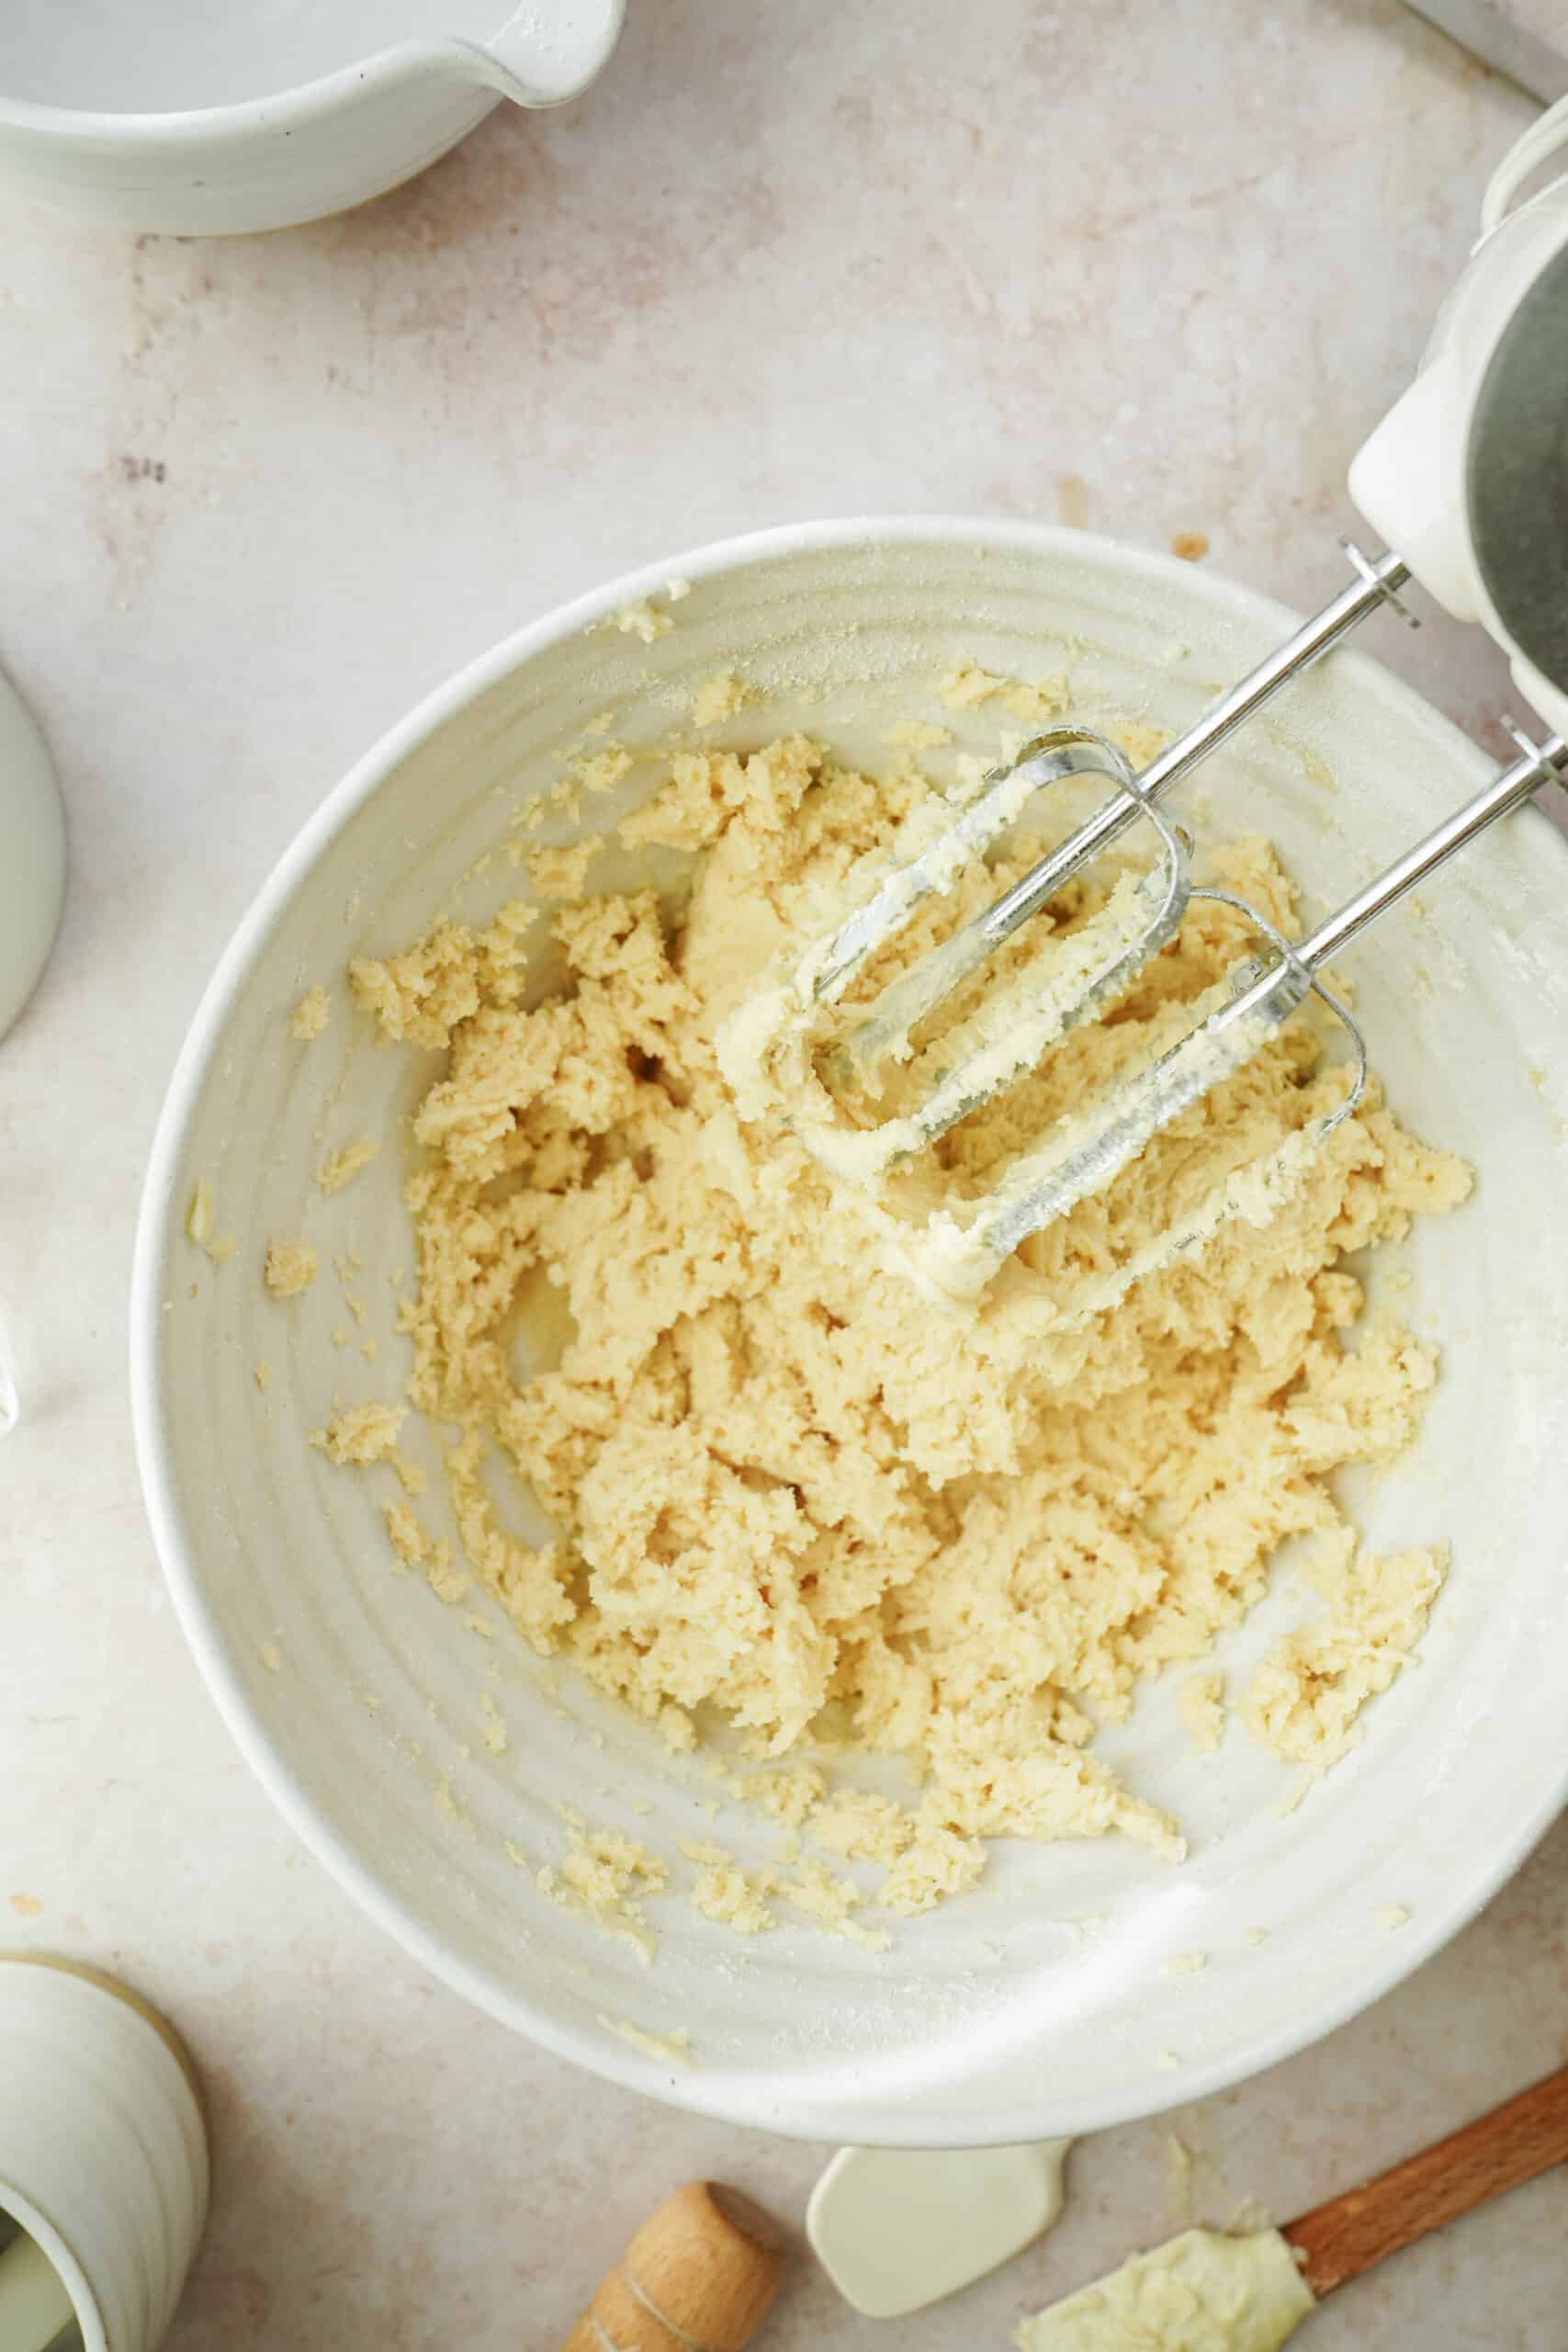
Add the flour mixture and beat until no streaks or flour clumps remain, creating a smooth and uniform dough. Do not overmix.
Cover the bowl in plastic wrap and refrigerate for 30-45 minutes.
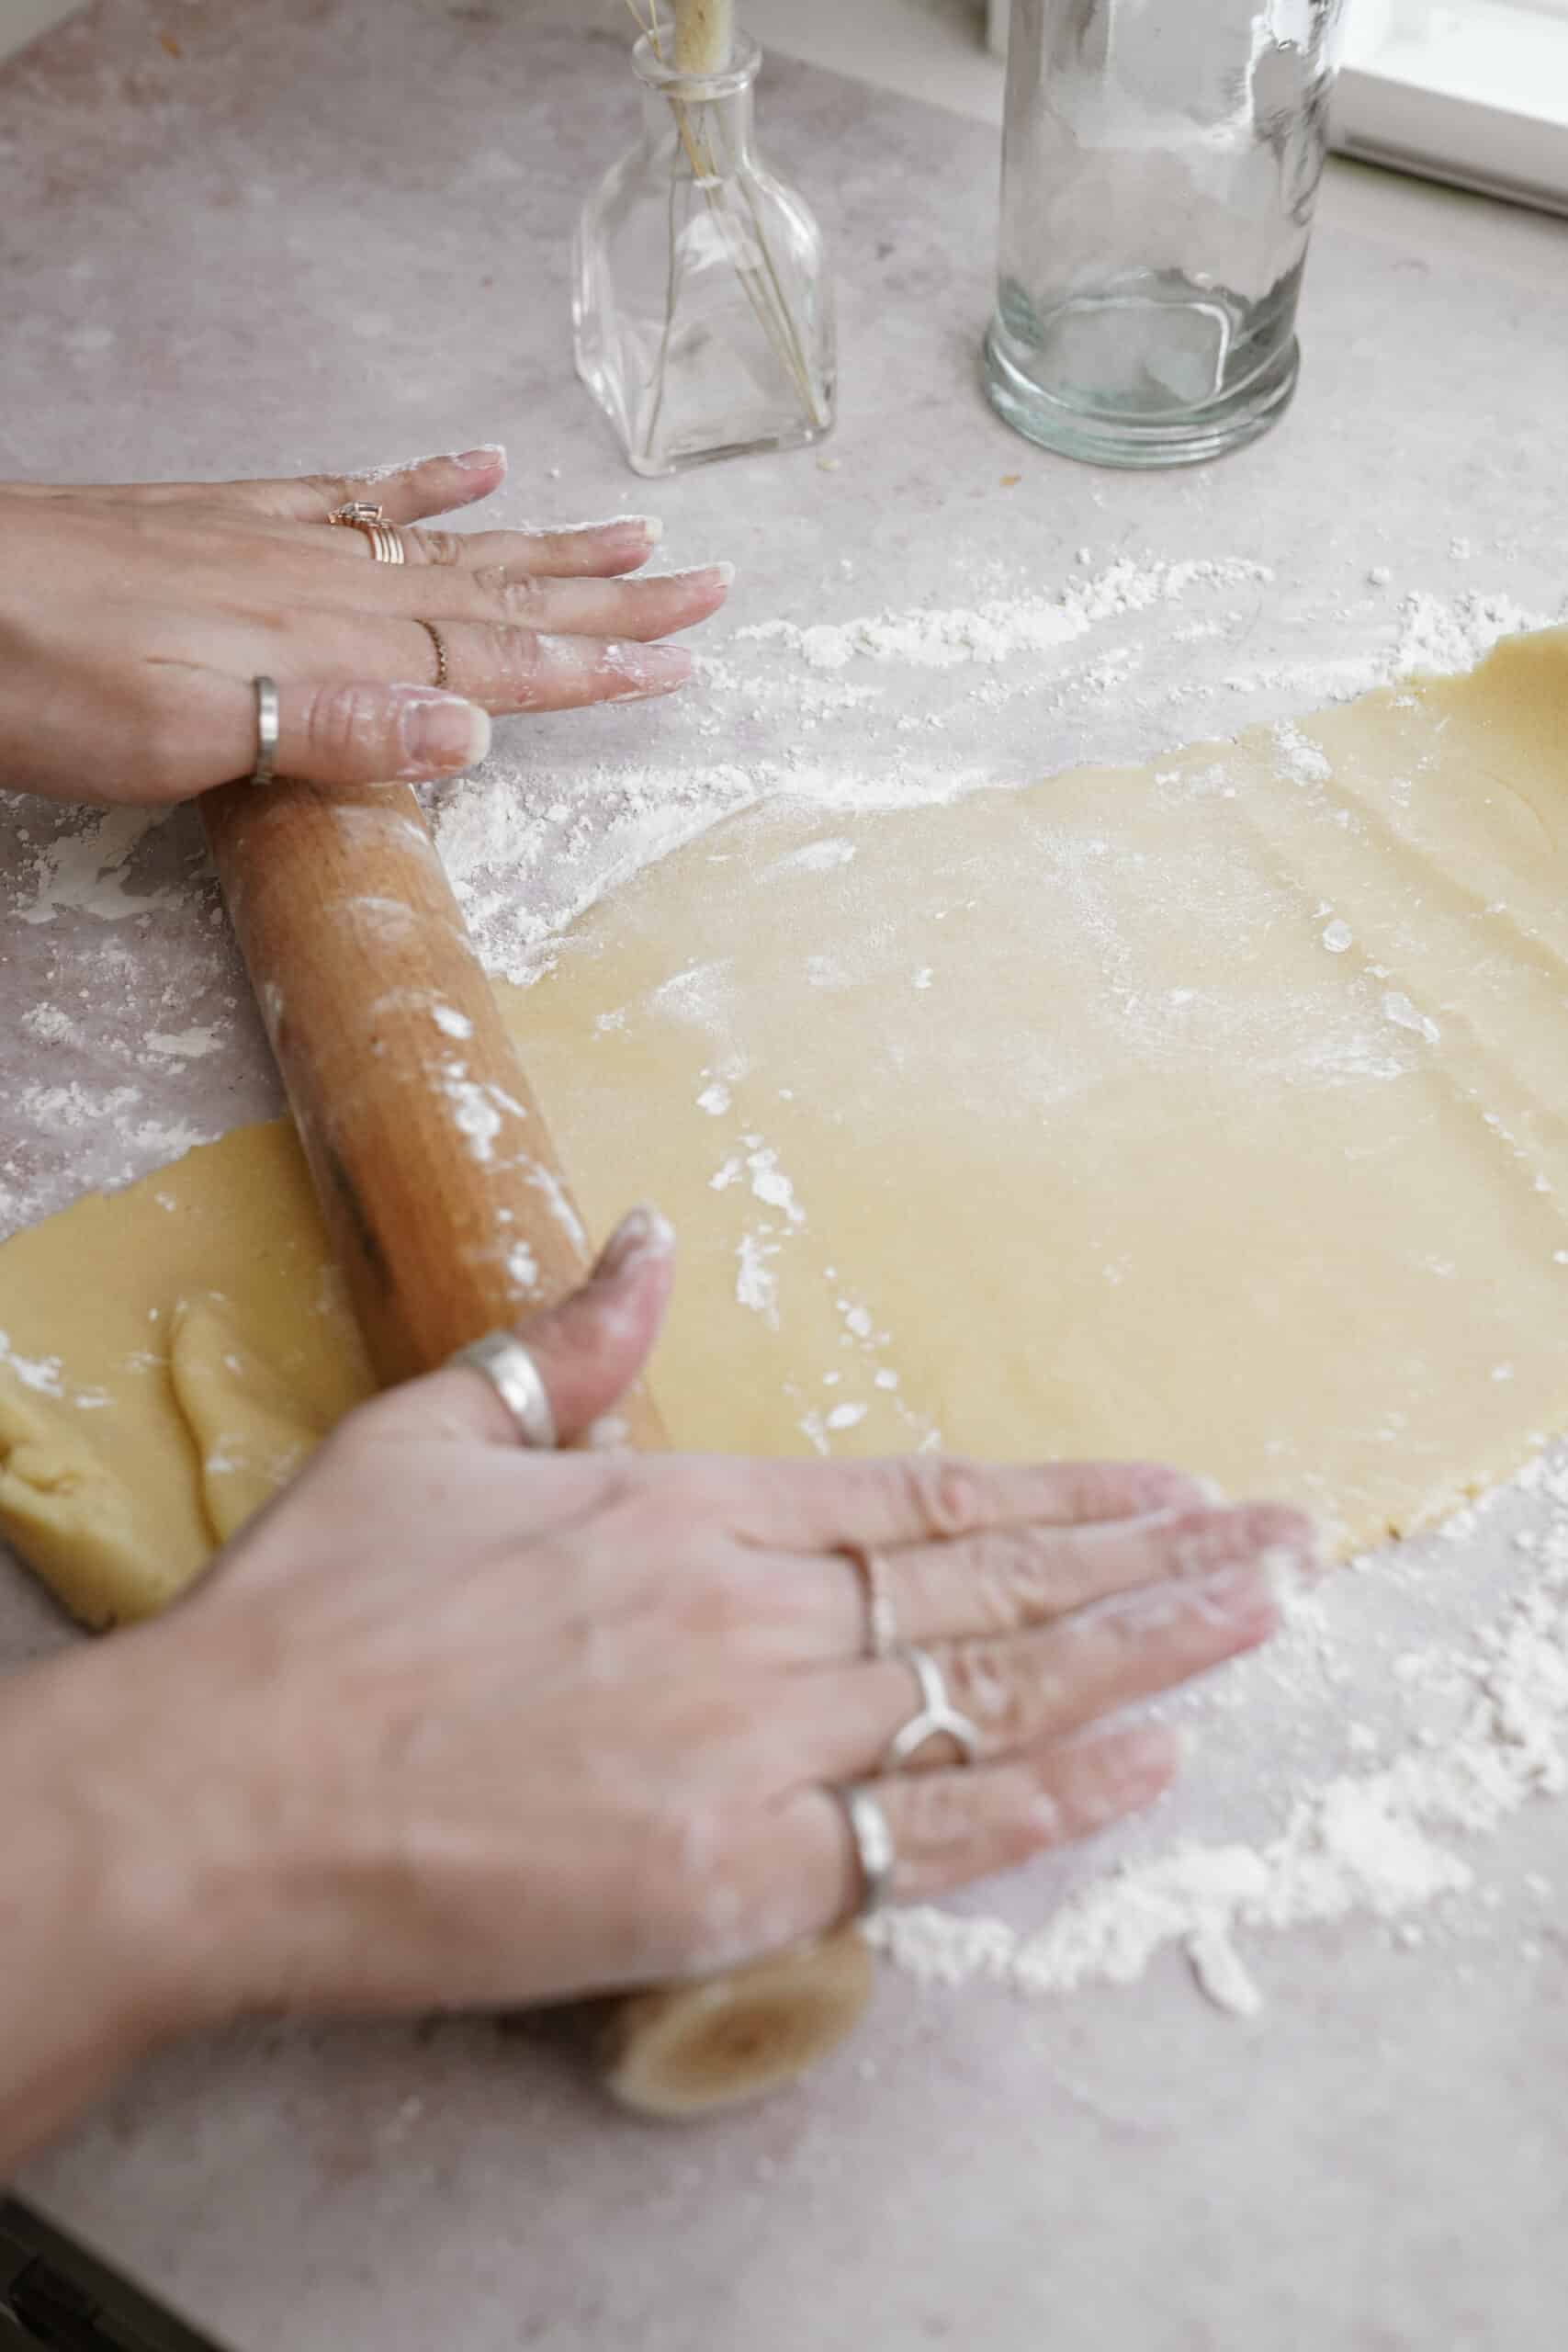
- Remove the cookie dough from the fridge and place it onto a gently floured surface, roll out to 1/8 – ¼ inch thickness.
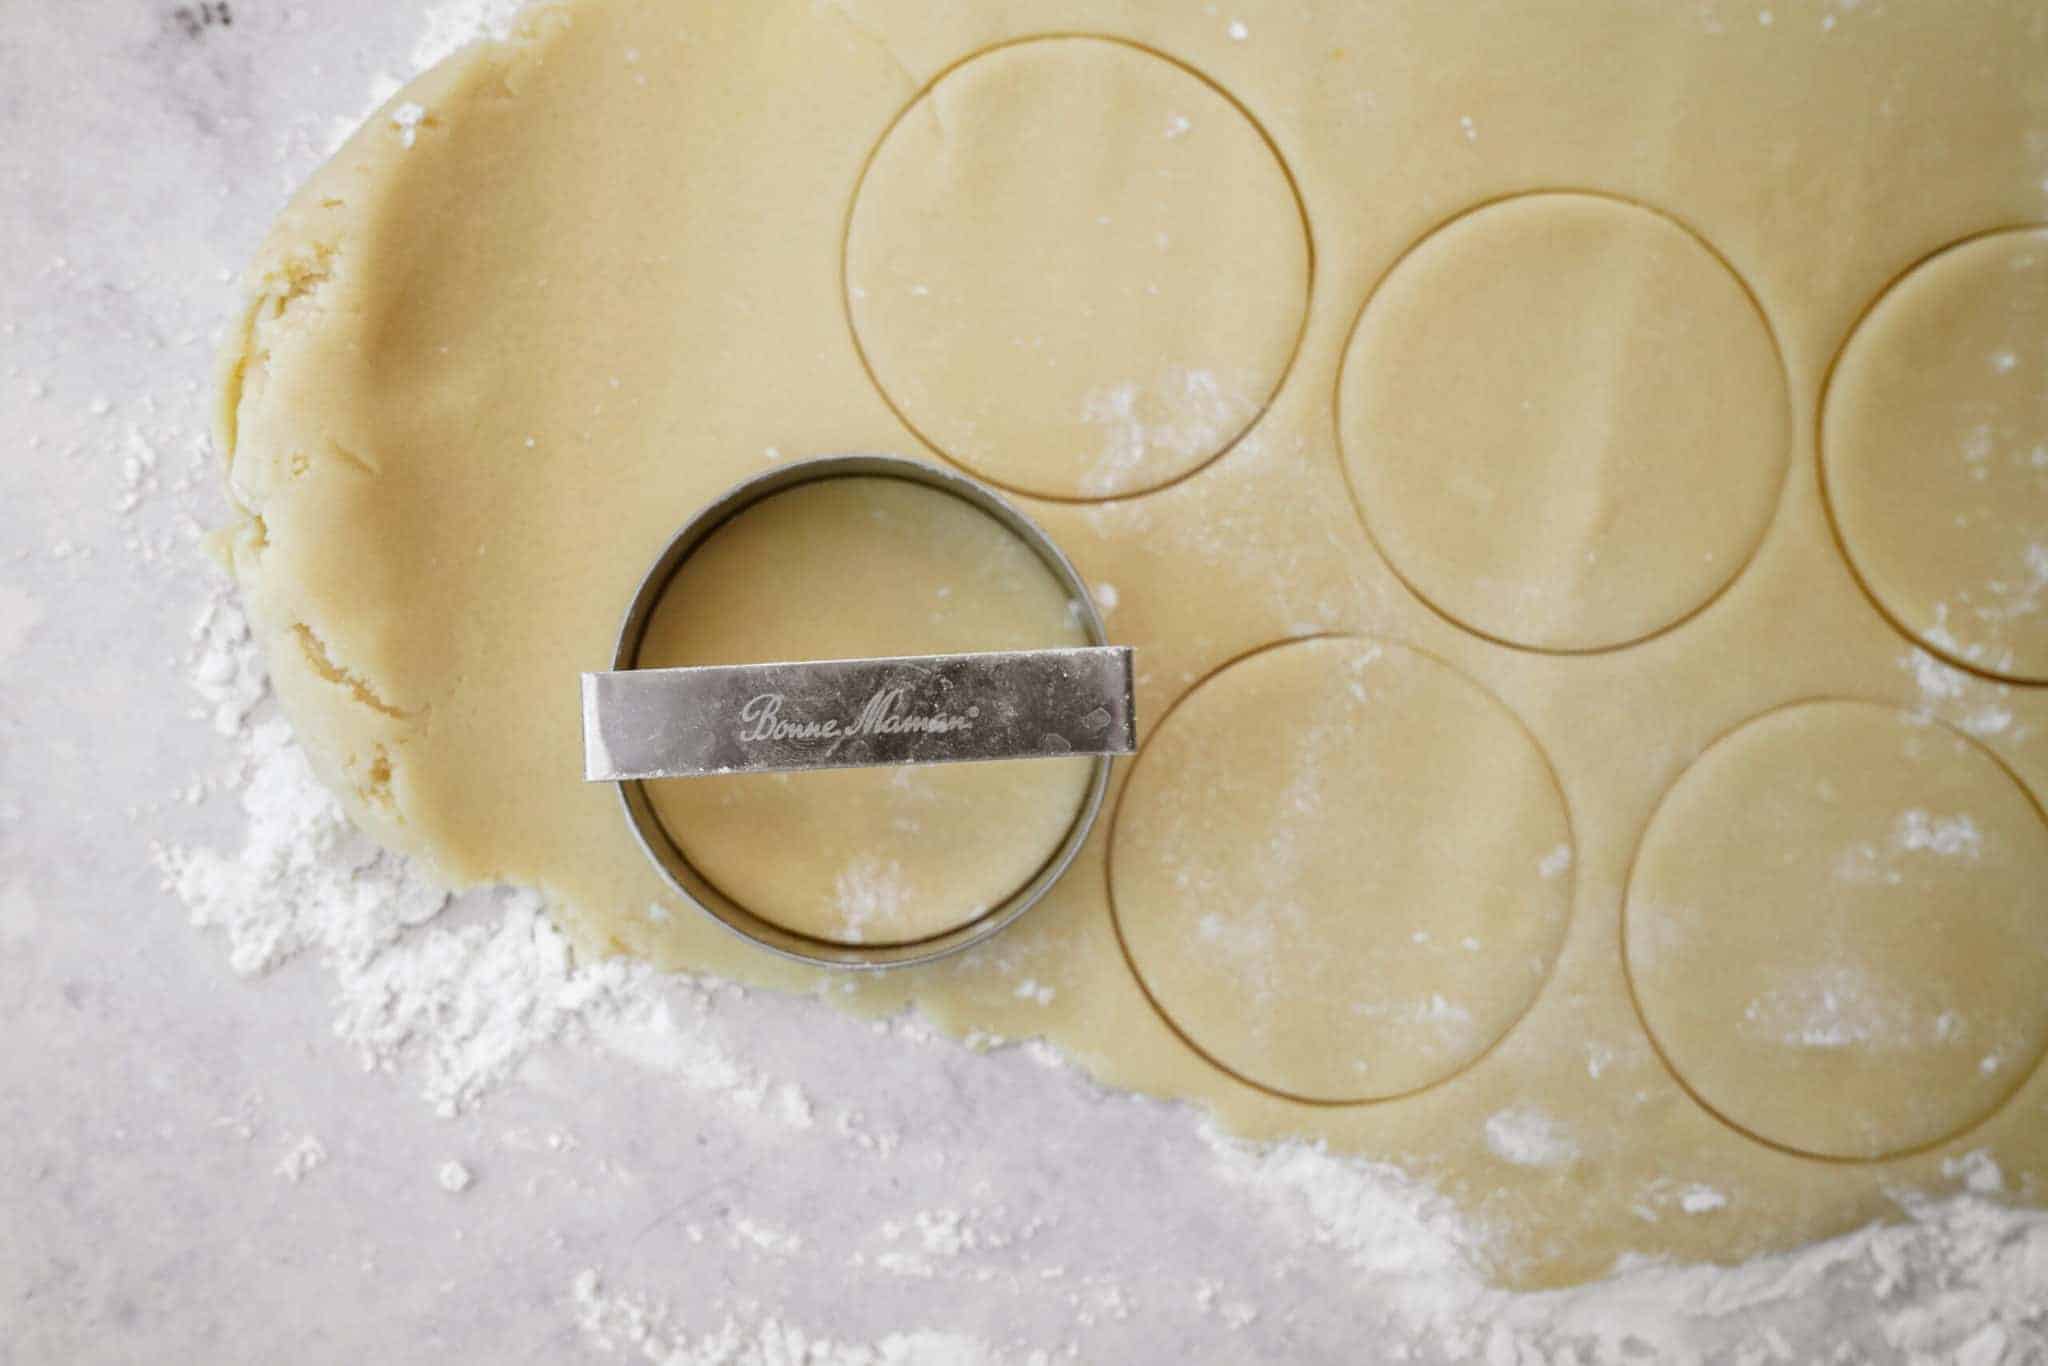
Use your favorite holiday cookie cutters to cut out your cookies and set them onto the baking trays. Continue these steps until you use all of the dough.
Refrigerate the cookies for about 20 – 30 minutes prior to baking (you may need to place another sheet of parchment paper onto your baking sheet to layer the cookies for refrigerating).
Space the cut-out cookies onto your baking sheets 2 inches apart from each other.
Evenly space the cookie dough 2-3 inches apart onto the baking trays.
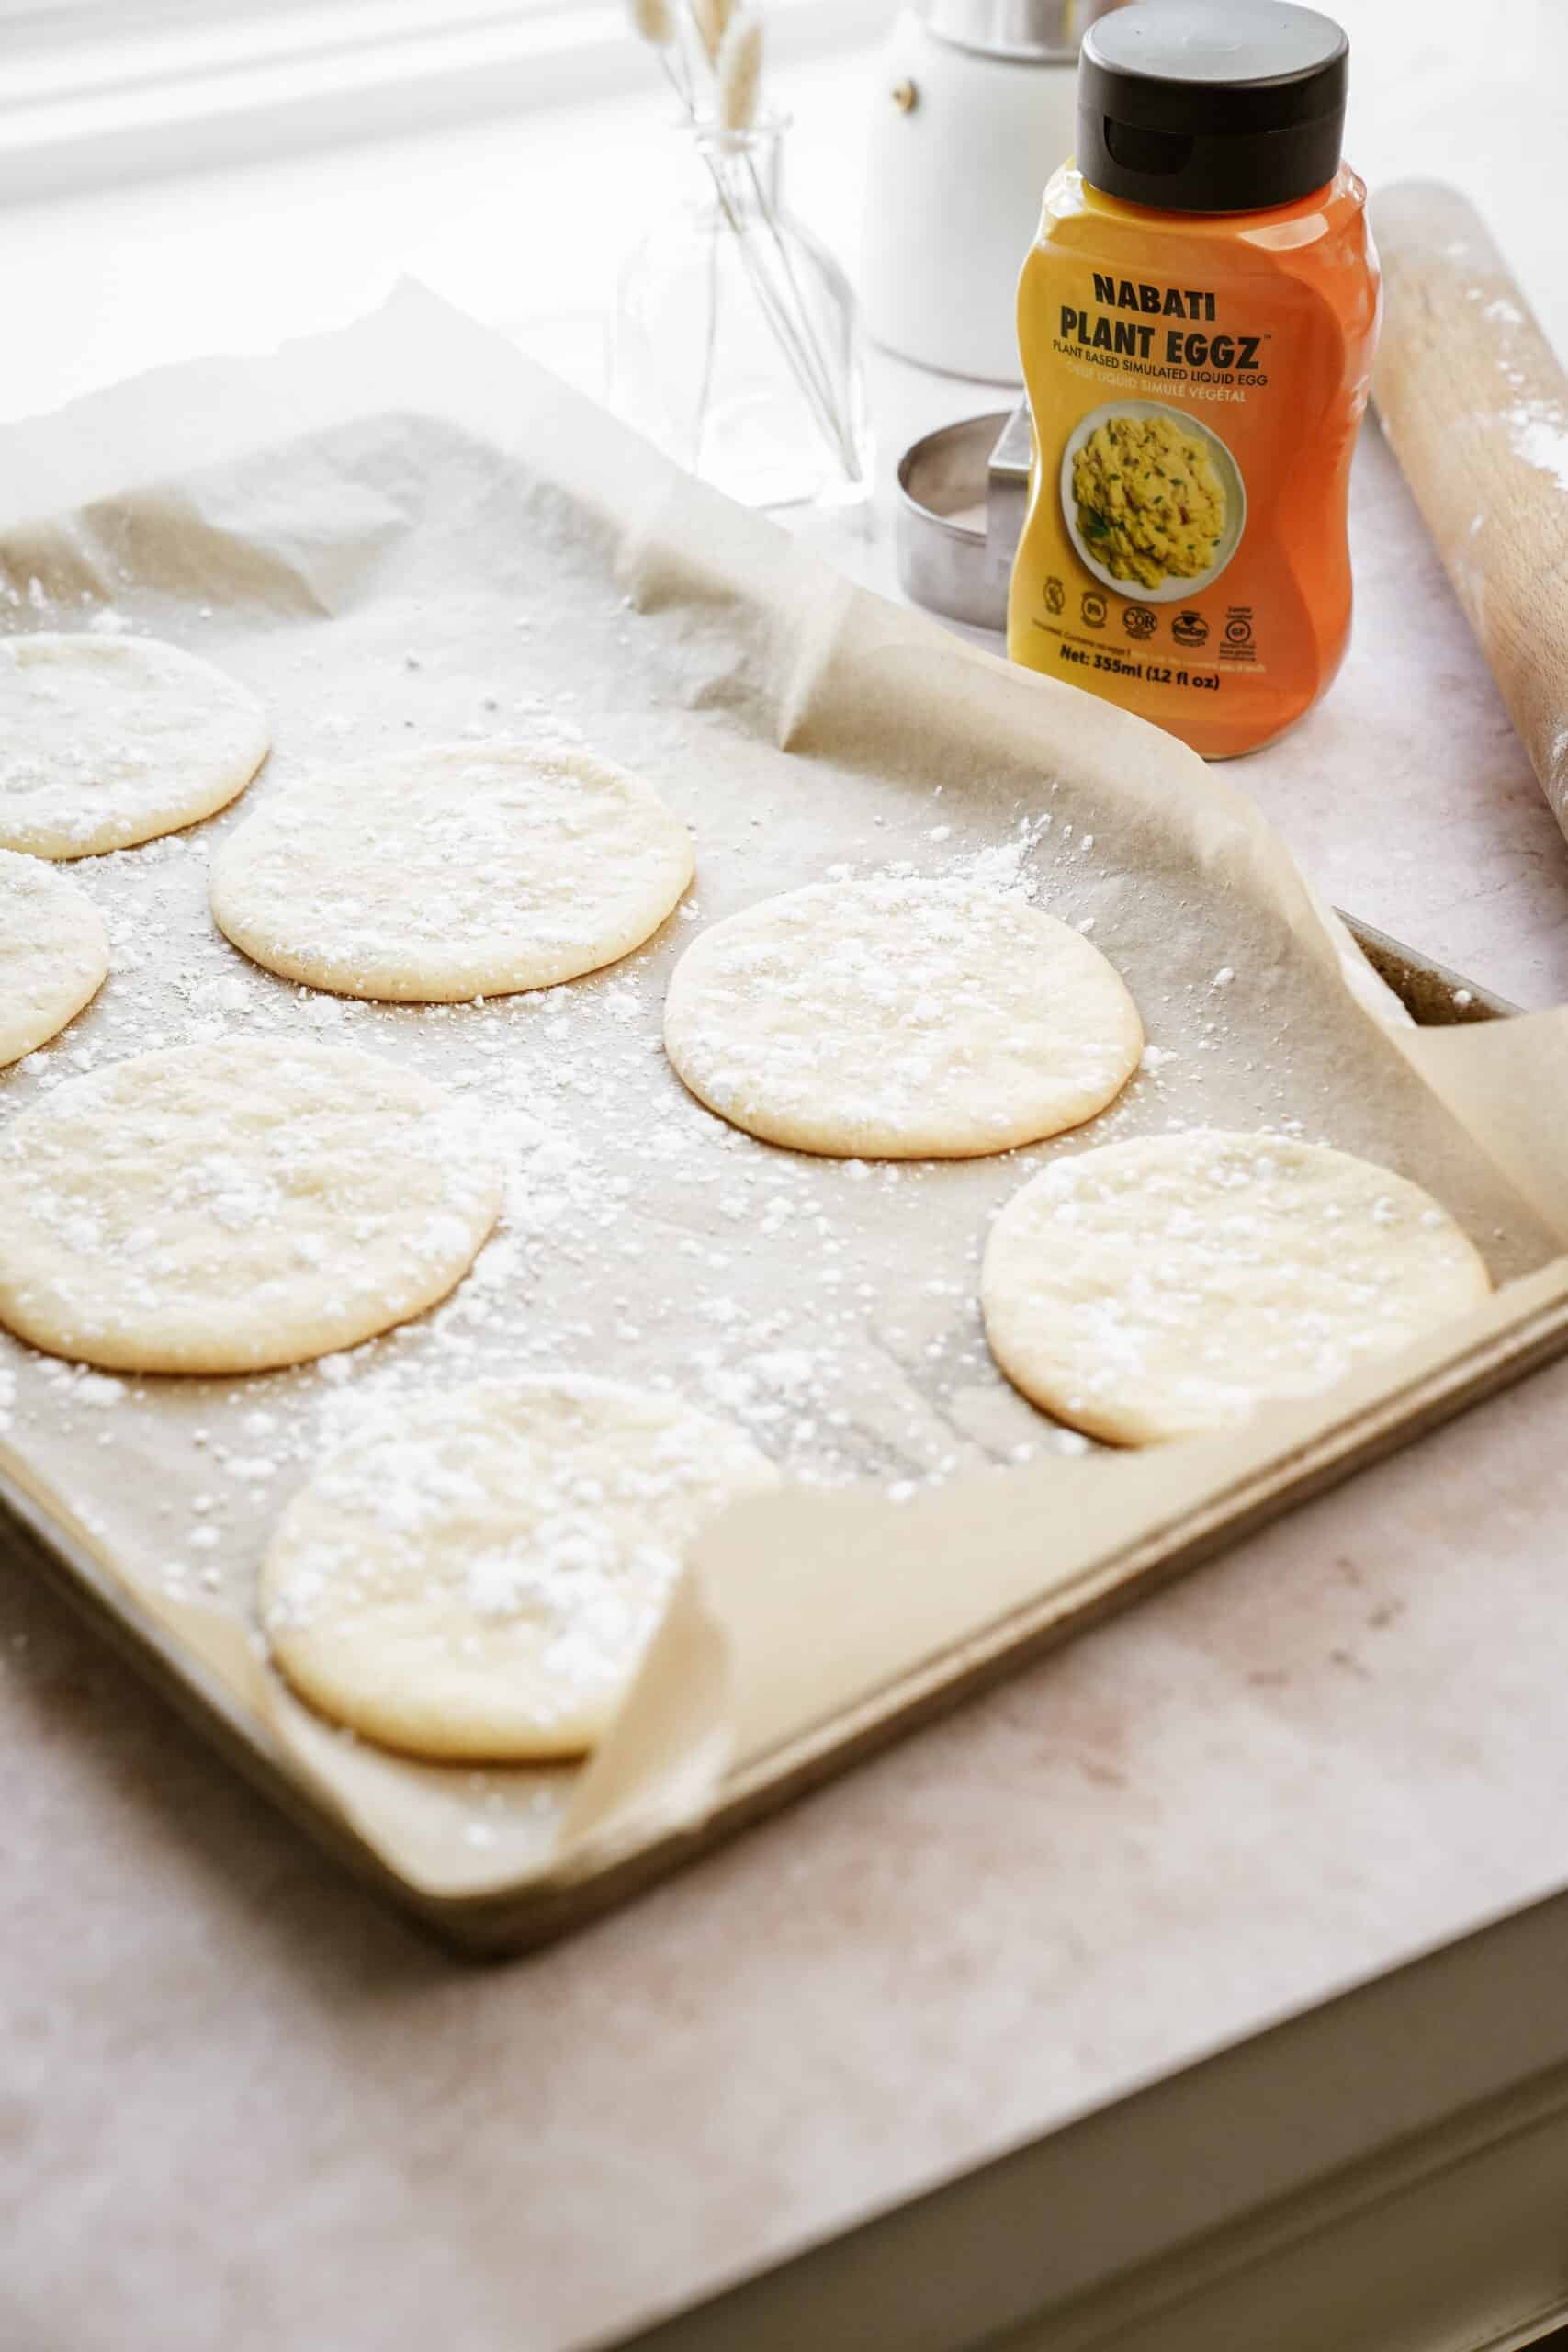
Bake for 12 – 13 minutes, until slightly golden on the edges.
Allow to cool on the baking trays for 5 minutes, then transfer to a wire rack.
While the cookies are baking, prepare your buttercream. Bring a pot, with a few inches of water, to a strong simmer.
In a medium-sized stainless steel or glass bowl, combine egg whites and granulated sugar. Whisk to combine. Set the bowl on top of the pot with simmering water. The bowl should remain higher than the water level. Continuously mix and heat the egg whites and granulated sugar, until the sugar has dissolved. This will occur at 120F (50F). Once the sugar has dissolved, remove the bowl from the heat and transfer to a new medium or large-sized bowl. Using a hand or stand mixer, whip the egg whites and sugar on high speed until stiff peaks have formed. The meringue will look shiny. This will take 5 – 10 minutes. At this time, begin to add your soft butter in increments. Add ¼ cup of butter at a time, until fully incorporated. Continue to whip at high speed, scraping the edges of the bowl in between. Once you have added all OR most of the butter, continue to whip until it forms a light and fluffy icing (During the process of adding butter, it may seem soft OR look like it is curdled- continue adding your butter and whipping on high speed. The buttercream will come together.) Once the buttercream has come together, add the vanilla and whip on medium speed until fully incorporated. Divide your buttercream into small bowls and add your own colours or flavours! Prepare a couple of piping bags with small round piping tips, and add the buttercream to each one.
Decorate the cookies as you wish! Add candies, sprinkles, etc.! Have fun and customize your holiday cookies!!
How should I decorate these cookies? Decorate these cookies with your favourite holiday sprinkles, chocolates, etc.! Add buttercream icing or skip it and e njoy your cookies plain. If having plain, press granulated sugar on top for a little extra fun!
Can I make this recipe gluten-free? Yes! Use 1 ¾ cup of Bob’s Red Mill 1:1 GF flour blend instead of all-purpose flour!
Storage: Store cookies at room temperature in an airtight container for 2 – 3 days, 5 – 7 days in the fridge, or in the freezer for 2-3 months.
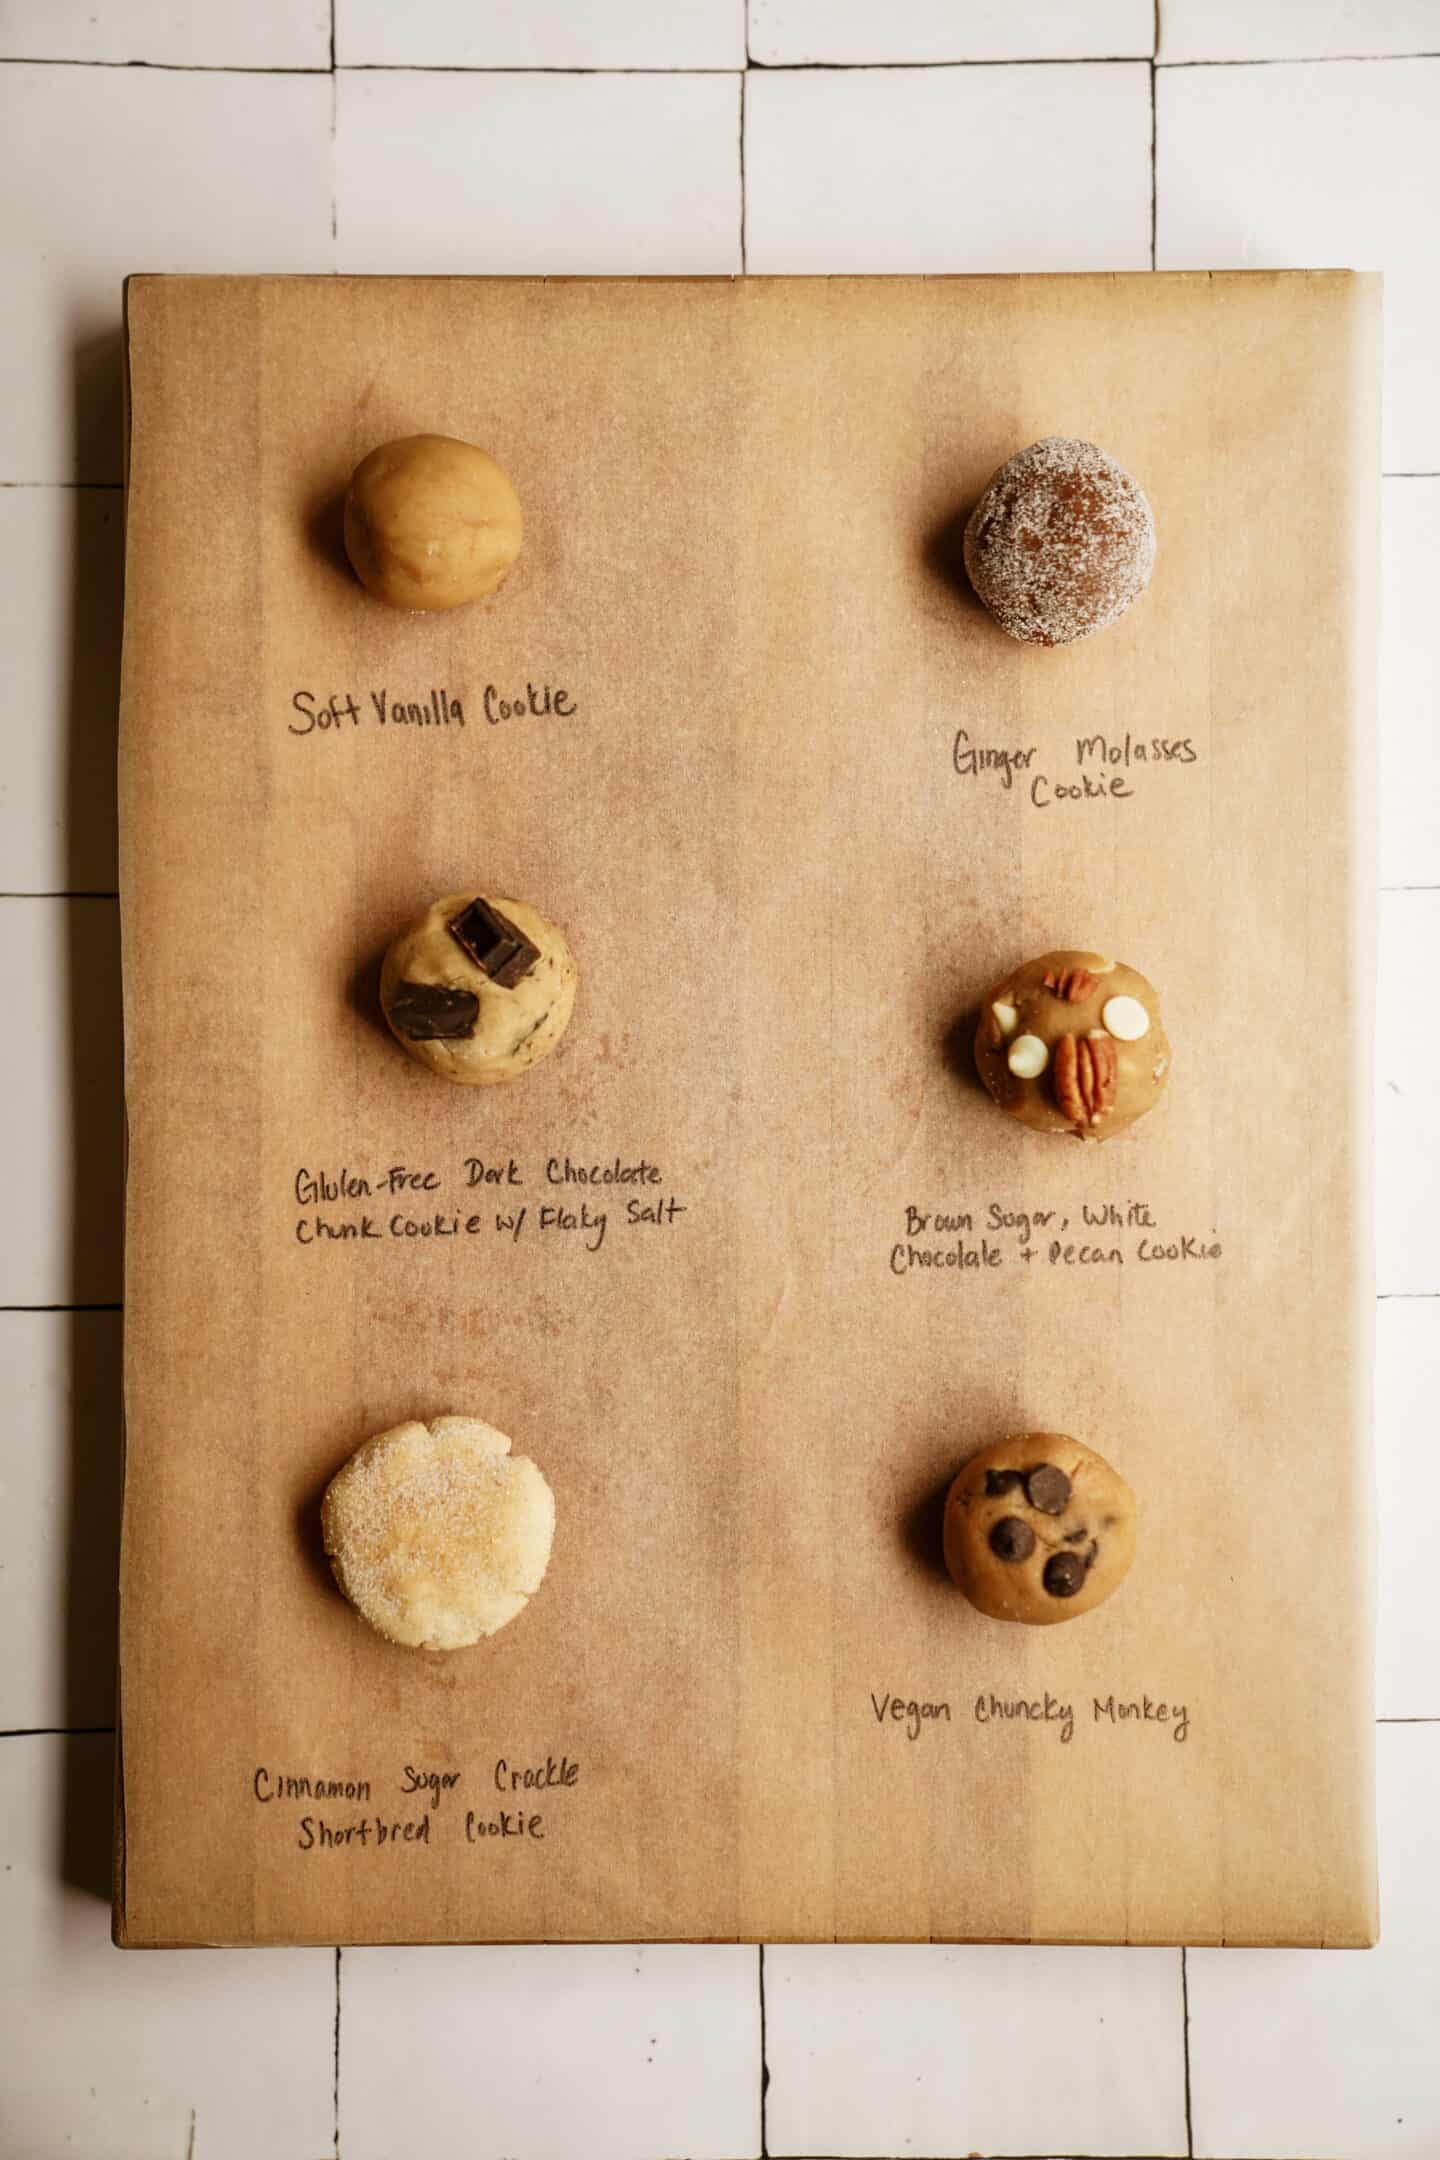
Other cookie recipes you’ll love:
- Chocolate Brownie Whoopie Pie
- Brown Butter & White Chocolate Snickerdoodles
- Ferrero Rocher Cookies
- Red Velvet Cookies
For more eBooks:
If you want more deliciousness at the click of your finger, be sure to check out FoodByMaria’s Newest Mini Cookbooks . Limited time offer of 3 for $20USD.

Holiday Sugar Cookies
Video

Ingredients1x2x3x
- ⅓ vegan cup butter softened
- 3 tbsp sunflower or avocado oil
- ⅔ cup white sugar
- ⅔ cup icing sugar
- ¼ cup Nabati Eggz
- 1 tbsp vanilla
- 1 tbsp almond or plant-based milk
- 2 cups + 2 tbsp all-purpose flour
- ½ tsp baking powder
- ¼ tsp baking soda
- ½ tsp salt
Instructions
- Preheat the oven to 325F, and line 2 baking trays with parchment paper.
- In a medium-sized bowl, combine flour, baking powder, baking soda, and salt. Set aside.
- In a large bowl, combine butter and oil, with a hand mixer for 2 minutes until thoroughly combined.
- Add the granulated sugar slowly, with a hand mixer on medium/high speed until light and pale in colour.
- Next, add the icing sugar and whisk until combined and light.
- Slowly mix in the Nabati Eggz, vanilla, and plant milk, and beat until combined.
- Add the flour mixture and beat until no streaks or flour clumps remain, creating a smooth and uniform dough. Do not overmix.
- Cover the bowl in plastic wrap and refrigerate for 30-45 minutes.
- Remove the cookie dough from the fridge and place it onto a gently floured surface, roll out to 1/8 – ¼ inch thickness.
- Use your favourite holiday cookie cutters to cut out your cookies and set them onto the baking trays. Continue these steps until you use all of the dough.
- Refrigerate the cookies for about 20 – 30 minutes prior to baking (you may need to place another sheet of parchment paper onto your baking sheet to layer the cookies for refrigerating).
- Space the cut-out cookies onto your baking sheets 2 inches apart from each other.
- Evenly space the cookie dough 2-3 inches apart onto the baking trays.
- Bake for 12 – 13 minutes, until slightly golden on the edges.
- Allow to cool on the baking trays for 5 minutes, then transfer to a wire rack.
- While the cookies are baking, prepare your buttercream. Bring a pot, with a few inches of water, to a strong simmer.
- In a medium-sized stainless steel or glass bowl, combine egg whites and granulated sugar. Whisk to combine. Set the bowl on top of the pot with simmering water. The bowl should remain higher than the water level. Continuously mix and heat the egg whites and granulated sugar, until the sugar has dissolved. This will occur at 120F (50F). Once the sugar has dissolved, remove the bowl from the heat and transfer to a new medium or large-sized bowl. Using a hand or stand mixer, whip the egg whites and sugar on high speed until stiff peaks have formed. The meringue will look shiny. This will take 5 – 10 minutes. At this time, begin to add your soft butter in increments. Add ¼ cup of butter at a time, until fully incorporated. Continue to whip at high speed, scraping the edges of the bowl in between. Once you have added all OR most of the butter, continue to whip until it forms a light and fluffy icing (During the process of adding butter, it may seem soft OR look like it is curdled- continue adding your butter and whipping on high speed. The buttercream will come together.) Once the buttercream has come together, add the vanilla and whip on medium speed until fully incorporated. Divide your buttercream into small bowls and add your own colours or flavours! Prepare a couple of piping bags with small round piping tips, and add the buttercream to each one.
- Decorate the cookies as you wish! Add candies, sprinkles, etc.! Have fun and customize your holiday cookies!!
Notes
Nutrition
Post A CommentCancel reply

Honey Cake
Cookie Dough Recipe (Small-Batch or Edible Option)
Vegan Chocolate Cake
The Easiest Vegan Pumpkin Bread Recipe
Holidays
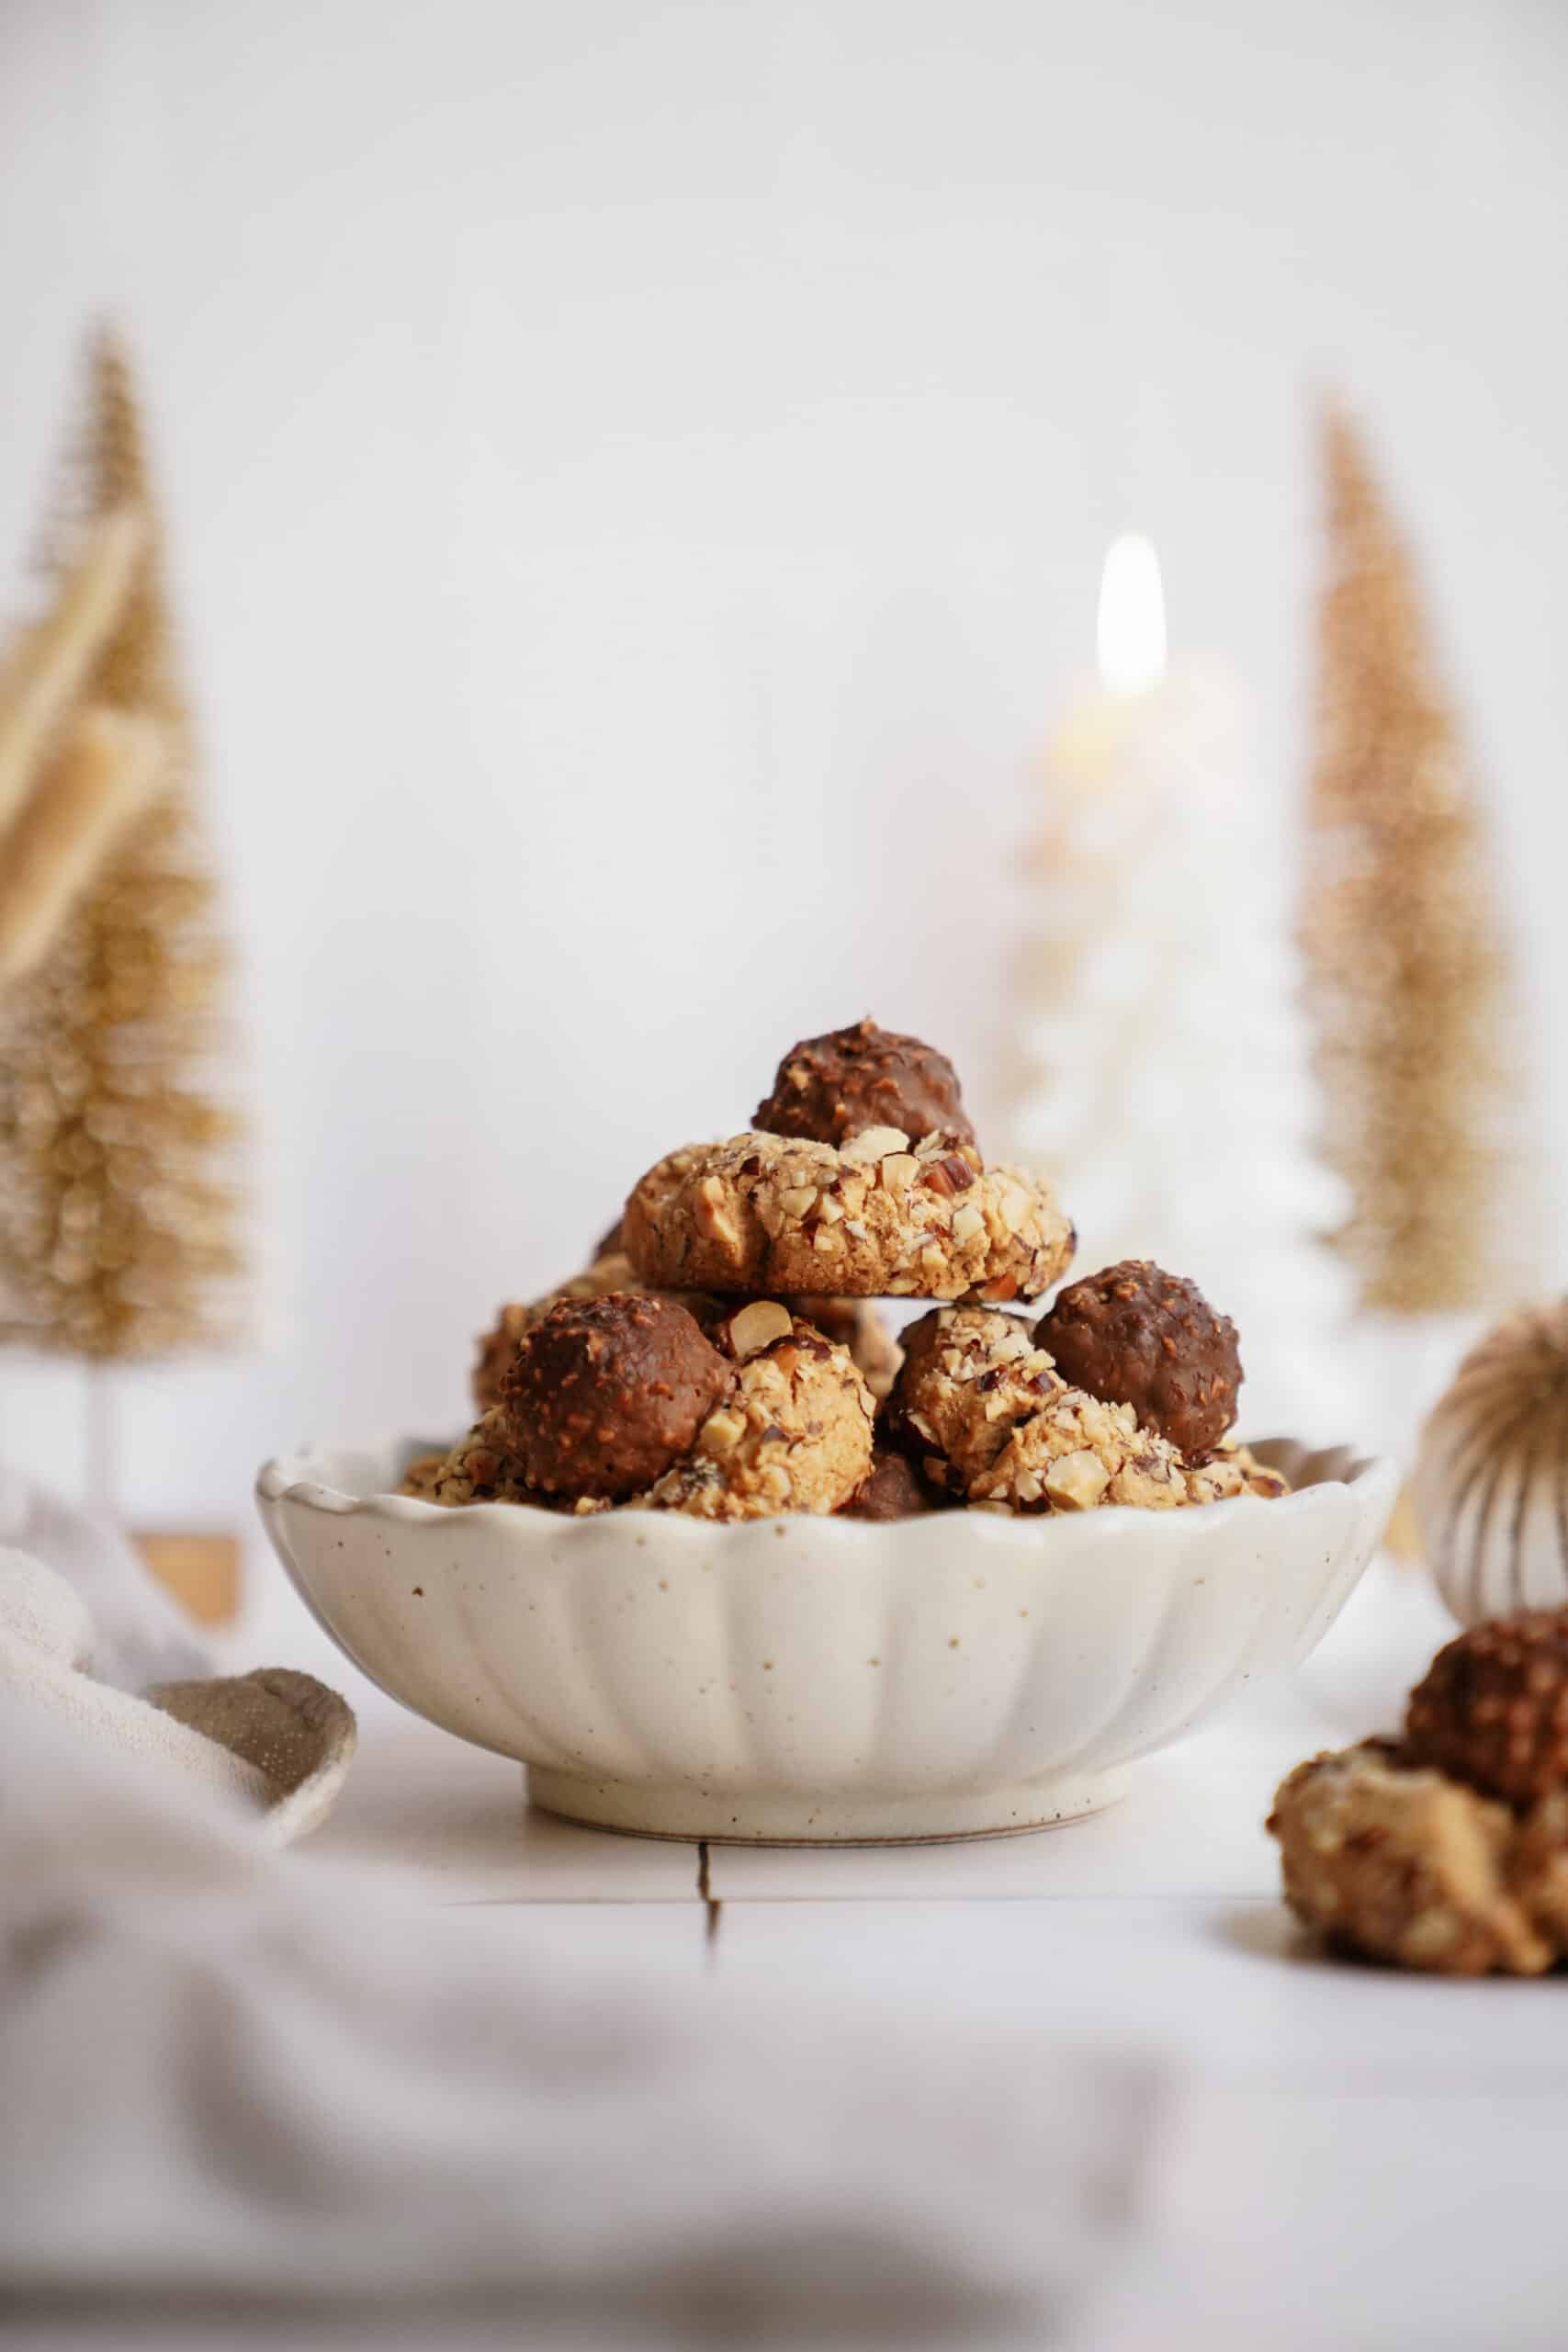
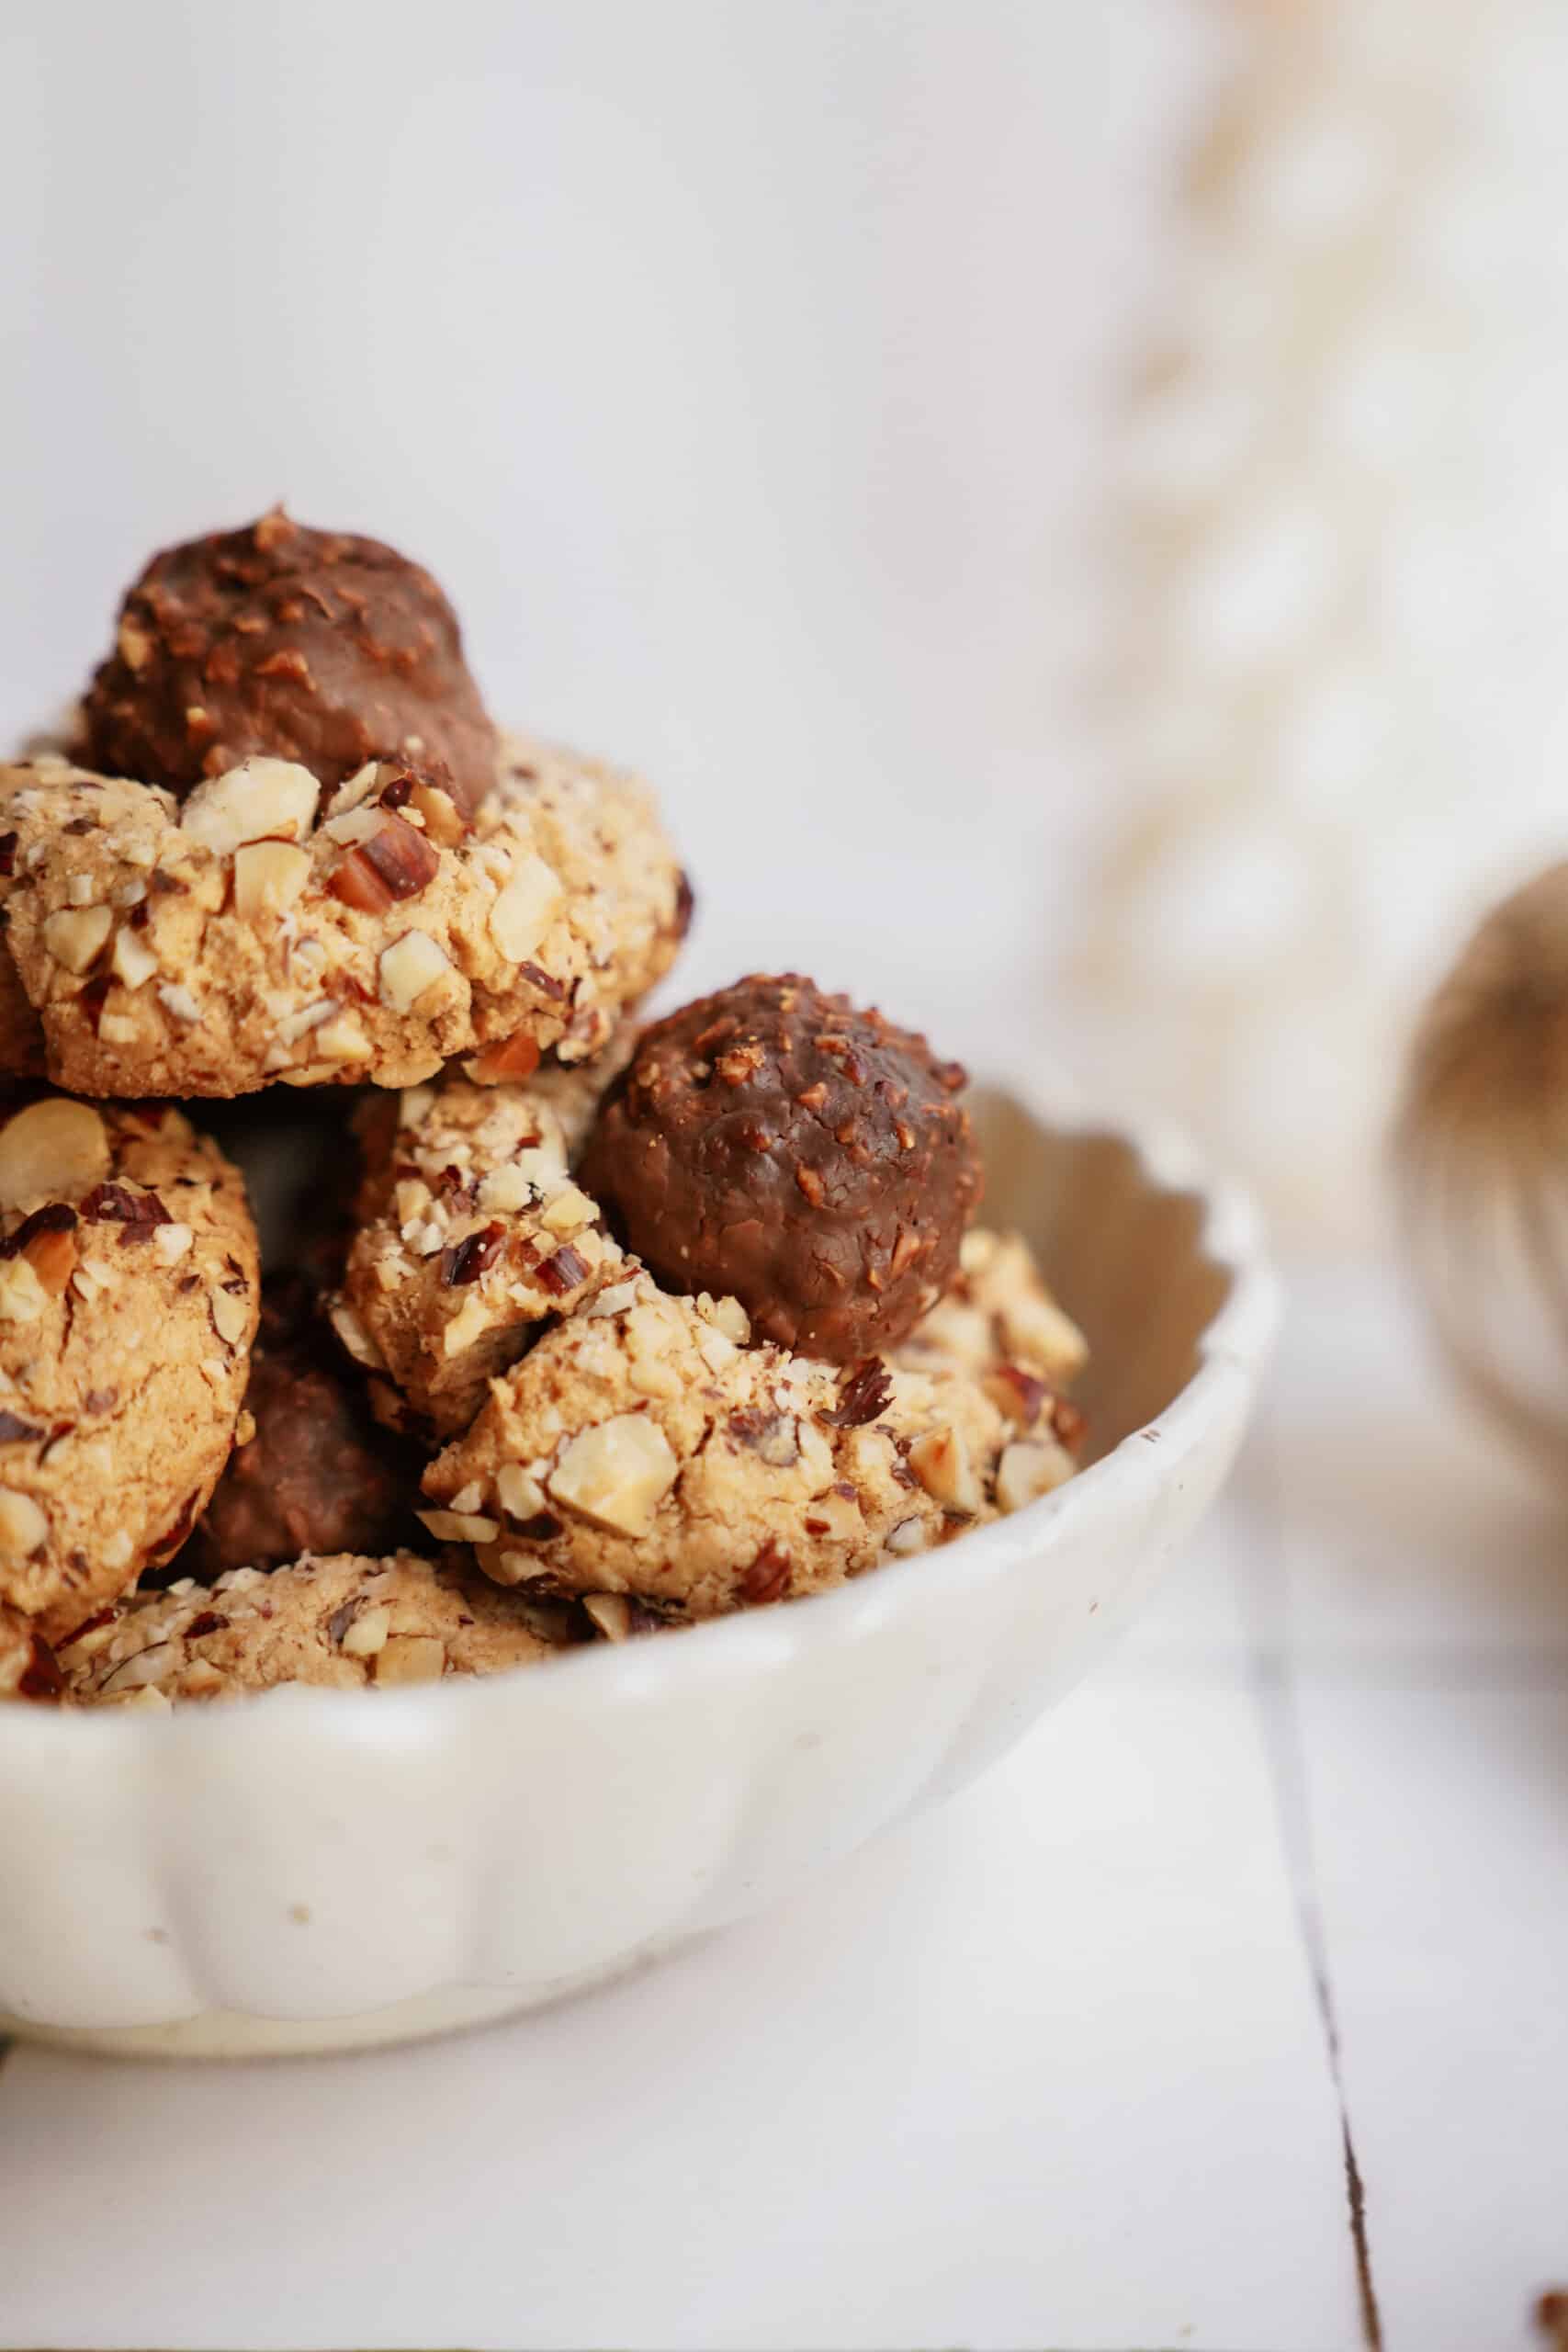
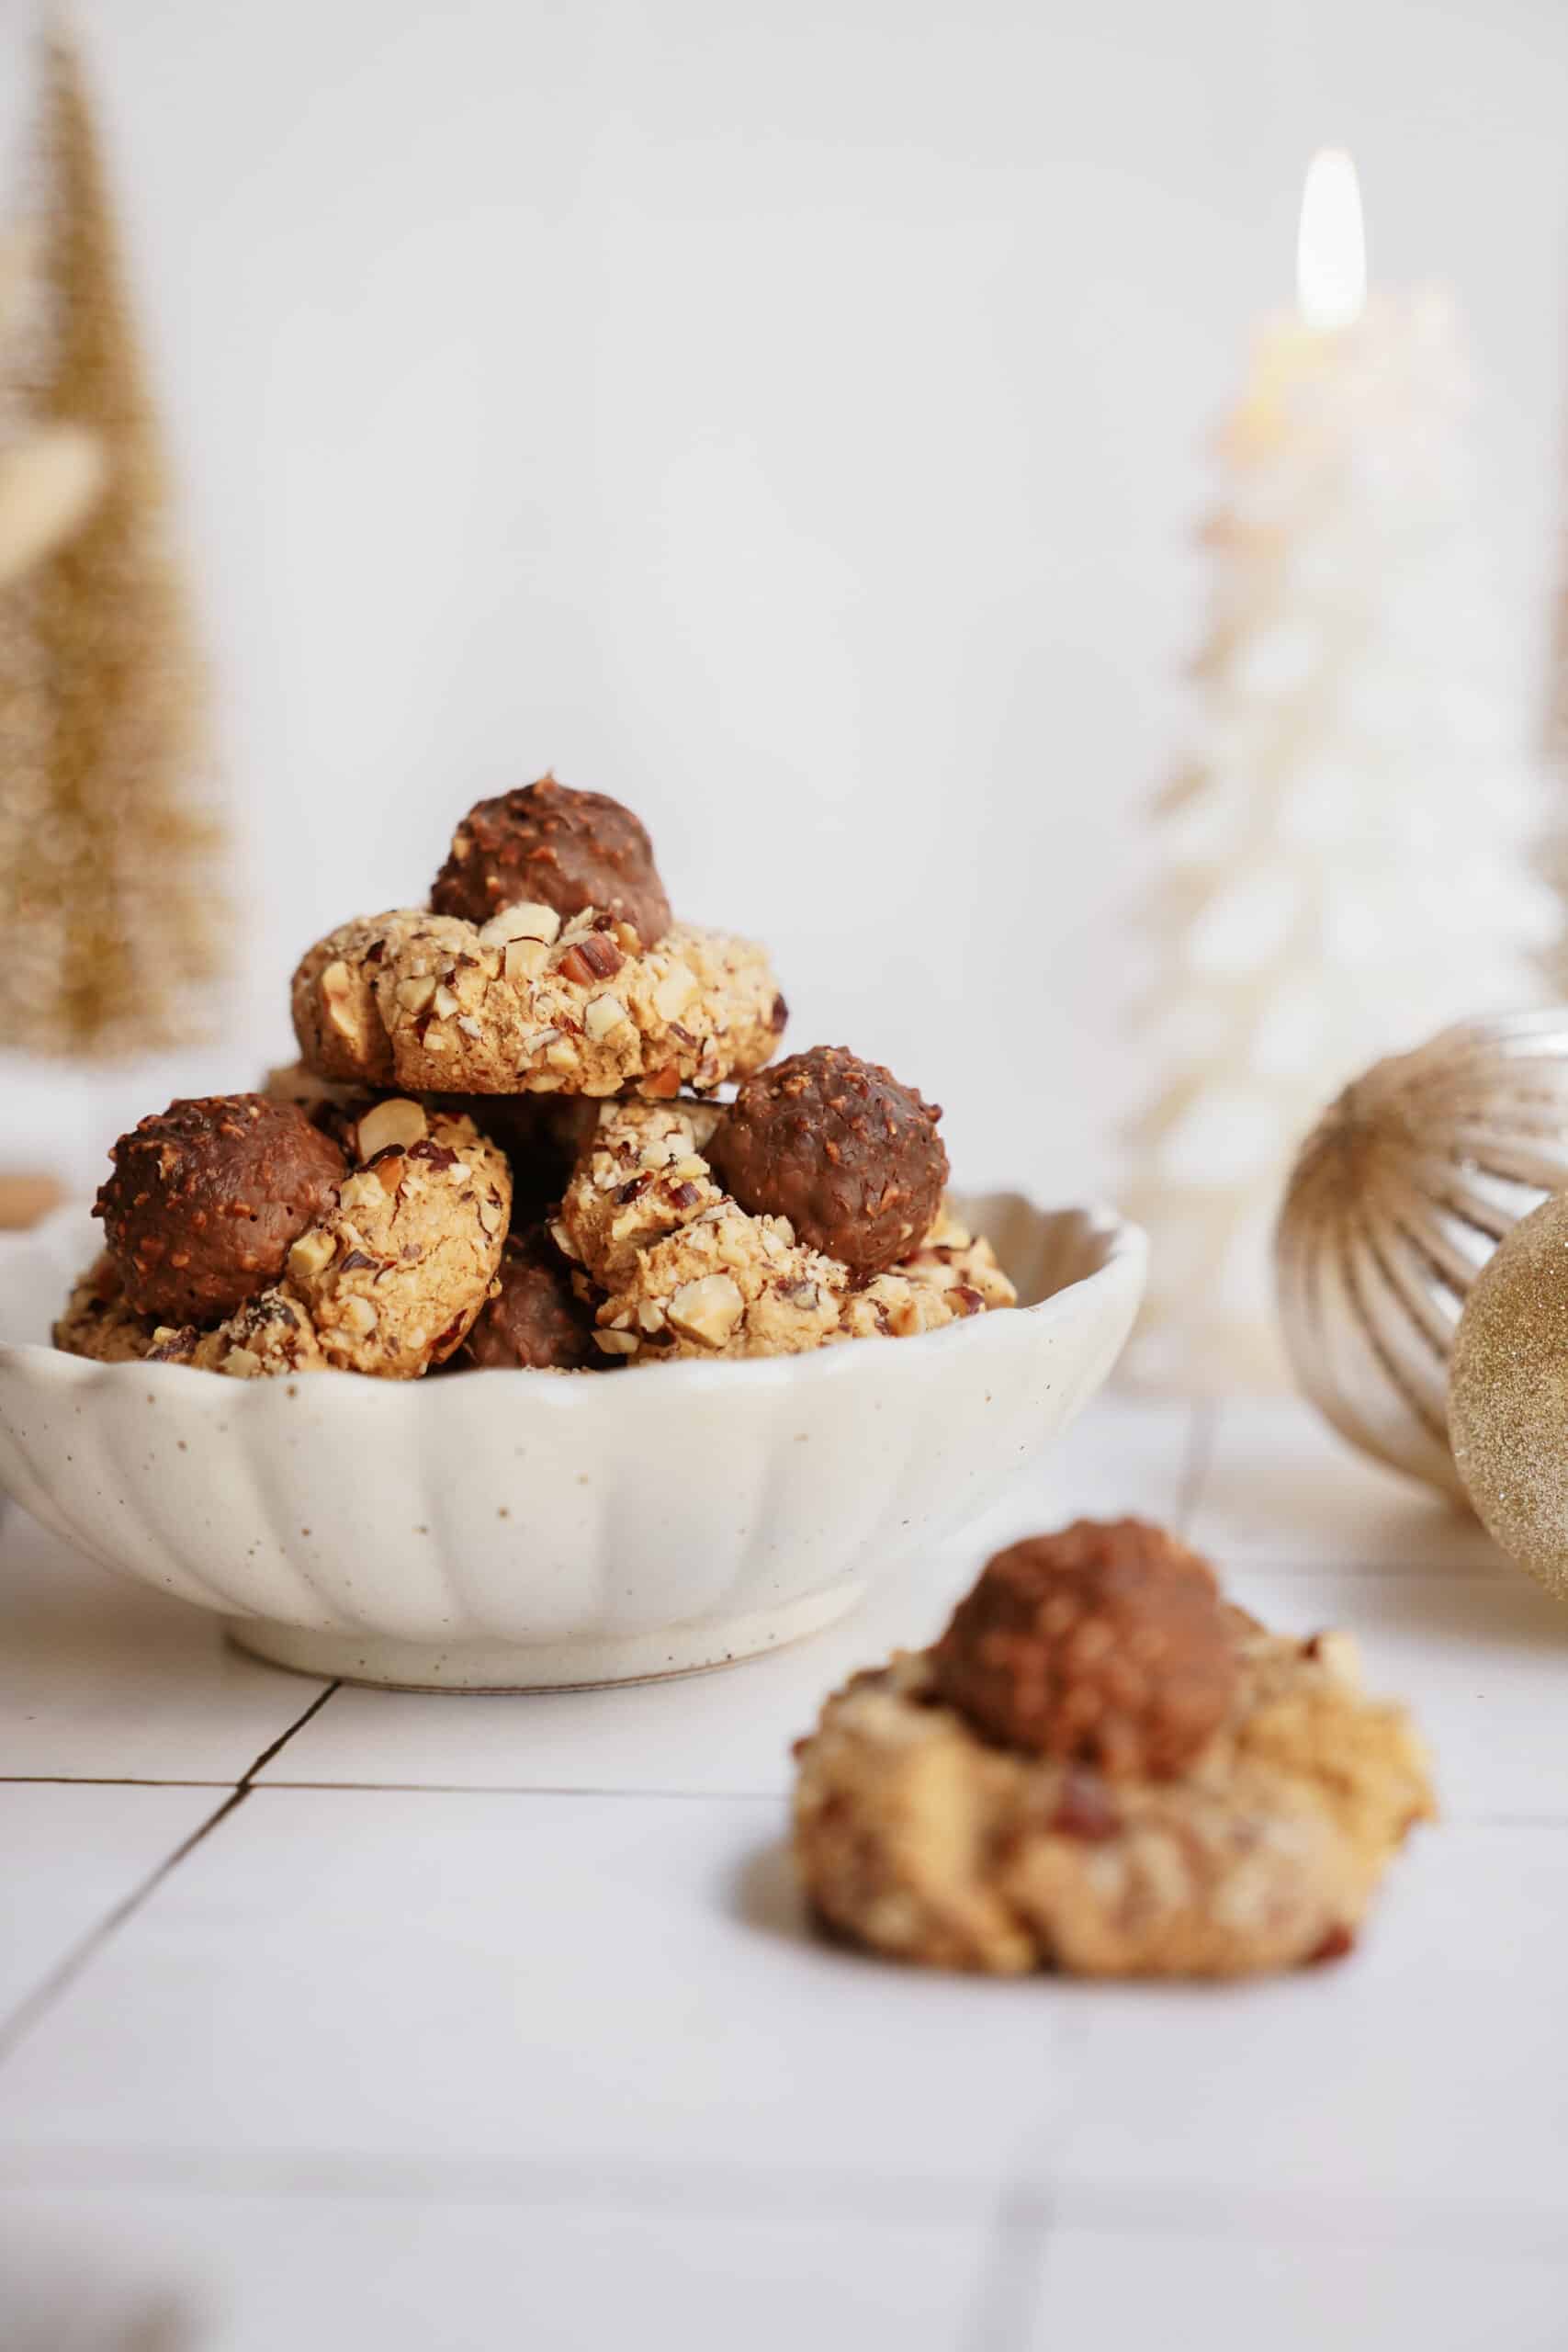
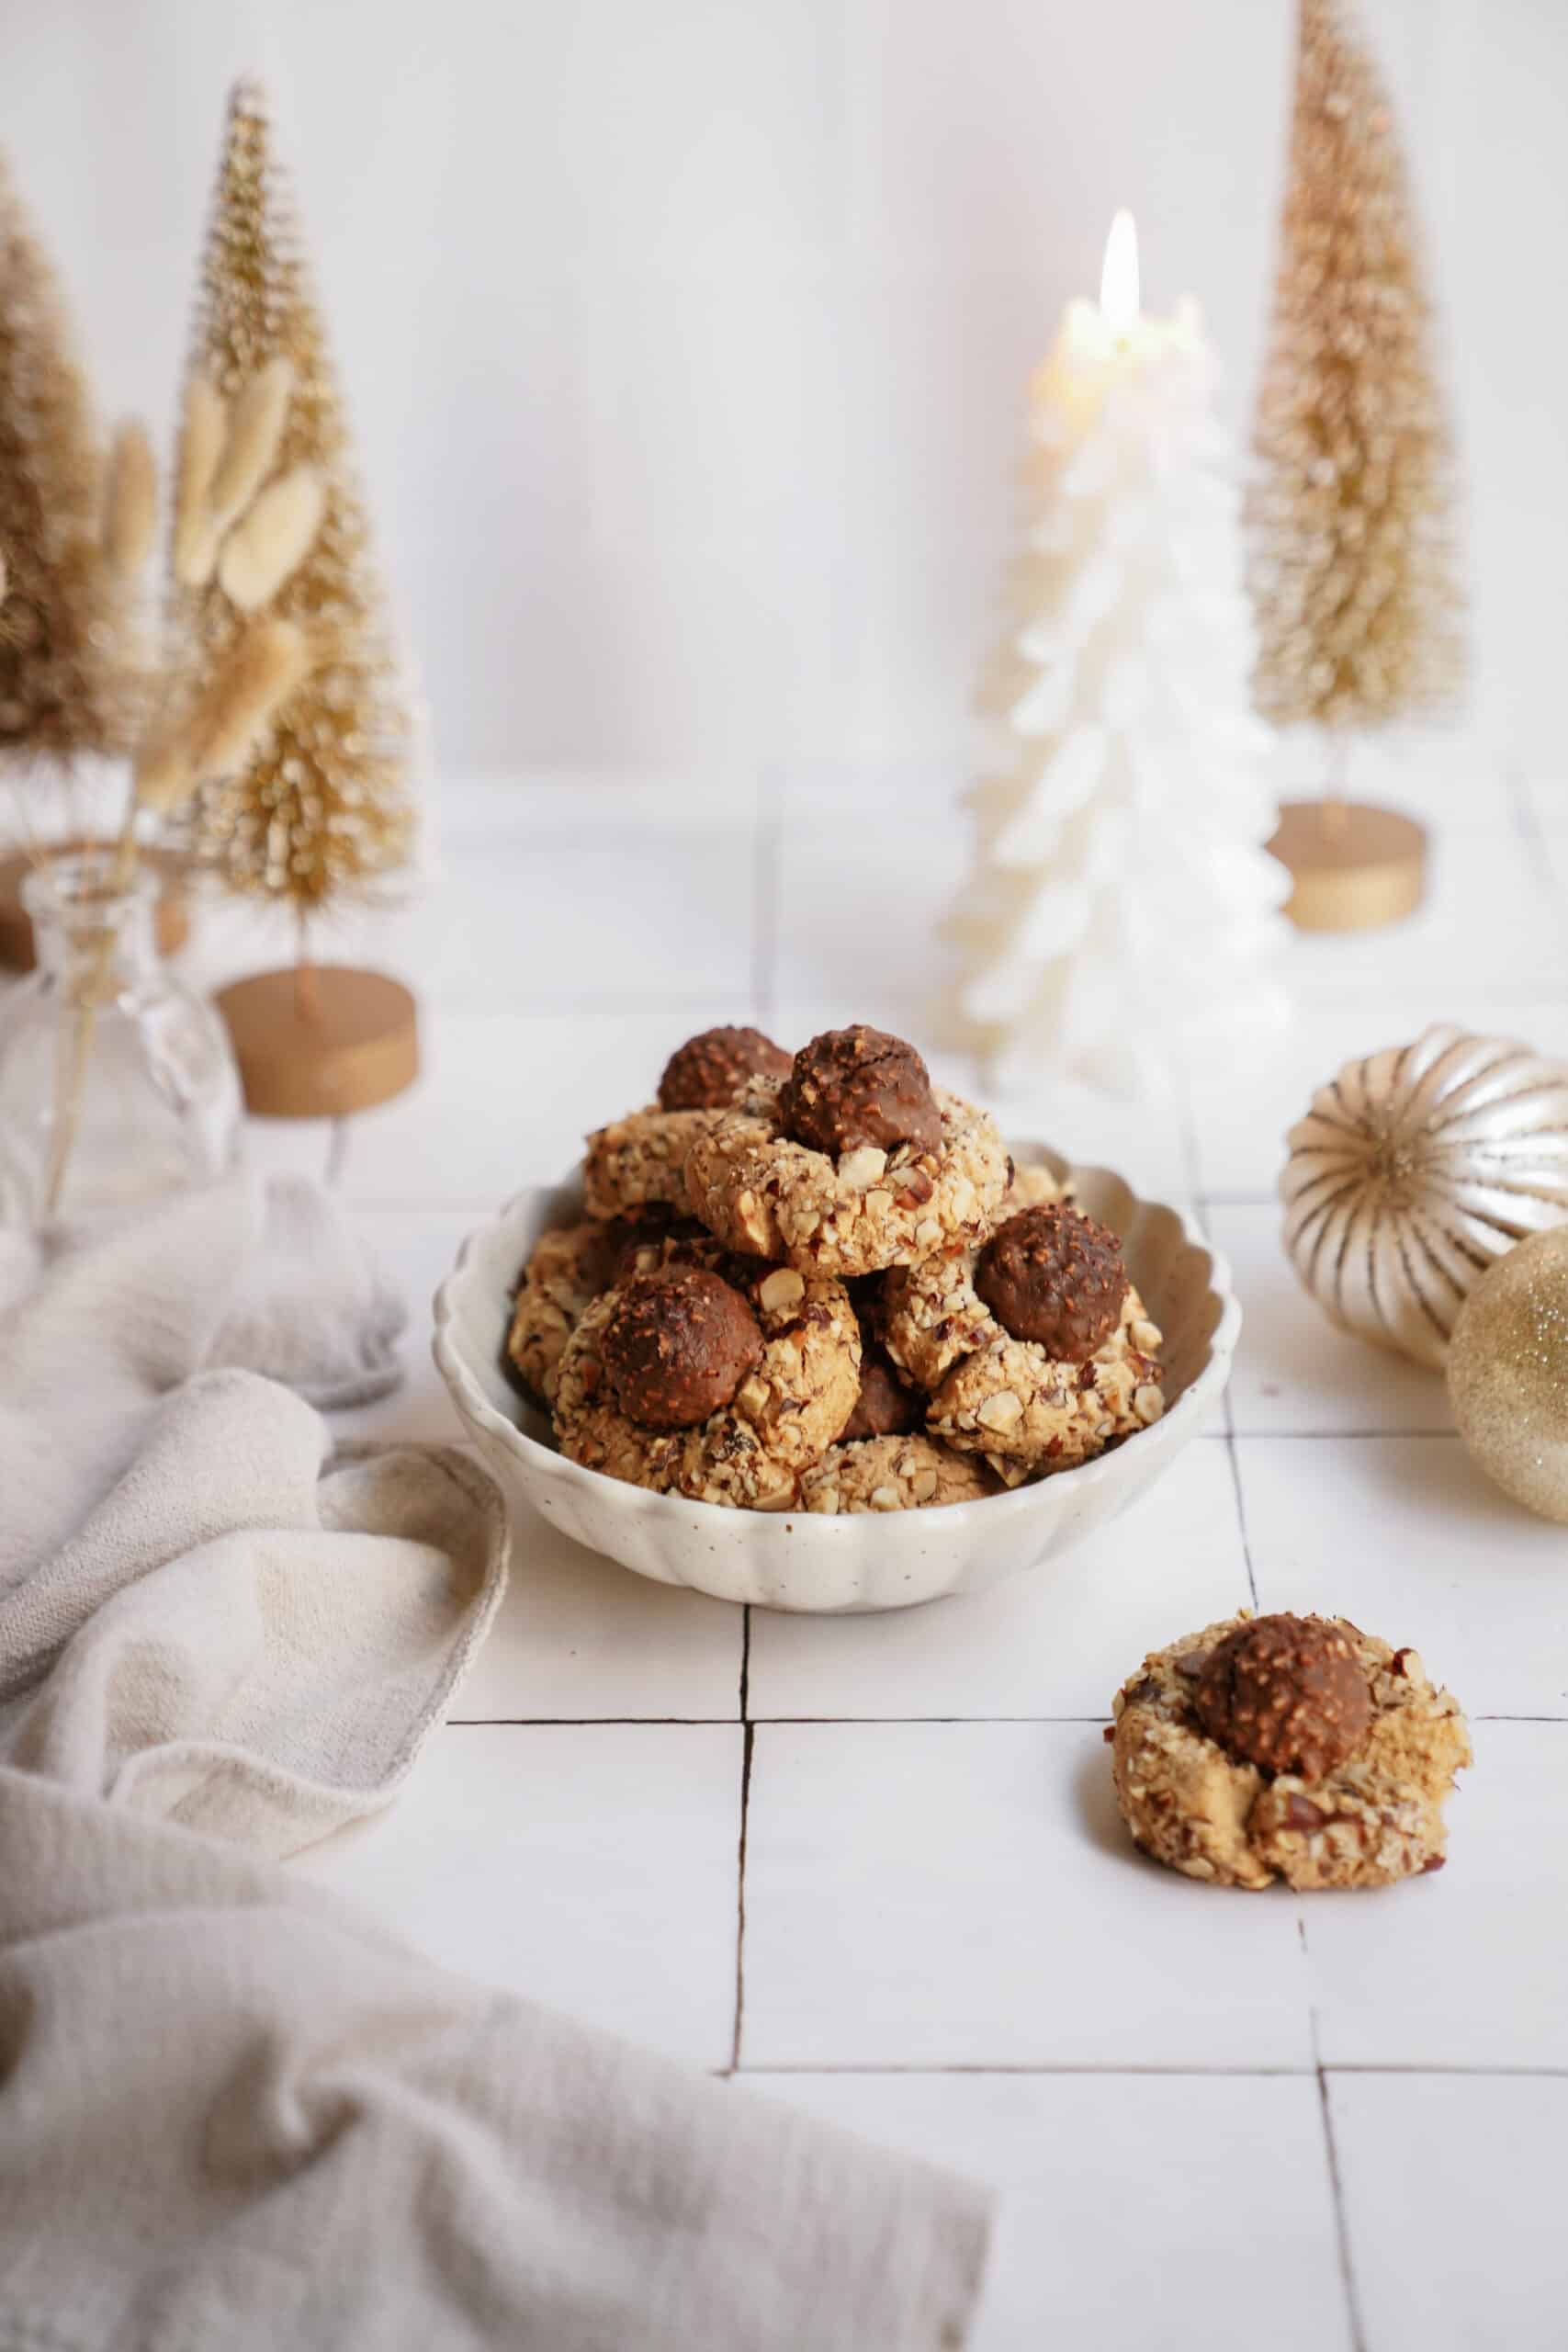
Gluten-Free Ferrero Rocher Thumbprint Cookies
Prep
20 minutes
Cook
20 minutes
Yield
12 -14
‘Tis the season! One of the best parts about the holiday season is baking up a storm in your kitchen of sweet, tasty treats to gift, share with family and friends, or gobble up on your own. I love holiday baking and this thumbprint cookie recipe with Ferrero Rocher’s might just be your new favorite cookie this year.
Why you’ll love this thumbprint cookie recipe:
- Gluten-Free: I made this recipe with Bob Red Mill’s 1:1 Gluten-Free flour meaning that this recipe will even satisfy those with gluten allergies
- Delicious: Ferrero Rocher’s have to be one of the best chocolate treats at the holiday season so incorporating them into a Christmas cookie is a no-brainer
- Crowd Pleaser: These make for an excellent homemade gift to gift to teachers, secretaries, colleagues, family, and friends
Ingredient Notes:
Ferrero Rocher: These magical chocolate, hazelnut balls are produced by an Italian company, Ferrero. It’s been around since 1979 and has become a holiday staple for it’s beautiful combination of chocolate, hazelnut, and that delicious, airy crunch it has when you bite into it.
Hazelnut Butter: Hazelnuts are high in omega-6 and omega-9 fatty acids so hazelnut butter is so good for you! Since Ferrero Rocher’s have hazelnuts in them, I love to use hazelnut butter specifically in this thumbprint cookie recipe. However, if you can’t find it, you can always use peanut butter.

How to make this thumbprint cookie recipe:
- Preheat the oven to 355F, and line 2 baking trays with parchment paper.
- In a medium-sized bowl, combine flour and salt. Set aside.
- In a large bowl, combine peanut butter, butter, sugar, and vanilla, with a hand mixer on medium until combined and slightly whipped.
- One at a time, slowly mixes in the egg yolks, until just combined. Keep the egg whites in a separate bowl for later.
- Add the flour mixture and mix until well combined. Do not overmix.
- Chop the hazelnuts into small pieces and place them into a small bowl.
- Scoop the dough into “ping-pong” size balls, approximately 2 tbsp worth.
- Roll the cookie dough balls out with your hand, until smooth.
- Dip each cookie dough ball in the egg whites, lightly covering, and roll into the chopped hazelnuts.
- Place each cookie dough ball onto the baking sheet, and press your thumb into the top to create a small cavity.
- Shape the sides of the cookie if you need to create the perfect shape.
- Unwrap a Ferraro Roche chocolate and place it in the center of the cookie, filling the cavity. Repeat these steps until you use all of the dough.
- Evenly space the cookie dough 2-3 inches apart onto the baking trays.
- Bake for 18 – 20 minutes, until golden on the bottom and edges.
- Allow to cool on the baking trays for 5 minutes, then transfer to a wire rack.
- Once slightly cooled, add the dark chocolate to a small bowl and slowly melt it in the microwave.
- Using a small spoon, drizzle lines of chocolate in a zig-zag to cover the top of your cookies.
- Enjoy this deliciousness!
How do I make this cookie chewy? These cookies will melt in your mouth like shortbread, bake for less time to make a chewier cookie!
Can I make this thumbprint cookie recipe dairy-free too? To make dairy-free, swap butter with earth balance, use plant-based milk, AND replace Ferrero Roche with your favorite dairy-free chocolate truffles!
I can’t find hazelnut butter: Replace hazelnut butter with peanut butter if you prefer!
Storage: Store cookies at room temperature in an airtight container for 3-4 days or in the freezer for 2-3 months. Allow to come to room temperature or warm in the microwave slightly to serve.
Other sweet recipes you’ll love:
- Homemade Peanut Butter Cups Vegan Cinnamon Bun Bread Vegan Cashew Chocolate Mousse Cake
For more eBooks:
If you want more deliciousness at the click of your finger, be sure to check out FoodByMaria’s Newest Mini Cookbooks . Limited time offer of 3 for $20USD.

Gluten-Free Ferrero Rocher Thumbprint Cookie Recipe
Ingredients1x2x3x
- ½ cup hazelnut butter
- ½ cup butter softened
- ½ cup + 2 tbsp brown sugar
- 2 eggs room temperature + separated
- 2 tbsp milk or plant-based milk
- 1 tbsp vanilla
- 1 ¼ cup Bob’s Red Mill 1:1 GF Flour Blend
- ½ tsp salt
- 12 – 14 Ferraro Roche chocolates
- ½ cup milk or dark chocolate melted
Instructions
- Preheat the oven to 355F, and line 2 baking trays with parchment paper.
- In a medium-sized bowl, combine flour and salt. Set aside.
- In a large bowl, combine hazelnut butter, butter, sugar, and vanilla, with a hand mixer on medium until combined and slightly whipped.
- One at a time, slowly mixes in the egg yolks, until just combined. Keep the egg whites in a separate bowl for later.
- Add the flour mixture and mix until well combined. Do not overmix.
- Chop the hazelnuts into small pieces and place them into a small bowl.
- Scoop the dough into “ping-pong” size balls, approximately 2 tbsp worth.
- Roll the cookie dough balls out with your hand, until smooth.
- Dip each cookie dough ball in the egg whites, lightly covering, and roll into the chopped hazelnuts.
- Place each cookie dough ball onto the baking sheet, and press your thumb into the top to create a small cavity.
- Shape the sides of the cookie if you need to create the perfect shape.
- Unwrap a Ferraro Roche chocolate and place it in the center of the cookie, filling the cavity. Repeat these steps until you use all of the dough.
- Evenly space the cookie dough 2-3 inches apart onto the baking trays.
- Bake for 18 - 20 minutes, until golden on the bottom and edges.
- Allow to cool on the baking trays for 5 minutes, then transfer to a wire rack.
- Once slightly cooled, add the dark chocolate to a small bowl and slowly melt it in the microwave.
- Using a small spoon, drizzle lines of chocolate in a zig-zag to cover the top of your cookies.
- Enjoy this deliciousness!!
Notes
Nutrition
Post A CommentCancel reply
Honey Cake
Cookie Dough Recipe (Small-Batch or Edible Option)
Vegan Chocolate Cake
The Easiest Vegan Pumpkin Bread Recipe

Holiday Sugar Cookies
Ingredients
- ⅓ vegan cup butter softened
- 3 tbsp sunflower or avocado oil
- ⅔ cup white sugar
- ⅔ cup icing sugar
- ¼ cup Nabati Eggz
- 1 tbsp vanilla
- 1 tbsp almond or plant-based milk
- 2 cups + 2 tbsp all-purpose flour
- ½ tsp baking powder
- ¼ tsp baking soda
- ½ tsp salt
Instructions
- Preheat the oven to 325F, and line 2 baking trays with parchment paper.
- In a medium-sized bowl, combine flour, baking powder, baking soda, and salt. Set aside.
- In a large bowl, combine butter and oil, with a hand mixer for 2 minutes until thoroughly combined.
- Add the granulated sugar slowly, with a hand mixer on medium/high speed until light and pale in colour.
- Next, add the icing sugar and whisk until combined and light.
- Slowly mix in the Nabati Eggz, vanilla, and plant milk, and beat until combined.
- Add the flour mixture and beat until no streaks or flour clumps remain, creating a smooth and uniform dough. Do not overmix.
- Cover the bowl in plastic wrap and refrigerate for 30-45 minutes.
- Remove the cookie dough from the fridge and place it onto a gently floured surface, roll out to 1/8 – ¼ inch thickness.
- Use your favourite holiday cookie cutters to cut out your cookies and set them onto the baking trays. Continue these steps until you use all of the dough.
- Refrigerate the cookies for about 20 – 30 minutes prior to baking (you may need to place another sheet of parchment paper onto your baking sheet to layer the cookies for refrigerating).
- Space the cut-out cookies onto your baking sheets 2 inches apart from each other.
- Evenly space the cookie dough 2-3 inches apart onto the baking trays.
- Bake for 12 – 13 minutes, until slightly golden on the edges.
- Allow to cool on the baking trays for 5 minutes, then transfer to a wire rack.
- While the cookies are baking, prepare your buttercream. Bring a pot, with a few inches of water, to a strong simmer.
- In a medium-sized stainless steel or glass bowl, combine egg whites and granulated sugar. Whisk to combine. Set the bowl on top of the pot with simmering water. The bowl should remain higher than the water level. Continuously mix and heat the egg whites and granulated sugar, until the sugar has dissolved. This will occur at 120F (50F). Once the sugar has dissolved, remove the bowl from the heat and transfer to a new medium or large-sized bowl. Using a hand or stand mixer, whip the egg whites and sugar on high speed until stiff peaks have formed. The meringue will look shiny. This will take 5 – 10 minutes. At this time, begin to add your soft butter in increments. Add ¼ cup of butter at a time, until fully incorporated. Continue to whip at high speed, scraping the edges of the bowl in between. Once you have added all OR most of the butter, continue to whip until it forms a light and fluffy icing (During the process of adding butter, it may seem soft OR look like it is curdled- continue adding your butter and whipping on high speed. The buttercream will come together.) Once the buttercream has come together, add the vanilla and whip on medium speed until fully incorporated. Divide your buttercream into small bowls and add your own colours or flavours! Prepare a couple of piping bags with small round piping tips, and add the buttercream to each one.
- Decorate the cookies as you wish! Add candies, sprinkles, etc.! Have fun and customize your holiday cookies!!
Video
Notes
Nutrition
FoodbyMaria.com
